
Delicious Hostess Sheet Cake with Fresh Milled Flour
This post may contain affiliate links. Please read our Disclosure Policy.
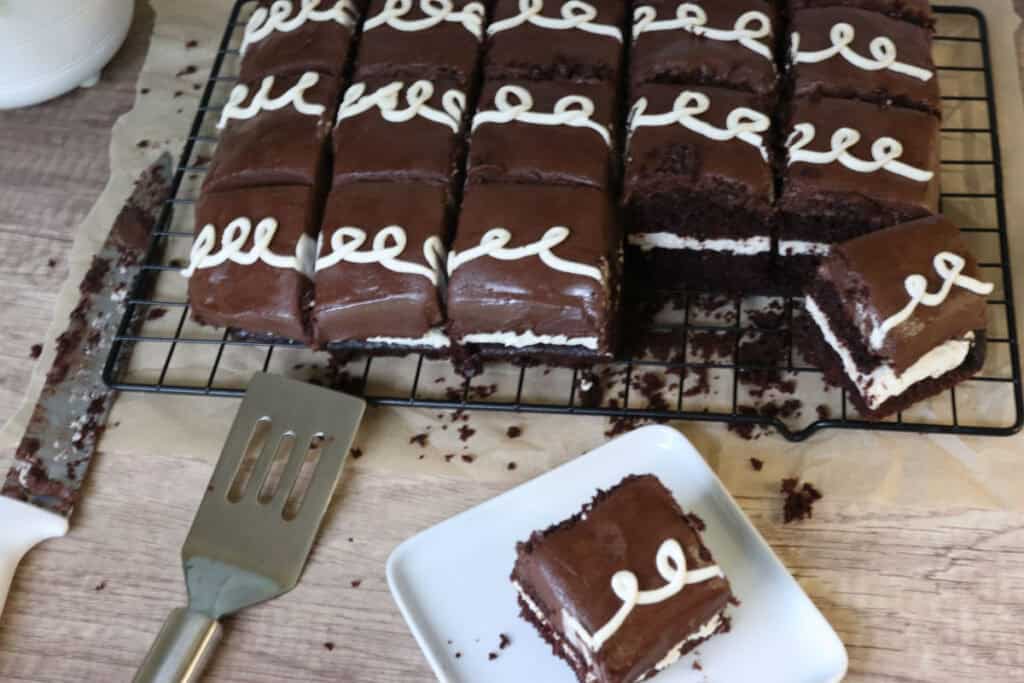
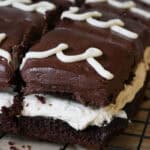
If you’ve ever encountered that charmingly nostalgic Hostess Sheet Cake at a family gathering or a potluck, you know it’s a showstopper. Now imagine making that classic treat from scratch, but with a wholesome twist—using fresh milled flour. It’s a treat that adds a bit of an artisanal touch without feeling complicated or fussy. The rustic, slightly nutty flavor from the freshly ground flour adds a delightful edge to the soft, moist cake that’s draped in rich chocolate frosting. Whether you’re baking for a special occasion or just to enjoy a little slice of comfort at home, this recipe is here to help you create a memorable dessert with your own hands. Happy baking—and may your kitchen be filled with the inviting scent of chocolate and warmth.
What Makes This Recipe Great
Fresh milled flour flavor boost.
Using freshly milled flour gives the cake a subtle earthy and nutty undertone that you simply won’t get from store-bought flour. It elevates the whole cake, making every bite more complex and interesting.
Moist and tender texture.
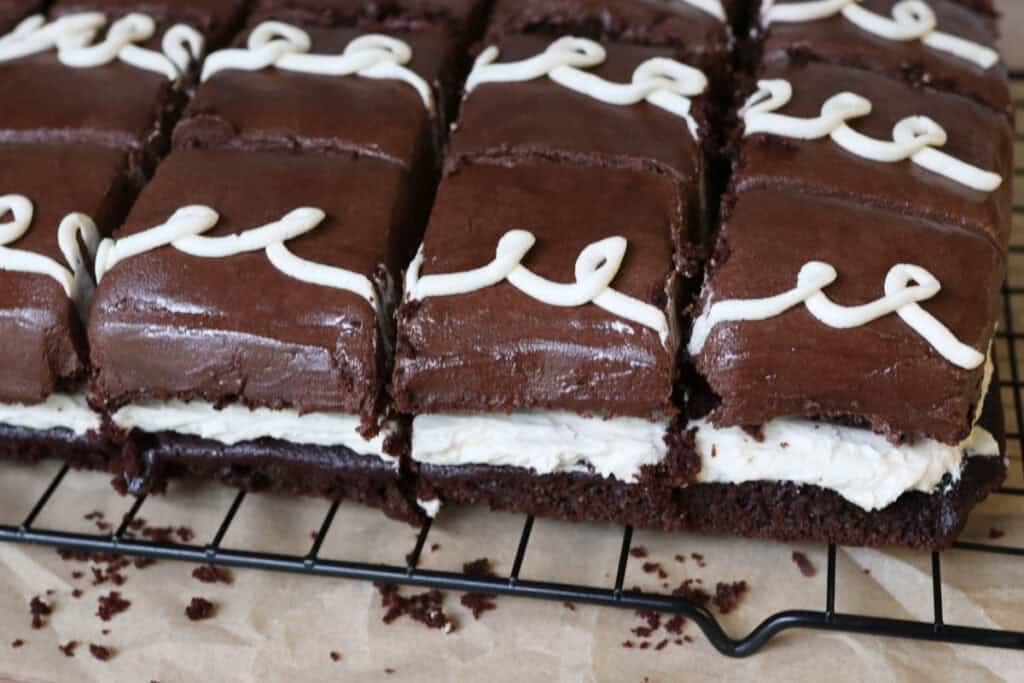
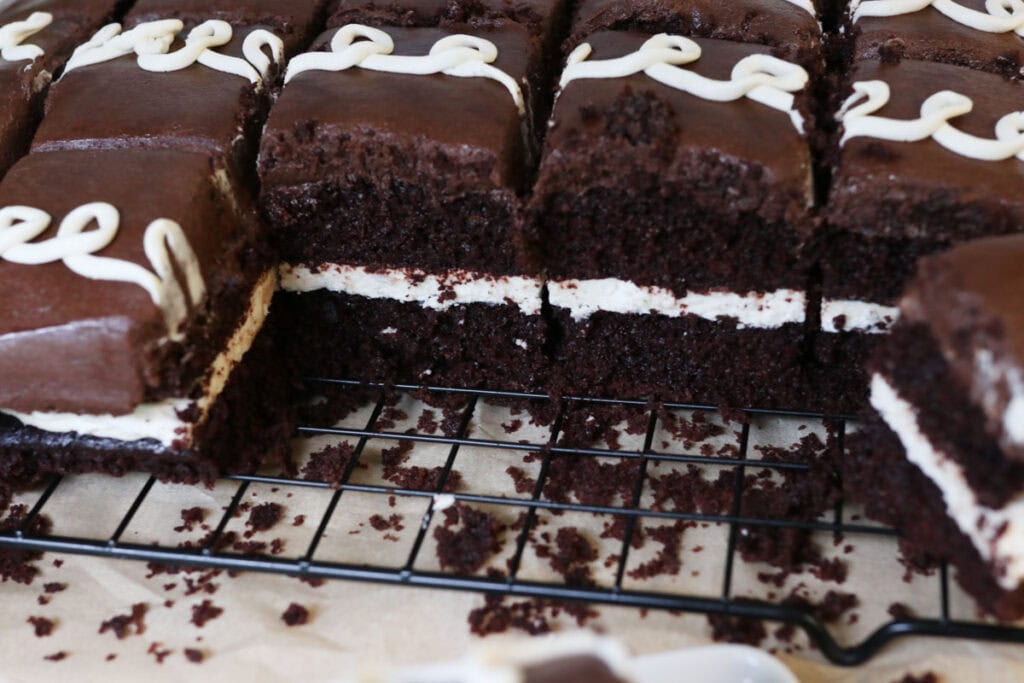
This Hostess sheet cake is famously soft and moist thanks to its perfect balance of wet and dry ingredients. The flour’s freshness adds a slightly denser texture that holds moisture wonderfully, ensuring it doesn’t dry out quickly.
Classic nostalgic vibe with a homemade feel.
This recipe captures all the charm and flavor of the bakery original but with the pride of a homemade creation. It’s an inviting dessert that brings back memories and makes new ones over coffee or family visits.
For more freshly milled desserts, be sure to try these key lime pie bars with a fresh milled graham cracker crust, and these homemade blueberry Nutrigrain bars!
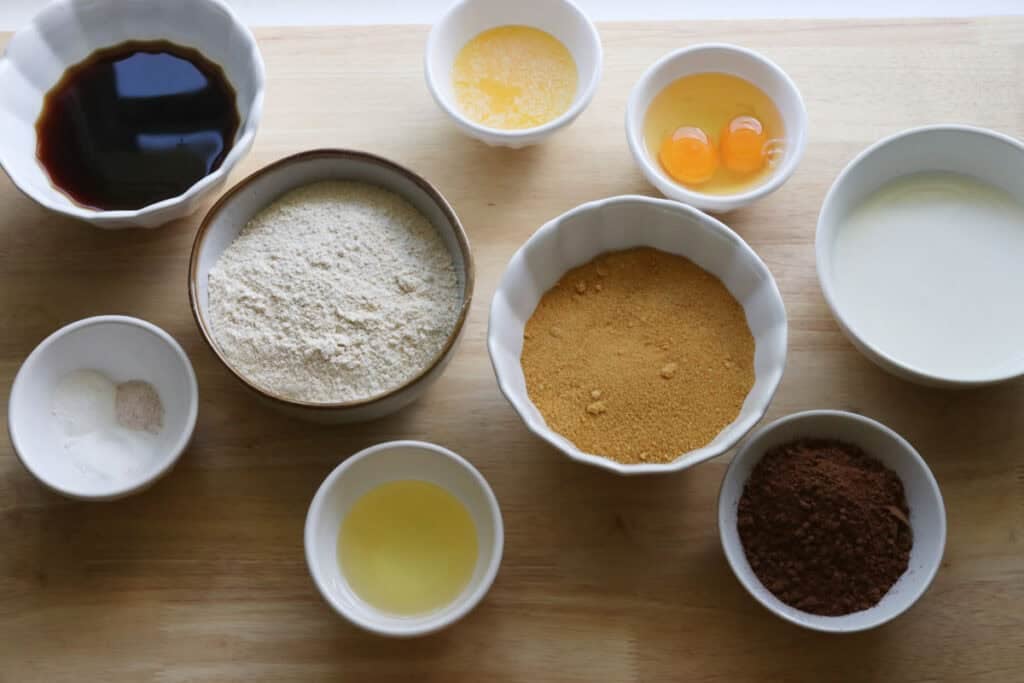
Overview of Ingredients
Fresh Milled Flour
Freshly milled flour retains more natural oils and nutrients than regular all-purpose flour, lending a richer flavor and slightly denser texture to the cake. If you don’t have access to a grain mill, whole wheat pastry flour or a mix of whole wheat and all-purpose flour can be good alternatives.
Cocoa Powder
Cocoa powder is essential for the deep chocolate flavor; unsweetened cocoa will give the best rich taste. If you want a lighter chocolate note, Dutch-processed cocoa is an option, though the texture may differ slightly.
Butter
Butter adds creaminess and richness to the cake and frosting.
Sugar
Maple sugar or granulated sugar is used to sweeten the cake, creating that classic balance with the cocoa bitterness. For a slightly different flavor, you could try fine cane sugar or even coconut sugar, but expect minor changes in texture and sweetness.
Eggs
Eggs provide structure and moisture to the cake. Large eggs are standard, but if you’re looking for egg substitutes, applesauce or mashed bananas can work in a pinch, though the texture will be a little different.
Milk
Milk adds moisture and helps with the cake’s tenderness. You can use any kind of milk—dairy or plant-based—but whole milk gives the best flavor and texture.
Tips for Creating the Most Delicious Hostess Sheet Cake
#1 Don’t overmix the batter
Mix the batter just until ingredients are combined to avoid developing too much gluten in the flour, which can make the cake tough instead of tender. A few small lumps are okay and will bake out.
#2 Warm your ingredients
Make sure your eggs, butter, and milk are at room temperature before mixing to help everything combine smoothly and create a better crumb.
#3 Check your cocoa powder
If your cocoa powder is a bit old or clumpy, sift it before measuring to ensure even mixing and to avoid patches of dry powder in the batter.
#4 Use an offset spatula for frosting
When spreading the frosting, an offset spatula helps you achieve the smooth, glossy finish that gets that inviting bakery look without marring the cake’s surface.
#5 Cool the cake before frosting
Let the cake cool completely before applying the frosting to avoid melting it or making it soggy. Patience pays off with a cleaner, shinier finish.
#6 Store the cake properly
To keep the cake moist and fresh, wrap it tightly with plastic wrap or store it in an airtight container at room temperature for up to 3 days. It also freezes beautifully if you want to save some for later.
Helpful Tools & Supplies
Whether you’re just dipping your toes into the world of fresh milled flour or you’re a seasoned home baker, I’ve taken the guesswork out of what you truly need. All of these tools and resources are available in my shop, designed to help your journey be smooth and nourishing:
Grain Mills
- NutriMill Classic Grain Mill – My go-to for fine, consistent milling; perfect for sandwich breads and everyday baking.
- NutriMill Harvest Grain Mill – Stone-ground elegance: this model delivers whole-grain flavor with a beautiful appearance.
Mixers
- Ankarsrum Mixer – A powerhouse kitchen companion with multiple speeds and attachments—ideal for kneading bread dough effortlessly.
Baking & Bread Tools
- Bread Bow Knife – Artisan-made with a high-carbon steel blade and cherry wood handle—this knife slices loaves with ease.
- Sourdough Essentials Kit With Starter – Complete starter kit that includes dehydrated sourdough starter, banneton baskets, a dough whisk, scoring lame, and more.
Cookbooks & eBook Bundles
- Everyday Whole Grains Vol. 1 & 2 (printed & digital) – Packed with 70+ recipes built around fresh milled flour, from breads to snacks and desserts.
- The Fresh Breads Bundle – A comprehensive set including eBooks like The Perfect Loaf, the Cookie Jar, bulk baking guides, and a sourdough mini‑course—all centered on fresh milled flour.
- Freshly Milled Made Simple Guide – A video-based guide that walks you through milling and baking basics, making the process feel easy and approachable.
Specialty Items
- Dehydrated Sourdough Starter – Just add water and flour to rehydrate this starter—perfect for bakers without an active sourdough culture.
- I Knead Fresh Flour Mug – A charming, handmade 12 oz ceramic mug—great for coffee breaks during dough rising!
Why These Are Worth It
Every tool in this collection has been personally vetted to support you in baking with fresh milled flour. From the grain mills that make your flour, to mixers that knead dough, to resources that teach you every step—it’s all here to make sure your homemade bread journey is joyful, nourishing, and successful.
➡️ Explore all of these items and more in the Generation Acres Farm Shop — your one-stop spot for fresh milled flour baking essentials.
Equipment:
Mixing bowls
Measuring cups and spoons
Stand mixer or hand mixer
Grain mill (or substitute flour)
9×13-inch baking pan or cake pan
Offset spatula
Cooling rack
How to Make the Most Delicious Hostess Sheet Cake
Ingredients –
Cake Batter:
- 1 ⅔ cups maple sugar or sugar (300 grams)
- ¼ cup melted butter (58 grams)
- ¼ cup avocado oil (50 grams)
- 2 teaspoons vanilla extract
- 2 eggs
- 2 ½ cups fresh milled soft white wheat flour, finely milled (288 grams)
- 2 teaspoons baking soda
- 1 ½ teaspoons baking powder
- ½ teaspoon salt
- 3/4 cup unsweetened cocoa powder (75 grams)
- 1 cup strong, brewed coffee or hot water (255 grams)
- 1 cup whole milk (266 grams)
Filling:
- 1 cup softened butter (230 grams)
- 3 cups powdered sugar (300 grams)
- 2 teaspoons vanilla extract
- 2-4 tablespoons milk
Chocolate Frosting:
- ¾ cup softened butter (173 grams)
- 3 cups powdered sugar (300 grams)
- ¾ cup cocoa powder
- 2-4 tablespoons heavy cream
- 1 teaspoon vanilla extract
Directions –
- Preheat the oven to 350 degrees F.
- Line one or two 9 x 13 inch pans with parchment paper. If using one pan, you will need to cut the cake in half horizontally.

- In the bowl of a stand mixer, combine the butter, sugar, oil, vanilla, and eggs on medium speed.
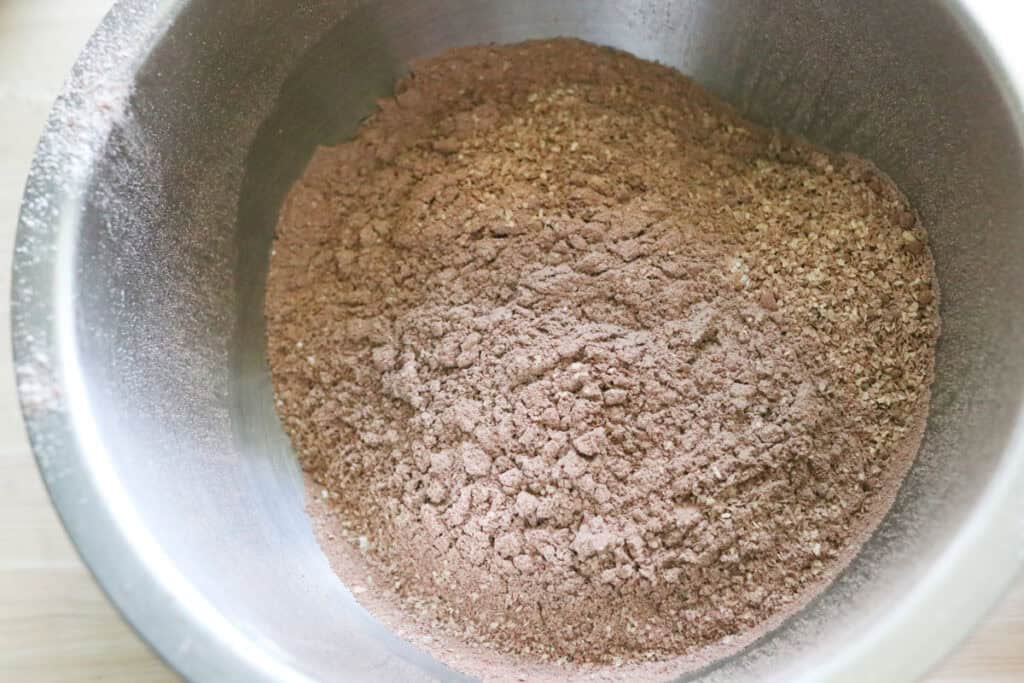
- In a separate bowl, sift the flour, cocoa powder, baking soda, baking powder, and salt together. Be sure to add the bran from the flour back in.
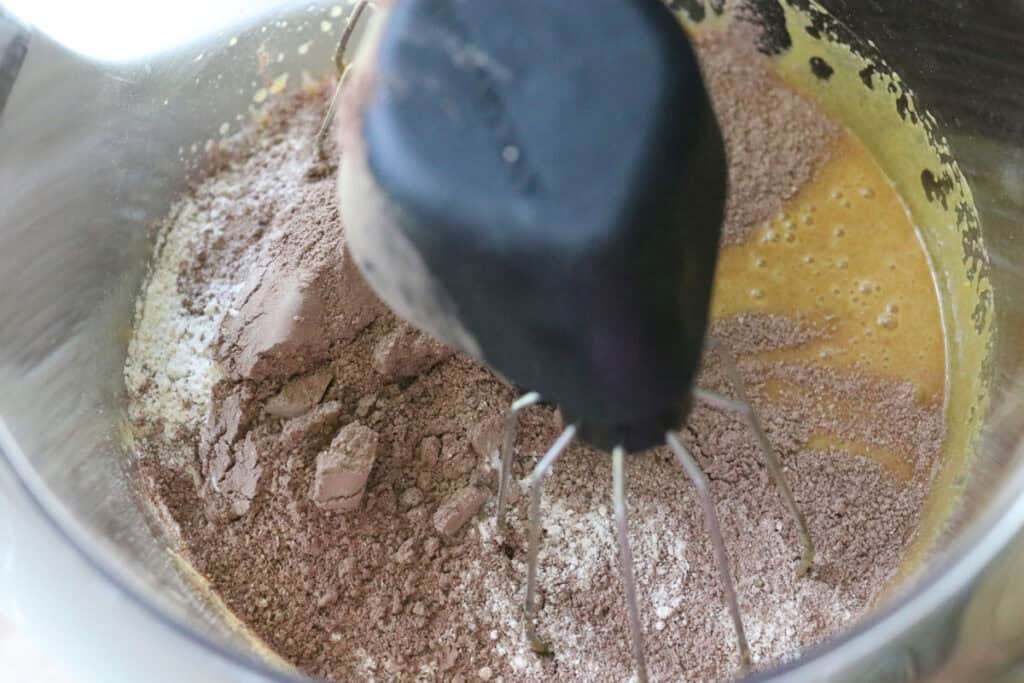
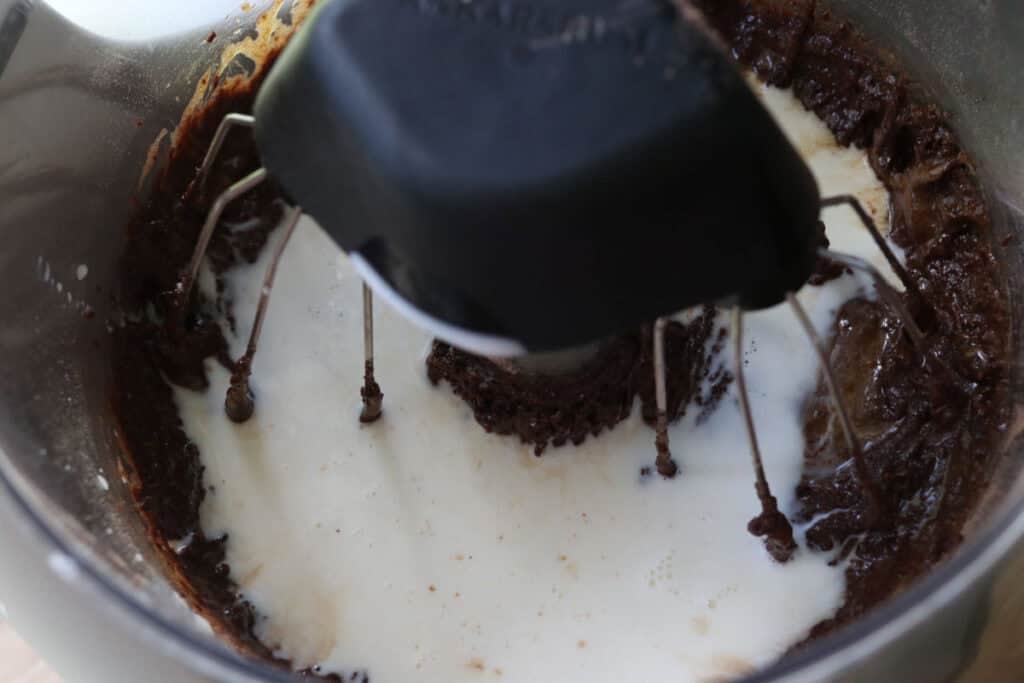
- Add half of the dry ingredients into the bowl of the stand mixer and combine. Add the milk and mix to combine.
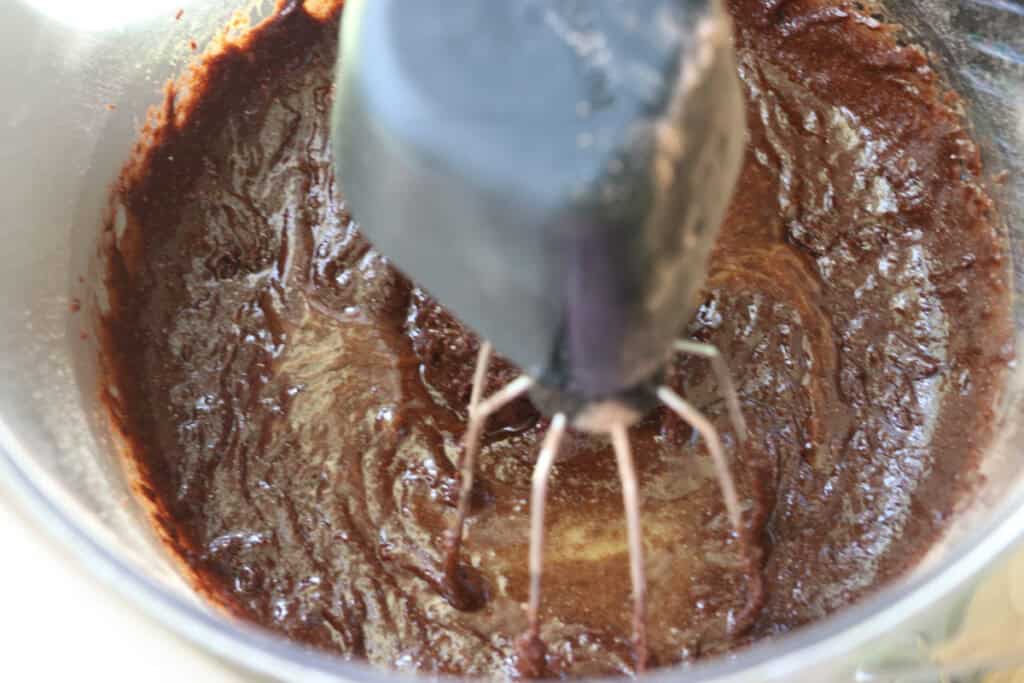
- Add the remaining dry ingredients and mix together. Then add the coffee and mix until combined.
- Evenly pour batter into the two pans (unless you are using one pan).
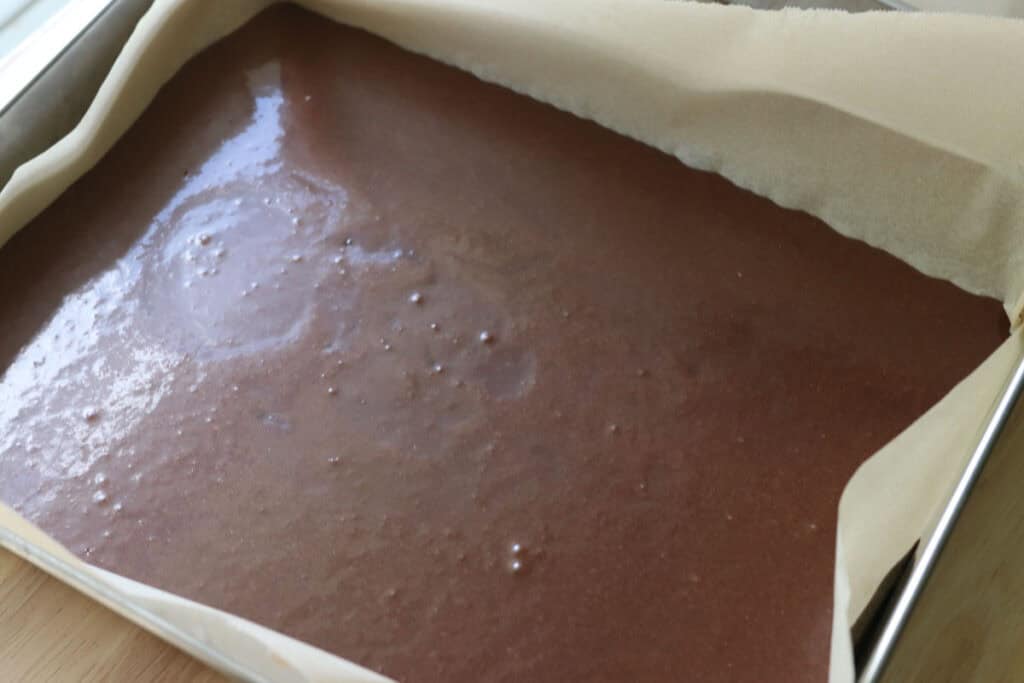
- Bake for 18-22 minutes (bake for 25-30 minutes if using one pan).

- Allow the cakes to cool for 10-20 minutes then carefully remove from the pan and cool on a wire rack (if using one pan, slice the cake in half horizontally after it has cooled completely).

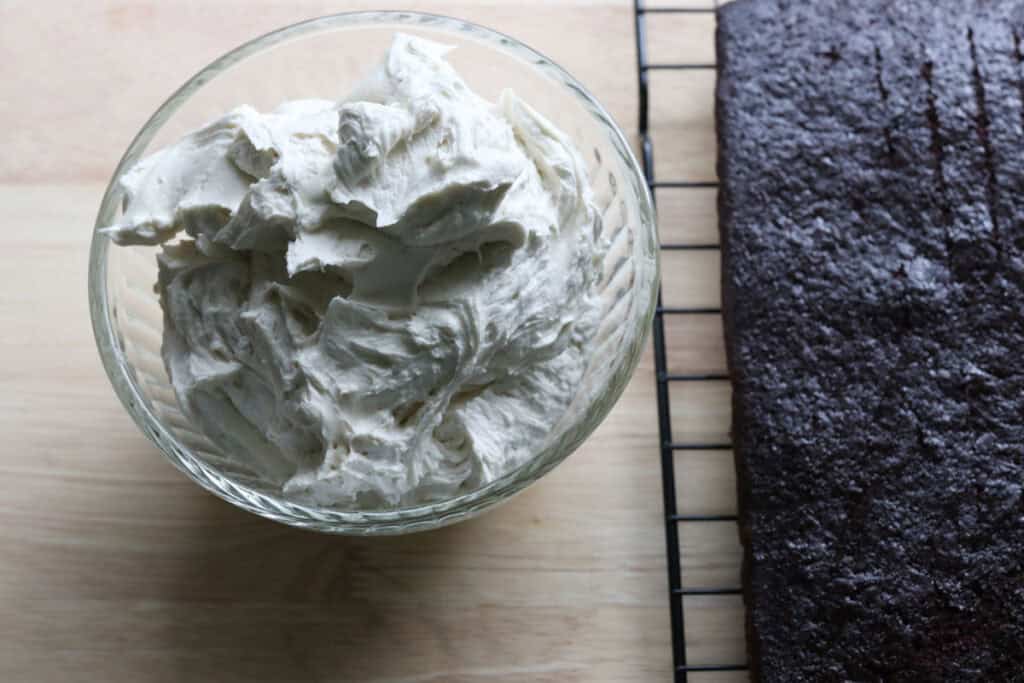
- Prepare the filling by creaming the butter in the bowl of a stand mixer, then add the remaining ingredients. Beat until fluffy. Add more or less milk depending on the consistency. Reserve ¼ cup of frosting for the loops on top.
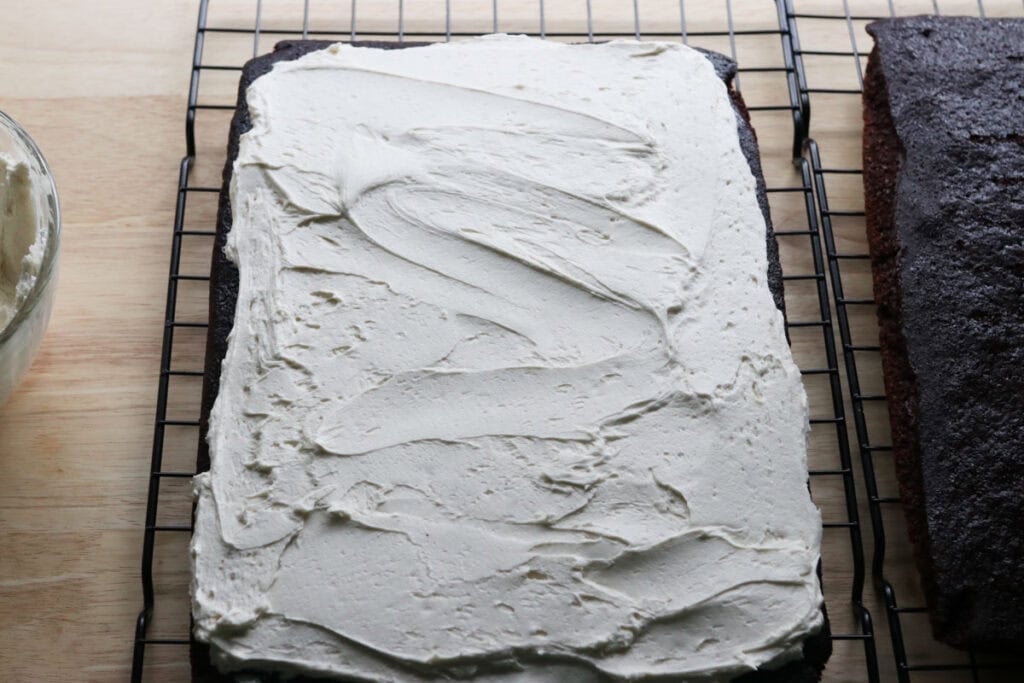
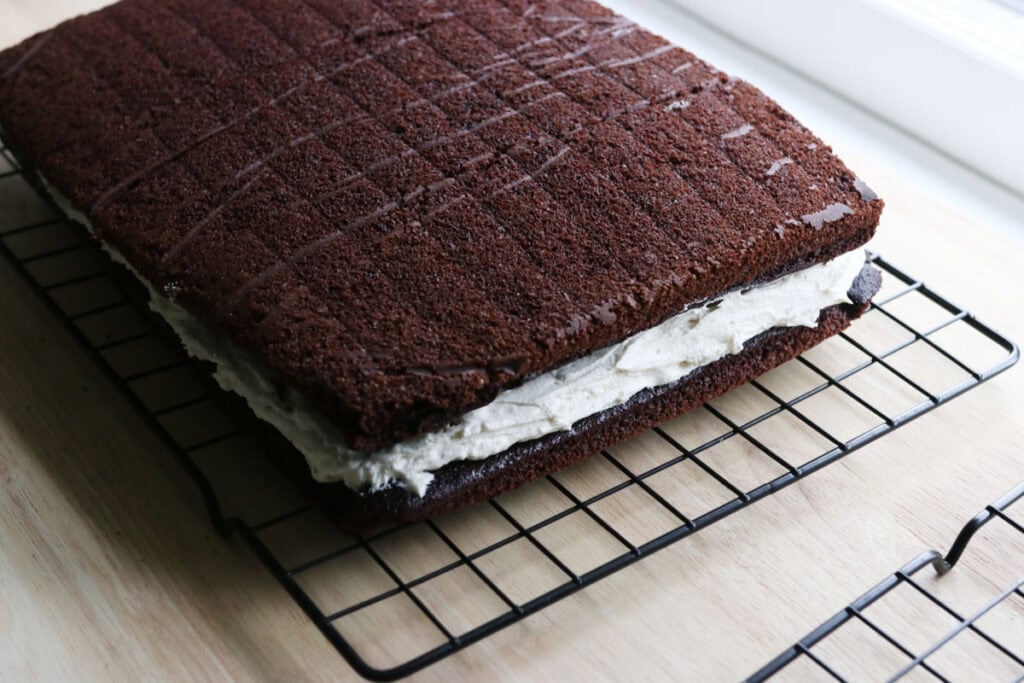
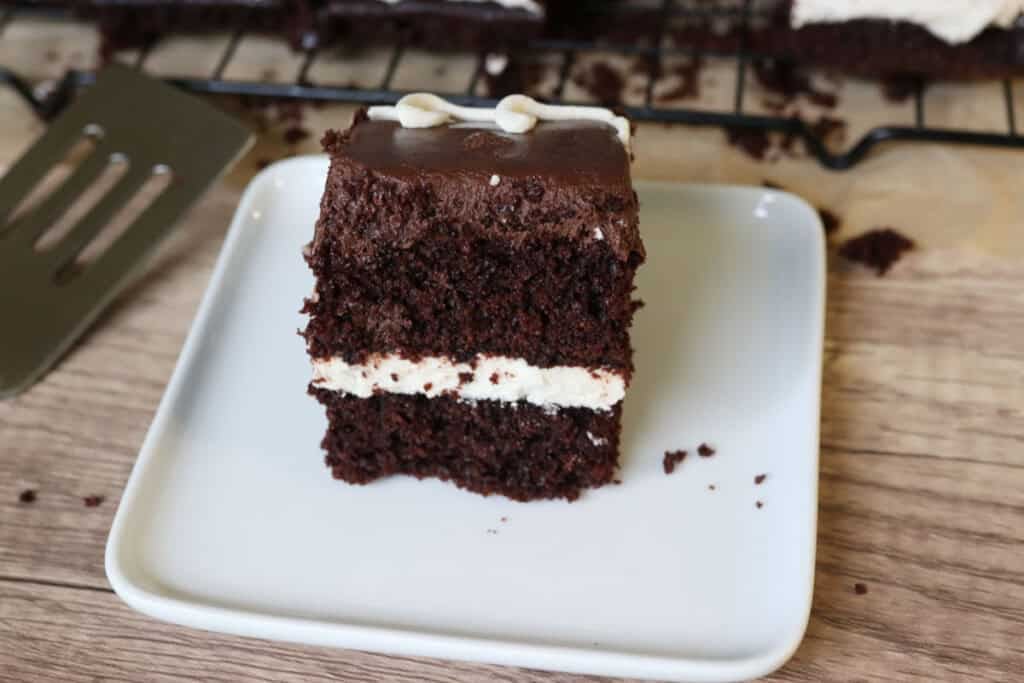
- Spread the filling onto one of the cake layers, then place the second cake layer on top.
- Refrigerate for 30 minutes to 1 hour.
- Prepare the chocolate frosting by creaming the butter in the bowl of a stand mixer. Add the remaining ingredients and beat until fluffy. Add more or less milk depending on the consistency.

- Spread the icing on top of the cake. To get a smoother look, use a frosting knife or spoon and dip it in water as you run it along the top of the cake. Continue dipping in water as you do this.
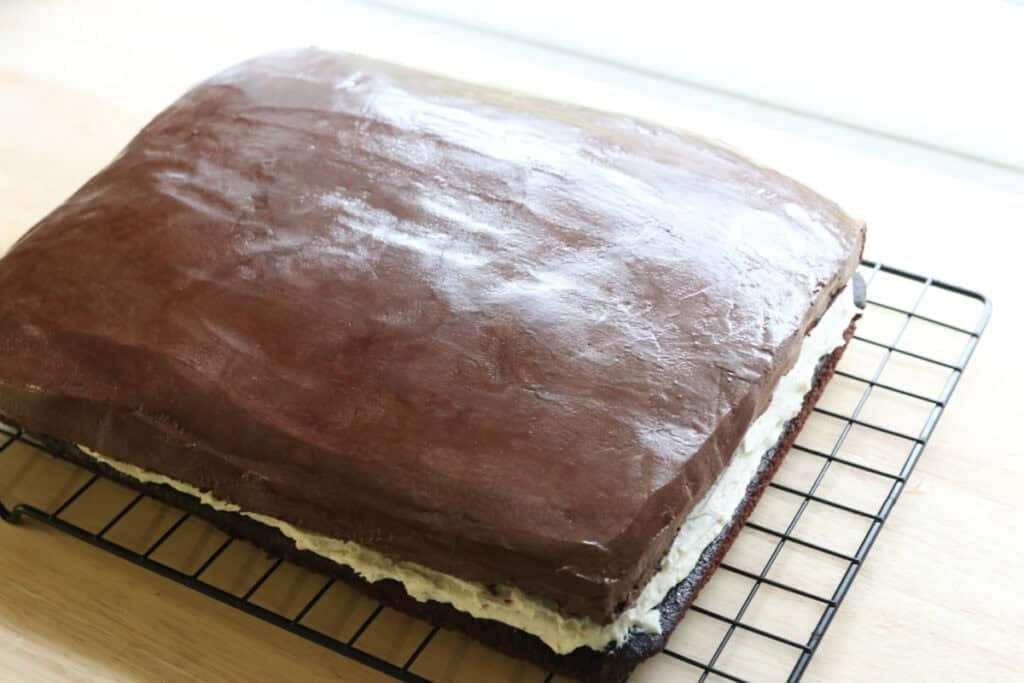
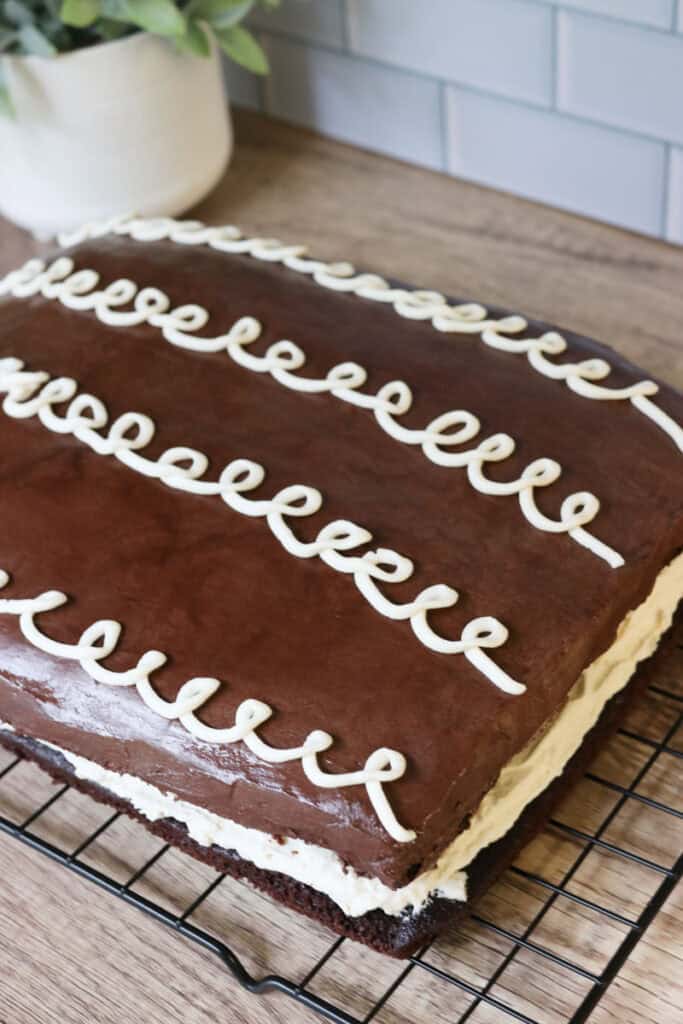
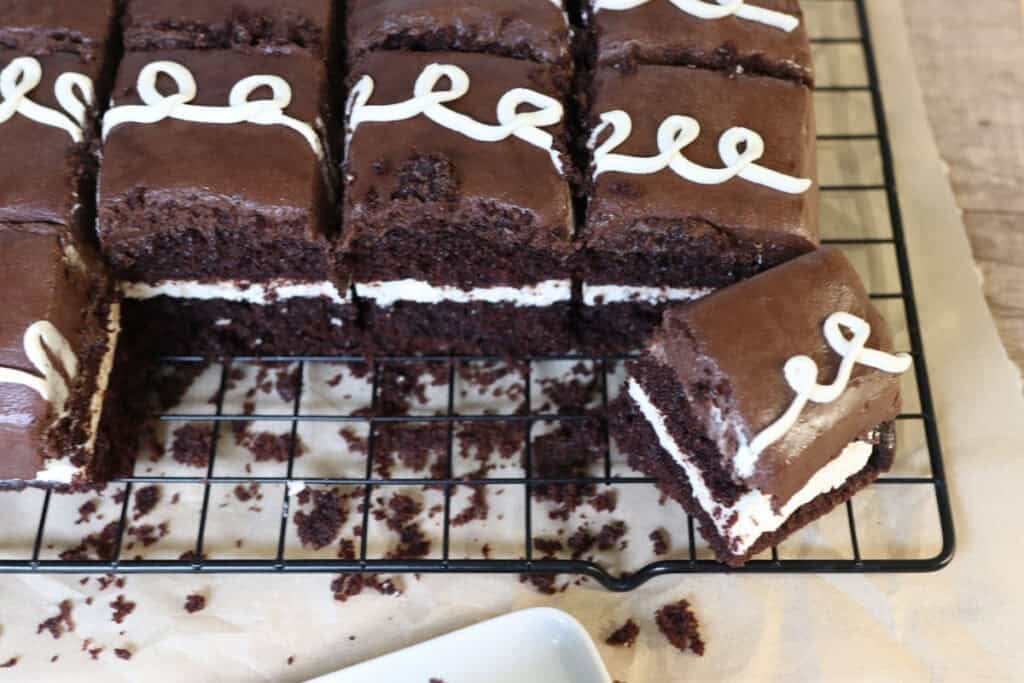
- Place the reserved filling in a bag with a piping tip or cut the corner off of a plastic bag and create 4 rows of horizontal loops across the cake.
Recipe Variations
Gluten-Free Version:
Swap out fresh milled wheat flour for a gluten-free flour blend that works in baking. You might need to add a little xanthan gum to help bind the ingredients.
Add Espresso:
Mix in a teaspoon of instant espresso powder with the cocoa for a deeper mocha flavor that complements the chocolate beautifully.
Coconut Butter Frosting:
Try substituting part of the butter in the frosting with coconut butter for a subtle tropical twist and rich texture.
Nutty Crunch:
Top the frosted cake with chopped toasted pecans or walnuts for a delightful contrast in texture and an extra flavor note.
Mini Cakelets:
Pour the batter into muffin tins for individual mini cakes—perfect for sharing or portion control.
Flavor Boosters
Brown Butter
Browning the butter before adding it to the batter lends a toasty, nutty depth that enhances the fresh milled flour’s natural profile.
Vanilla Bean Paste
Using vanilla bean paste instead of extract adds little flecks of real vanilla seed and a more intense, aromatic vanilla flavor.
Sea Salt Sprinkle
A light sprinkle of flaky sea salt on top of the frosting creates an enticing sweet and salty contrast that wakes up your taste buds.
Cinnamon
Adding a dash of cinnamon to the batter enriches the warm flavor profile and pairs beautifully with the cocoa and nutty flour.
What To Serve With Hostess Sheet Cake
Cold Milk
A classic pairing, cold milk cuts through the richness and complements the chocolate with a creamy chill.
Whipped Cream
Lightly sweetened whipped cream adds a fluffy, airy contrast to the dense, moist cake.
Fresh Berries
Bright and slightly tart berries balance the sweetness and add a fresh, juicy note to every bite.
Coffee
A freshly brewed coffee or espresso pairs perfectly with this rich chocolate cake, making for a cozy, indulgent treat.
Vanilla Ice Cream
A scoop of creamy vanilla ice cream melts deliciously alongside a warm slice, turning it into a dessert worthy of any celebration.
Troubleshooting Common Problems with this Recipe
Cake Turns Out Dense
If your cake seems too dense, be sure not to overmix the batter and check that your flour is not packed tightly when measuring. Sifting the flour before mixing can also help lighten the texture.
Batter Is Too Thick
Sometimes fresh milled flour can absorb more liquid. If your batter feels unusually thick, gently add a tablespoon of milk to reach the right consistency.
Frosting Is Too Runny
Warm kitchen temperatures or too much liquid in the frosting can cause it to lose structure. Cool your butter before whipping and add powdered sugar gradually to reach the perfect spreadable texture.
Cake Sticks to Pan
Make sure to grease and flour the pan well, or line it with parchment paper for easy removal. Let the cake cool sufficiently before attempting to lift it out.
Cake Lacks Chocolate Punch
Use cocoa powder that’s fresh and properly stored; old or low-quality cocoa powder can dull the flavor.
Freezing & Storing Leftovers
Freezing:
Allow the cake to cool completely before wrapping it tightly in plastic wrap and aluminum foil. Freeze the cake for up to 2 months. When ready to enjoy, thaw at room temperature, then frost if desired.
Storing:
Keep the cake covered at room temperature for up to 3 days. For longer storage, refrigerate it, but bring to room temperature before serving for best texture and flavor.
Extra FAQs
Can I mill other grains for this cake?
Yes, you can try milling spelt, kamut, or even oat flour, but each will affect the texture and flavor slightly. Spelt adds nuttiness, while kamut adds a more sweet and buttery flavor.
Is the cake gluten-free if I use fresh milled flour?
No, most fresh milled flour typically contains gluten unless you specifically mill gluten-free grains. For gluten-free cakes, use certified gluten-free flours.
How do I know when the cake is done?
Insert a toothpick into the center; it should come out clean or with a few moist crumbs. The edges should start pulling away from the pan slightly.
Can I double this recipe?
Yes, doubling works well. Use a larger baking pan or two pans and adjust the baking time accordingly, checking for doneness.
Delicious Hostess Sheet Cake with Fresh Milled Flour
Ingredients
Cake Batter:
- 1 ⅔ cups maple sugar or sugar 300 grams
- ¼ cup melted butter 58 grams
- ¼ cup avocado oil 50 grams
- 2 teaspoons vanilla
- 2 eggs
- 2 ½ cups fresh milled soft white wheat flour finely milled 288 grams
- ¾ cup cocoa powder 75 grams
- 2 teaspoons baking soda
- 1 ½ teaspoons baking powder
- ½ teaspoon salt
- 1 cup strong brewed coffee or hot water 255 grams
- 1 cup whole milk 266 grams
Filling:
- 1 cup softened butter 230 grams
- 3 cups powdered sugar 300 grams
- 2 teaspoons vanilla
- 2-4 tablespoons milk
Chocolate Frosting:
- ¾ cup softened butter 173 grams
- 3 cups powdered sugar 300 grams
- ¾ cup cocoa powder
- 2-4 tablespoons milk
- 1 teaspoon vanilla
Instructions
- Preheat the oven to 350 degrees F.
- Line one or two 9 x 13 inch pans with parchment paper. If using one pan, you will need to cut the cake in half horizontally.
- In the bowl of a stand mixer, combine the butter, sugar, oil, vanilla, and eggs.
- In a separate bowl, sift the flour, cocoa powder, baking soda, baking powder, and salt together. Be sure to add the bran from the flour back in.
- Add half of the dry ingredients into the bowl of the stand mixer and combine. Add the milk and mix to combine.
- Add the remaining dry ingredients and mix together. Then add the coffee and mix until combined.
- Evenly divide the batter between the two pans (unless you are using one pan).
- Bake for 18-22 minutes (bake for 25-30 minutes if using one pan).
- Allow the cakes to cool for 10-20 minutes then carefully remove from the pan and cool on a baking rack (if using one pan, slice the cake in half horizontally after it has cooled completely).
- Prepare the filling by creaming the butter in the bowl of a stand mixer, then add the remaining ingredients. Beat until fluffy. Add more or less milk depending on the consistency. Reserve ¼ cup of frosting for the loops on top.
- Spread the filling onto one of the cake layers, then place the second cake layer on top.
- Refrigerate for 30 minutes to 1 hour.
- Prepare the chocolate frosting by creaming the butter in the bowl of a stand mixer. Add the remaining ingredients and beat until fluffy. Add more or less milk depending on the consistency.
- Spread the icing on top of the cake. To get a smoother look, use a frosting knife or spoon and dip it in water as you run it along the top of the cake. Continue dipping in water as you do this.
- Place the reserved filling in a bag with a piping tip or cut the corner off of a plastic bag and create 4 rows of horizontal loops across the cake.

You don’t give the ccoa powder measurements anywhere in the recipe! Can you please fix this? I’m in the middle of baking this dessert and now have to guess at the amount.
Hi, I just checked and the cocoa powder amounts are listed…
Hi. Are you measuring the berries adore grinding or are you measuring the flour after milling? So for instance, you say 288 grams (2 1/2 cups). Is that the flour weighed/measured after being milled?
That’s the flour weight