
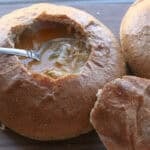
Homemade Soup Bread Bowls with Fresh Milled Flour
This post may contain affiliate links. Please read our Disclosure Policy.
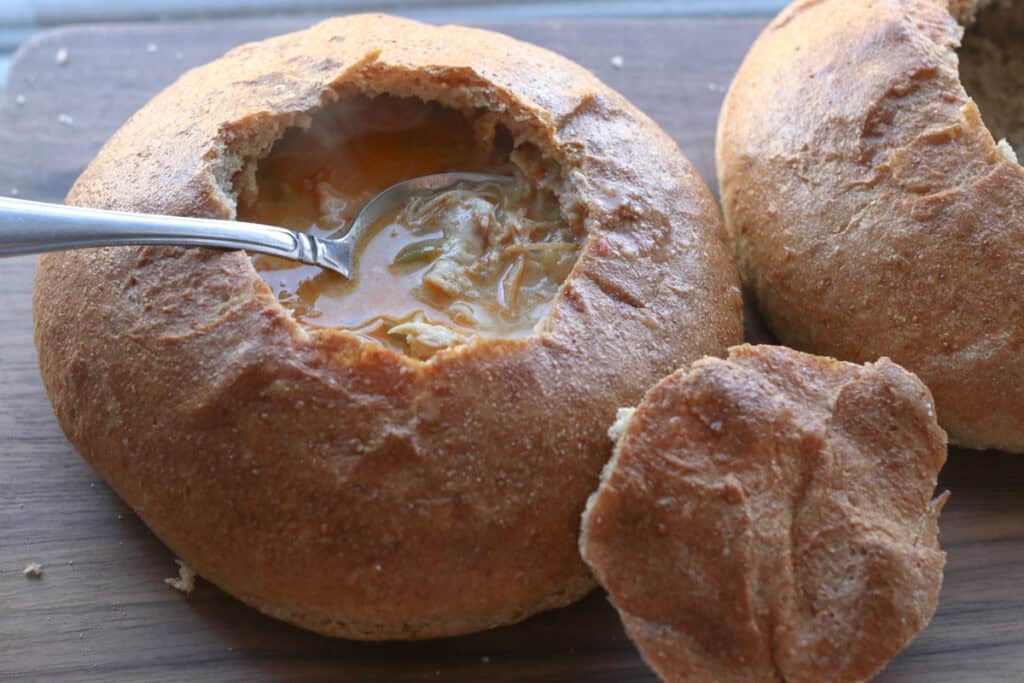
Easy homemade bread bowls made with fresh milled flour bring a warm, rustic charm to any meal. Not only do they provide a delightful edible vessel, but they also reward your cooking efforts with richer flavor and texture that pre-made bread just can’t match. This recipe isn’t just about the soup—it’s about the whole experience, from the earthy aroma of freshly ground grains to the satisfying crunch of your perfectly delicious bread bowls. It’s a little bit of magic that turns a cozy meal into something memorable. If you’ve ever hesitated to bake your own bread, this could be the recipe that nudges you into the delicious world of homemade goodness.
What Makes This Recipe Great
Fresh milled flour enhances flavor and nutrition.
Using freshly milled flour means the bread bowls boast an incredibly rich, nutty flavor that you just don’t get from store-bought flour. Plus, you’re getting the most health benefits since freshly milled flour keeps all the wheat’s natural oils and nutrients intact.
Perfect for hearty soups and stews.
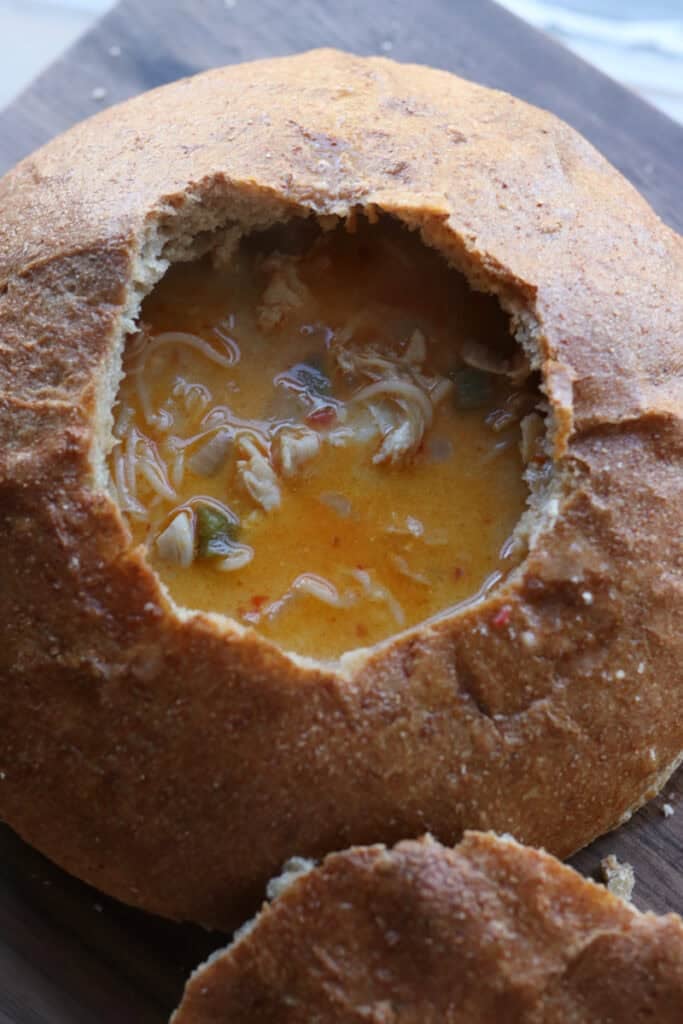
These perfectly crusty bread bowls are sturdy and hollowed just right to hold thick, chunky soups without getting soggy too quickly. Plus, they add an extra dose of comforting carbs that elevate your meal from simple to satisfying.
A fun, hands-on baking project.
Making these bread bowls from scratch is a delightful adventure, especially when you get to mill your own flour. It’s an approachable way to experiment in the kitchen, and even if your first bowl isn’t perfectly round, the taste will make you feel like a pro.
Be sure to try this parmesan pesto star bread or these brioche burger buns for more fresh milled recipes!
Overview of Ingredients
Fresh Milled Flour
The star of this recipe is the freshly milled flour, which you can get by grinding whole grains at home using a grain mill. For convenience, all-purpose flour can substitute but expect a slightly less pronounced flavor.
Yeast
Instant yeast helps the dough rise beautifully, giving your bread bowls that lovely airy texture. If you only have instant yeast, you can use it too—just mix it directly with the flour without proofing in water first.
Salt
Salt enhances the flavor and tightens the dough’s gluten structure for better chewiness.
Melted butter
Adding butter enriches the dough’s texture and adds a subtle fruitiness. If you prefer, olive oil or avocado oil can be used instead without changing the bread bowl’s structure.
Tips for Success
#1 Use freshly milled flour right away
For the best results, bake your bread bowls the same day you mill your flour. Flour can begin to lose its vibrant flavor and nutrients quickly once ground, so fresh is always best.
#2 Let the dough rise twice
Patience is key. A first rise develops flavor and gluten, while a second rise after shaping the dough into bowls ensures a fluffy interior with just the right crust thickness.
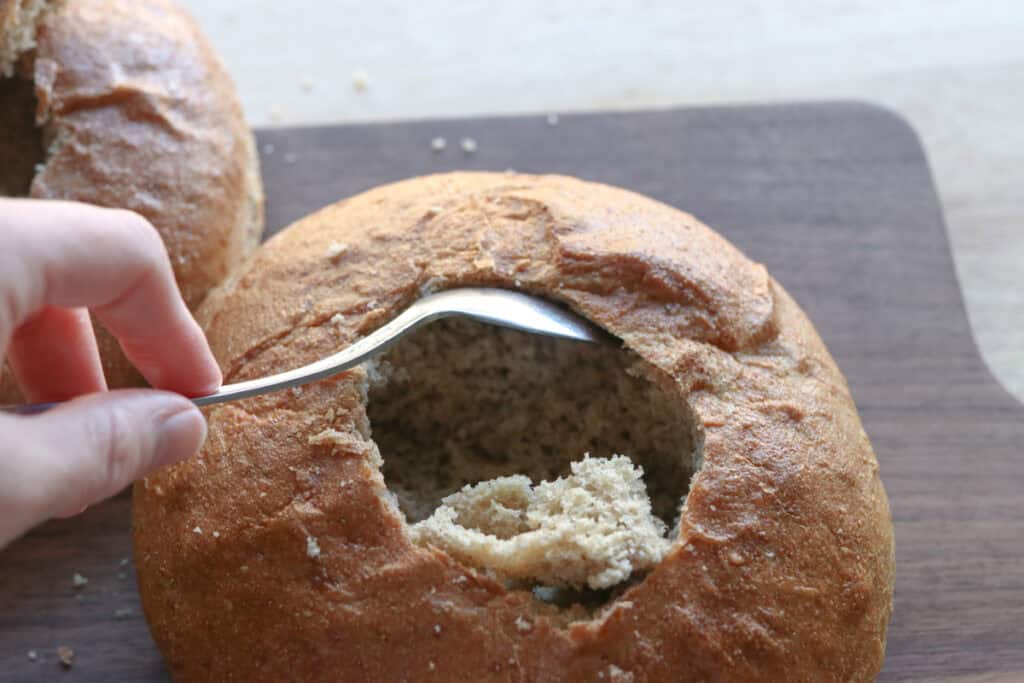
#3 Be gentle when hollowing the bowls
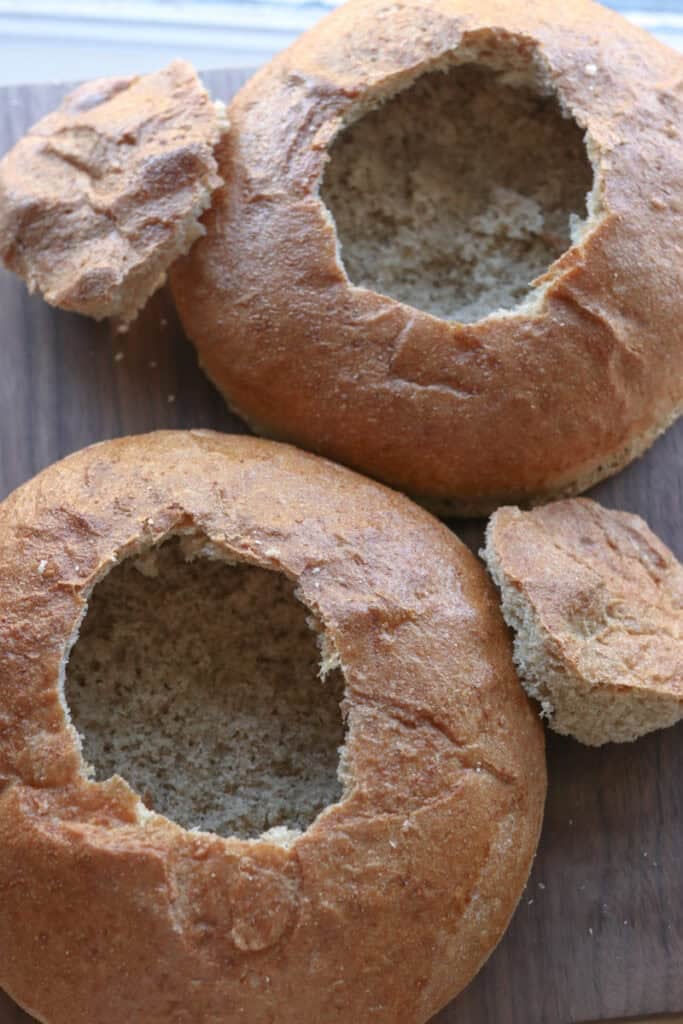
Use a small serrated knife or your hands to carefully remove the center of the baked bowl, leaving a sturdy wall to hold your soup without breaking or leaking.
#4 Preheat your oven thoroughly
Make sure the oven reaches the desired temperature before baking so the bread puffs up nicely and develops a golden crust rather than drying out.
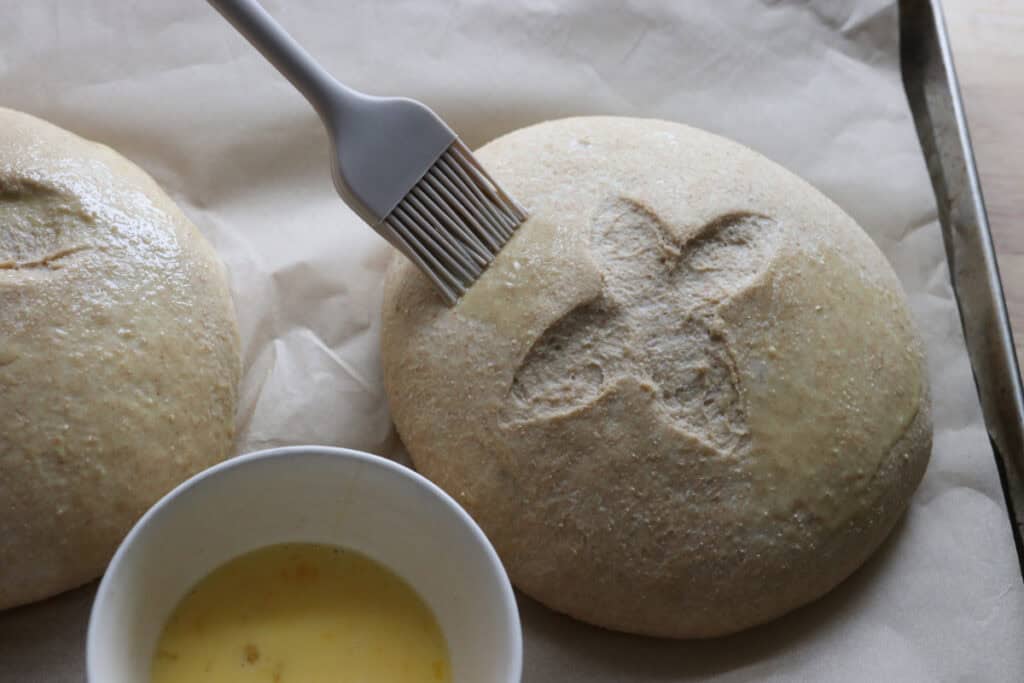
#5 Brush the crust with an egg wash
A light brush before baking adds a beautiful shine and extra crunch, making your bread bowls look as good as they taste.
Helpful Tools & Supplies
Whether you’re just dipping your toes into the world of fresh milled flour or you’re a seasoned home baker, I’ve taken the guesswork out of what you truly need. All of these tools and resources are available in my shop, designed to help your journey be smooth and nourishing:
Grain Mills
- NutriMill Classic Grain Mill – My go-to for fine, consistent milling; perfect for sandwich breads and everyday baking.
- NutriMill Harvest Grain Mill – Stone-ground elegance: this model delivers whole-grain flavor with a beautiful appearance.
Mixers
- Ankarsrum Mixer – A powerhouse kitchen companion with multiple speeds and attachments—ideal for kneading bread dough effortlessly.
Baking & Bread Tools
- Bread Bow Knife – Artisan-made with a high-carbon steel blade and cherry wood handle—this knife slices loaves with ease.
- Sourdough Essentials Kit With Starter – Complete starter kit that includes dehydrated sourdough starter, banneton baskets, a dough whisk, scoring lame, and more.
Cookbooks & eBook Bundles
- Everyday Whole Grains Vol. 1 & 2 (printed & digital) – Packed with 70+ recipes built around fresh milled flour, from breads to snacks and desserts.
- The Fresh Breads Bundle – A comprehensive set including eBooks like The Perfect Loaf, the Cookie Jar, bulk baking guides, and a sourdough mini‑course—all centered on fresh milled flour.
- Freshly Milled Made Simple Guide – A video-based guide that walks you through milling and baking basics, making the process feel easy and approachable.
Specialty Items
- Dehydrated Sourdough Starter – Just add water and flour to rehydrate this starter—perfect for bakers without an active sourdough culture.
- I Knead Fresh Flour Mug – A charming, handmade 12 oz ceramic mug—great for coffee breaks during dough rising!
Why These Are Worth It
Every tool in this collection has been personally vetted to support you in baking with fresh milled flour. From the grain mills that make your flour, to mixers that knead dough, to resources that teach you every step—it’s all here to make sure your homemade bread journey is joyful, nourishing, and successful.
➡️ Explore all of these items and more in the Generation Acres Farm Shop — your one-stop spot for fresh milled flour baking essentials.
Equipment:
Stand Mixer
Measuring Cups and Spoons
Kitchen Scale (optional but recommended for accuracy)
Clean Kitchen Towels or Plastic Wrap
Baking Sheet or Oven-Safe Dish
Sharp Knife
How to Make Homemade Soup Bread Bowls with Fresh Milled Flour
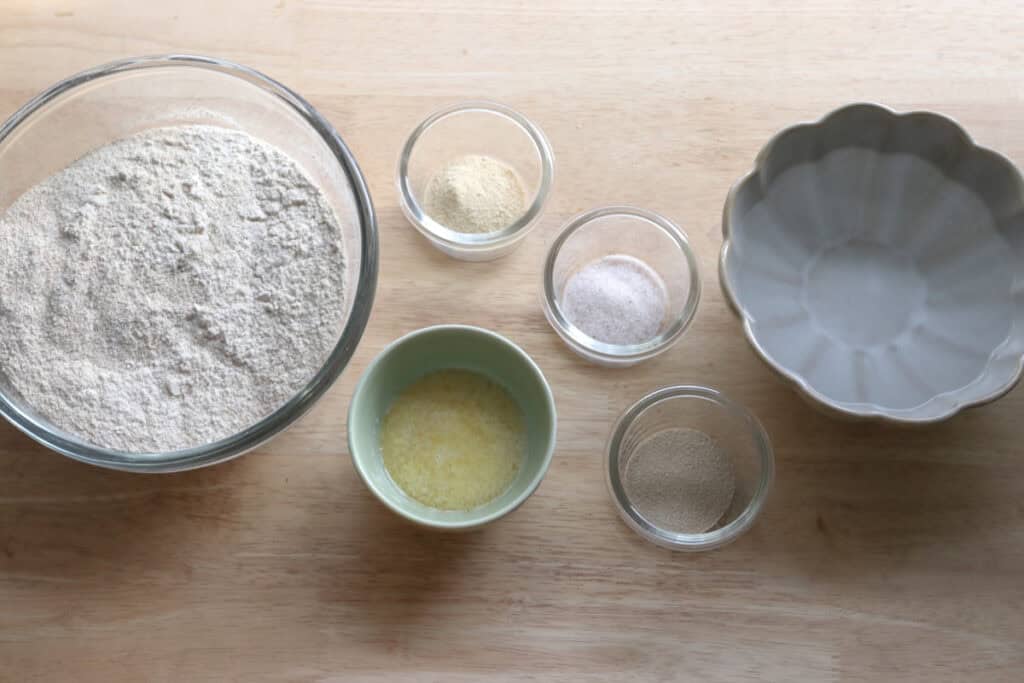
Ingredients:
- 1 ¾ cup warm water
- 3 tablespoons melted butter
- 2 ¼ teaspoons salt
- 1 tablespoon sugar or honey
- 1 tablespoons instant yeast
- 4 cups freshly milled hard white wheat flour, finely milled (520 grams)
- egg for egg wash
Directions:
- In the bowl of a stand mixer, combine the water, butter, salt, and sugar.
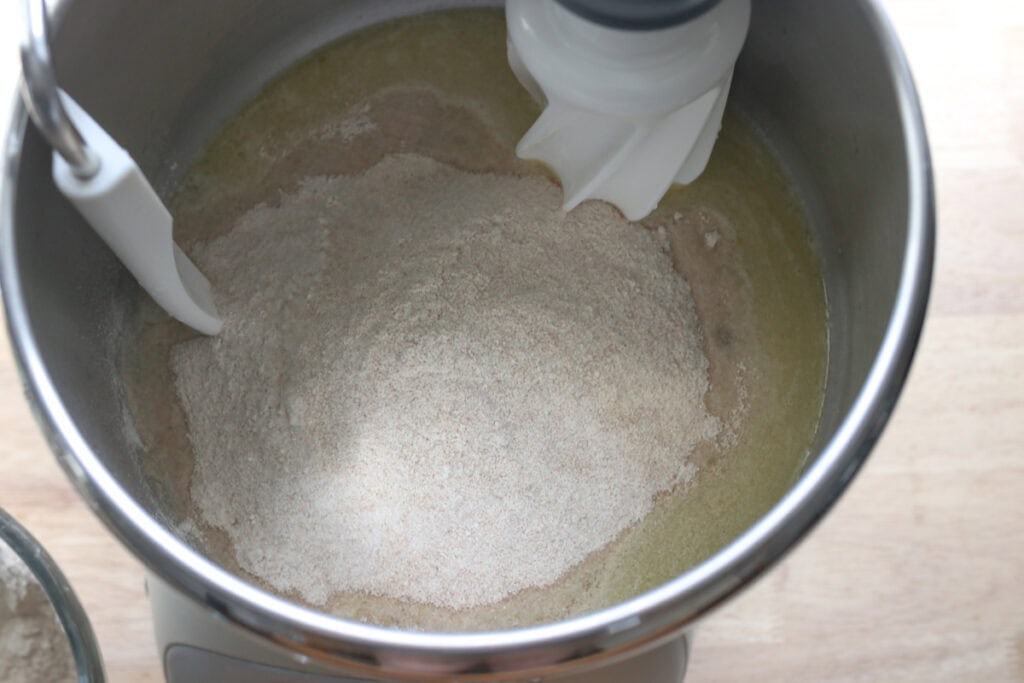
- Add 3 ½ cups flour and combine. Let it rest for 15 minutes.
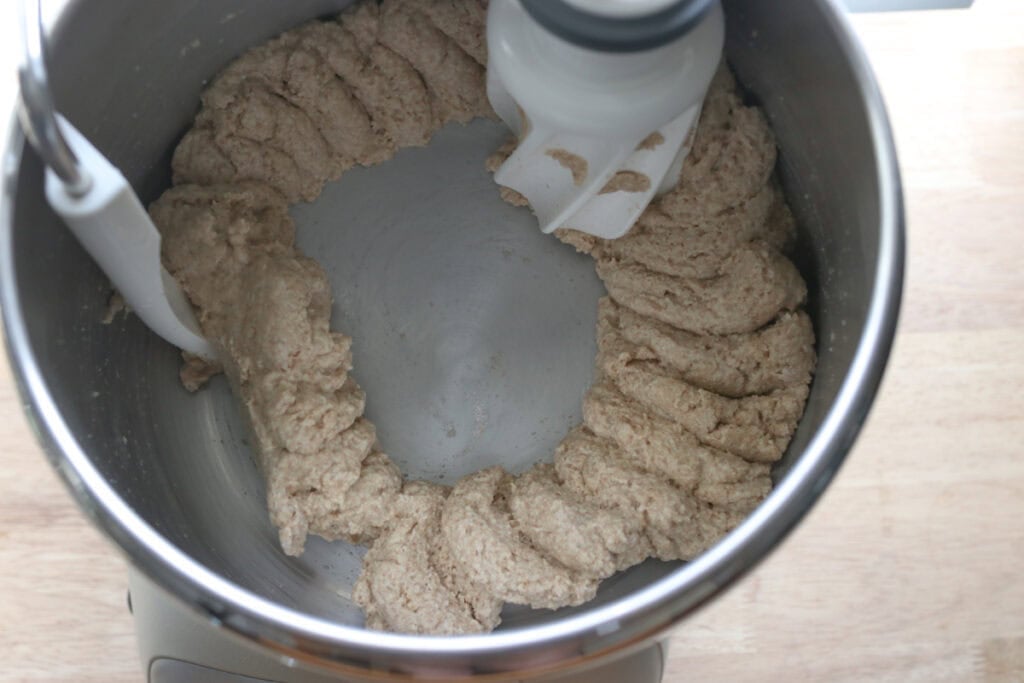
- Add the yeast and remaining flour, if needed. Add a half cup at a time, watching to see when it starts to pull away from the sides of the bowl. Do not add anymore flour once it starts doing this.
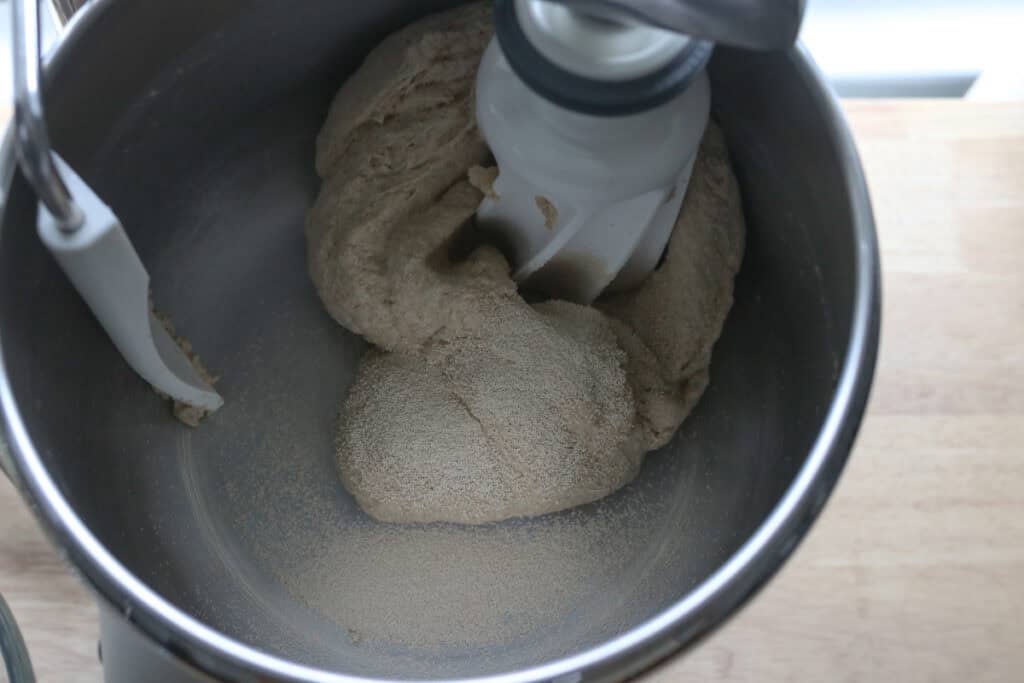
- Knead until the dough is smooth and you reach windowpane. The dough should be smooth and not stick to your fingers when you touch it.
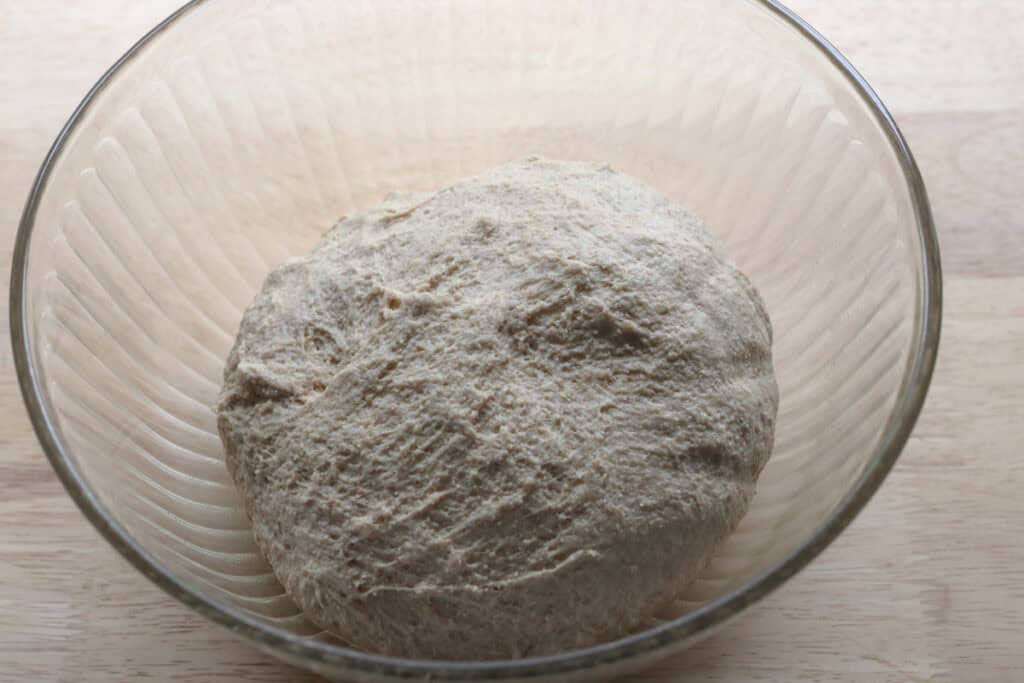
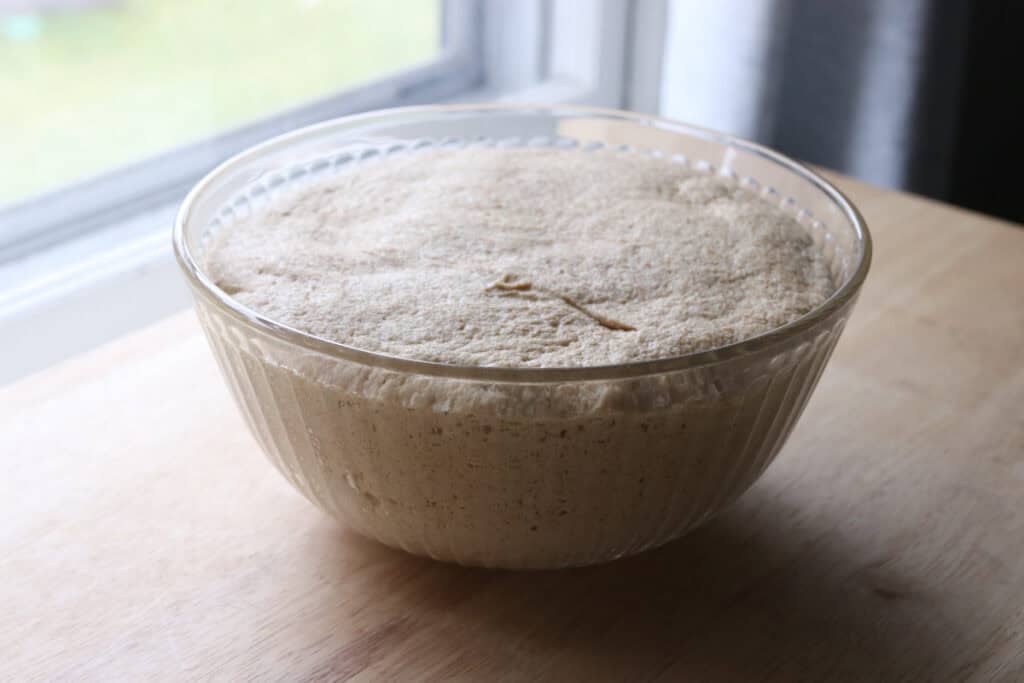
- Place in a large bowl and cover to rise in a warm place until doubled, about an hour.
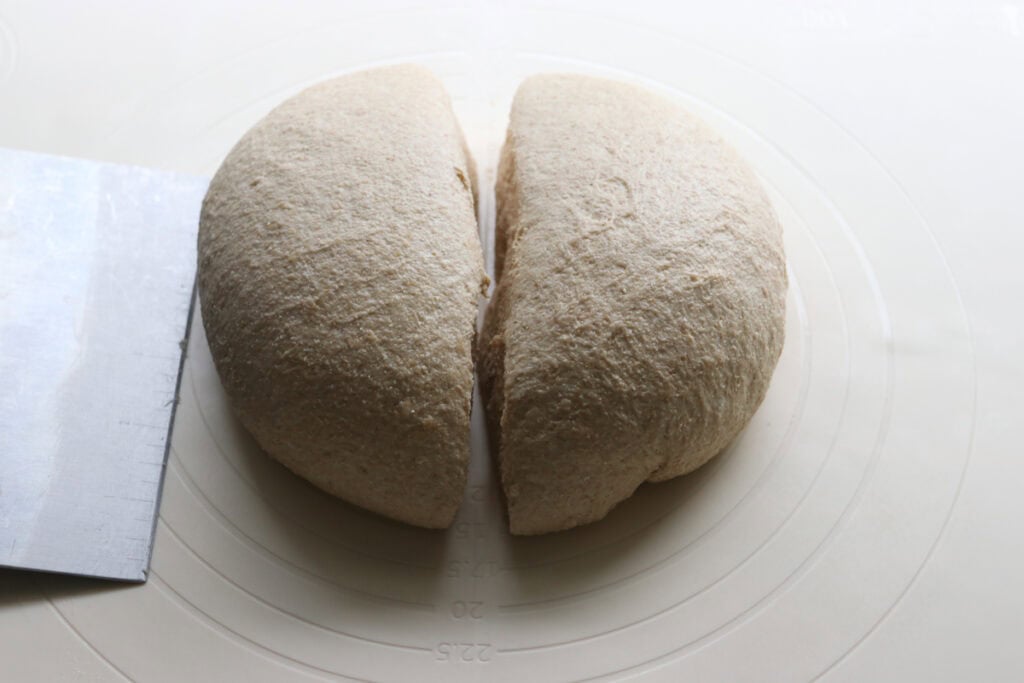
- Once risen, turn out bread dough on an oiled or lightly floured surface. Knead a couple times and shape into a ball. Then, divide it in half or in fourths, depending on how many you are making.
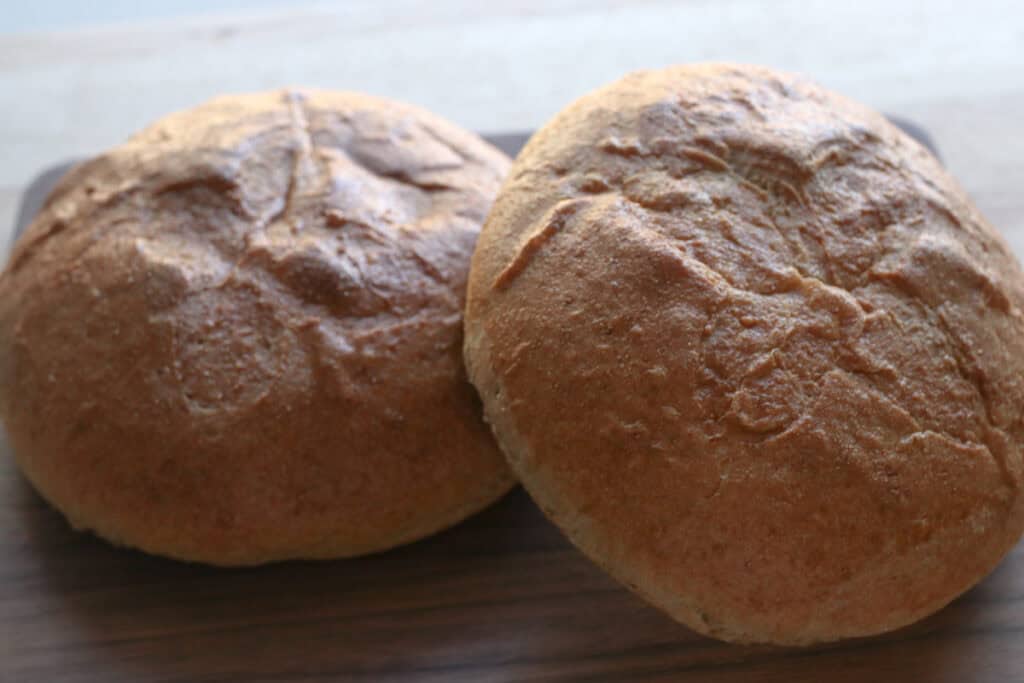
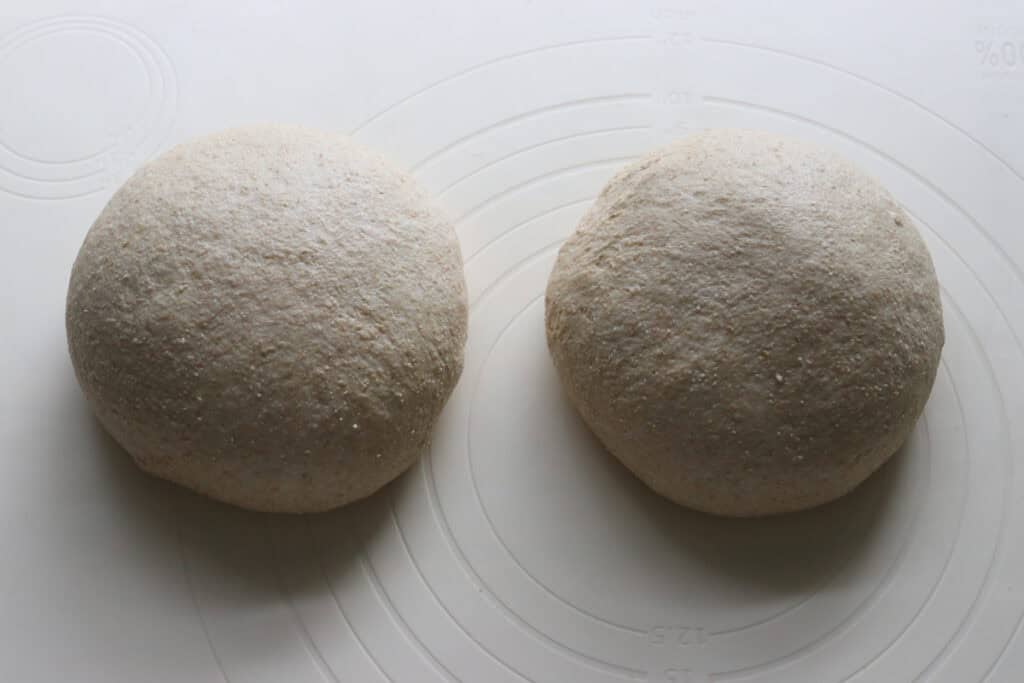
- Knead each dough ball a couple of times, then form into a ball by cupping the top of it and pulling it down toward you. Rotate it and cup and pull until a smooth ball is formed.
- Preheat the oven to 400 degrees F. and line a baking sheet with parchment paper.
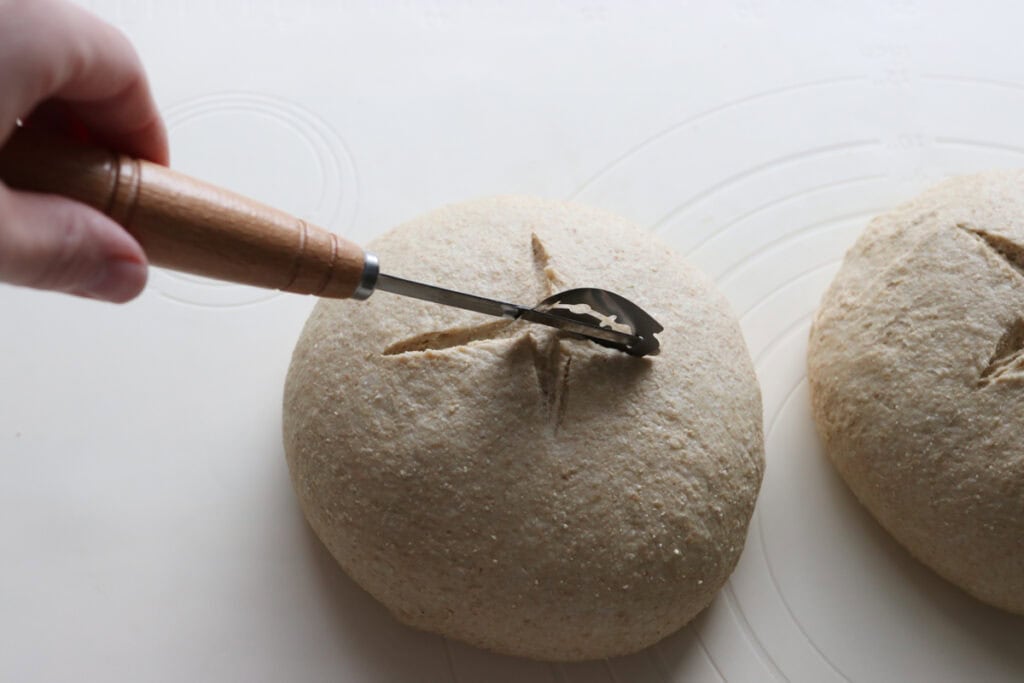
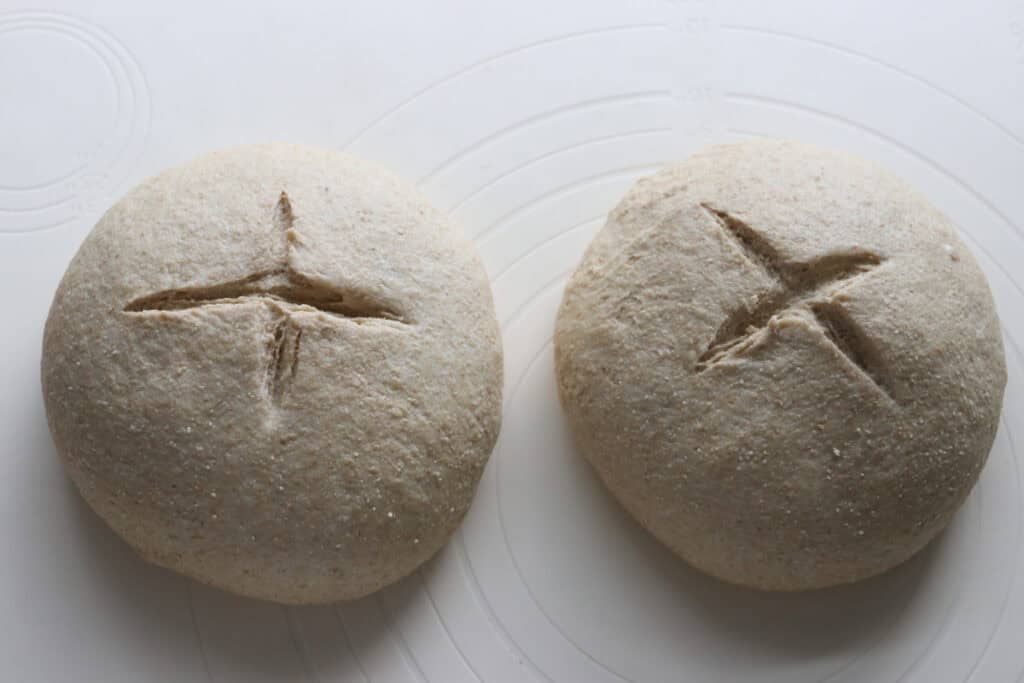
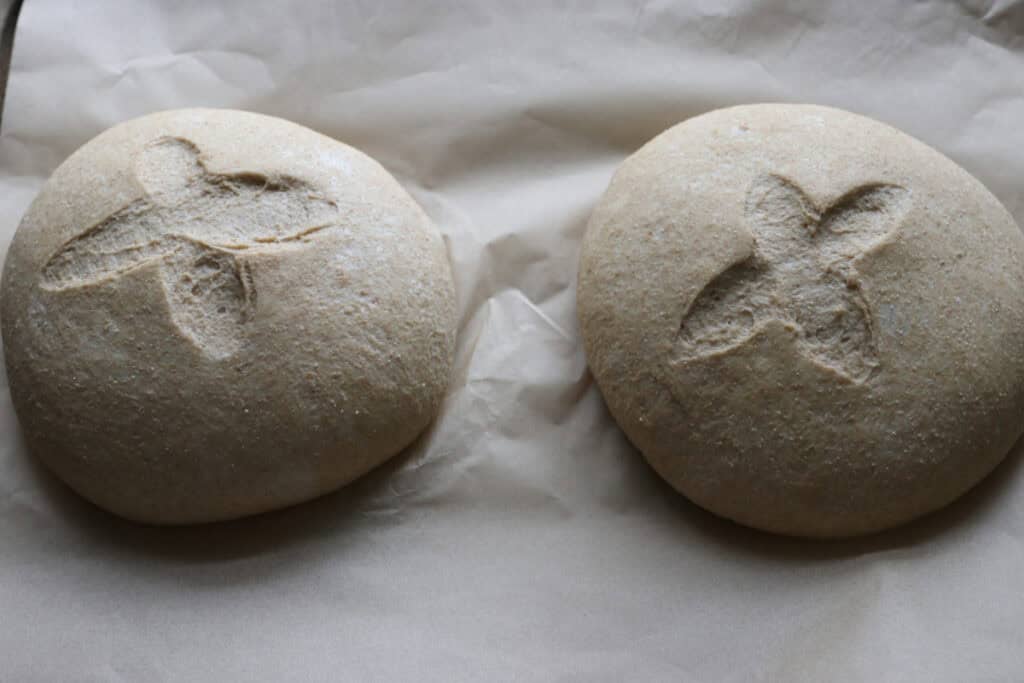
- Cut a small “x” on each one if desired, then place on the prepared baking sheet. Cover and place in a warm spot to rise until puffy, only about 20-25 minutes. Do not let these over proof. You just want them to get puffy.
- Once risen, whisk an egg with a teaspoon of milk or water and brush over each one.
- Bake bread bowls for 18-22 minutes, until they are golden brown all over.
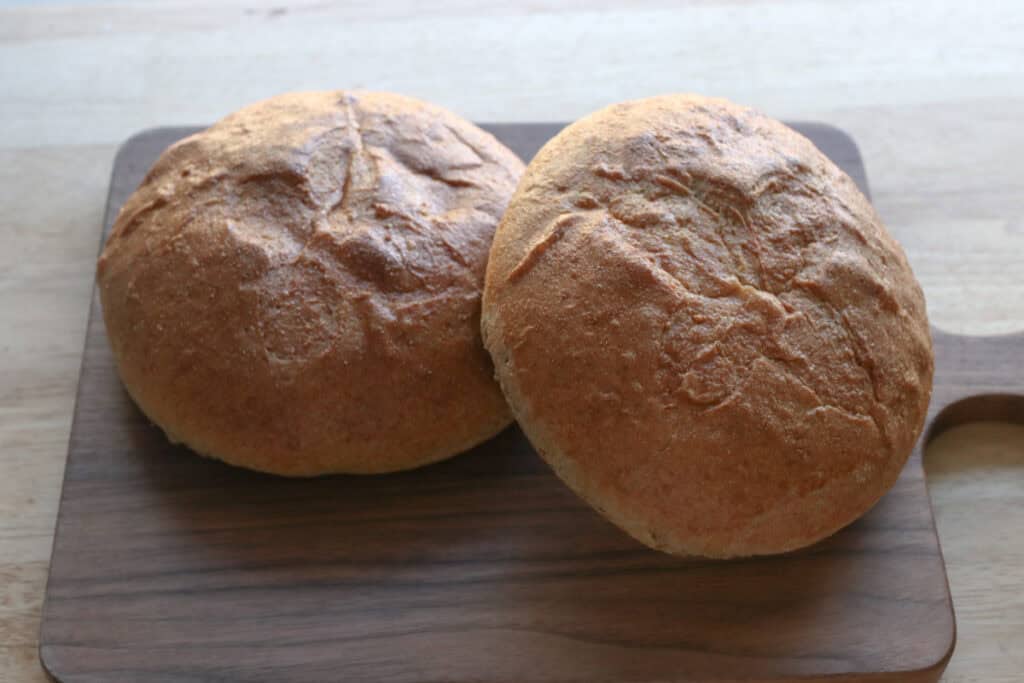
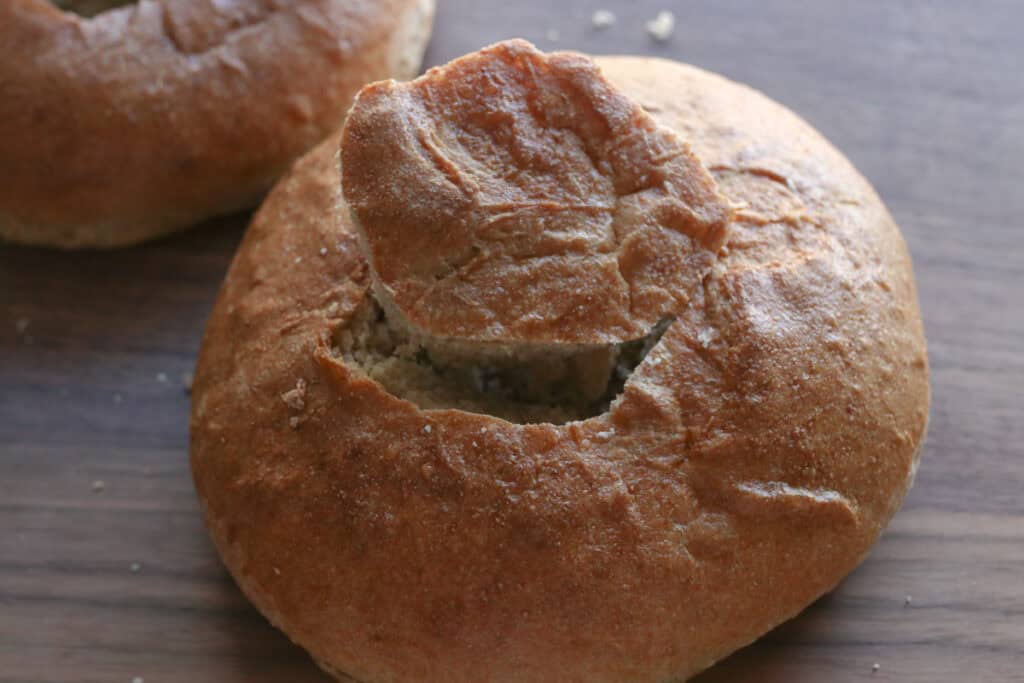
- Once cooled, use a sharp knife to cut the top out and scoop out the inside to create a bowl shape. Fill with your favorite soup!
Recipe Variations
Herb Infused Dough:
Add fresh or dried herbs like rosemary, thyme, or chives into the dough for an aromatic bread bowl that complements garden-fresh or vegetable soups perfectly.
Gluten-Free Option:
Try substituting with homemade or store-bought gluten-free flour blends suitable for bread baking—though the texture will differ, you can still enjoy the bread bowl experience.
Cheese Crust:
Sprinkle grated parmesan or cheddar on top before baking for a crispy cheesy crust that adds extra flavor and crunch.
Mini Bread Bowls:
Make smaller dough balls to create individual serving-sized bread bowls. They’re great for parties or elegant presentations.
Troubleshooting Common Problems with this Recipe
Dough Doesn’t Rise
If your dough isn’t rising, check if the yeast is fresh and the water temperature is right—too hot can kill yeast, too cold won’t activate it. The rising also depends on the temperature of your kitchen. Make sure the dough is in a warm, draft-free place while rising.
Bread Bowls Burn on Bottom
Try baking on a higher rack or use a baking stone to distribute heat evenly. You can also place a sheet of parchment paper or a silicone mat underneath to prevent scorching.
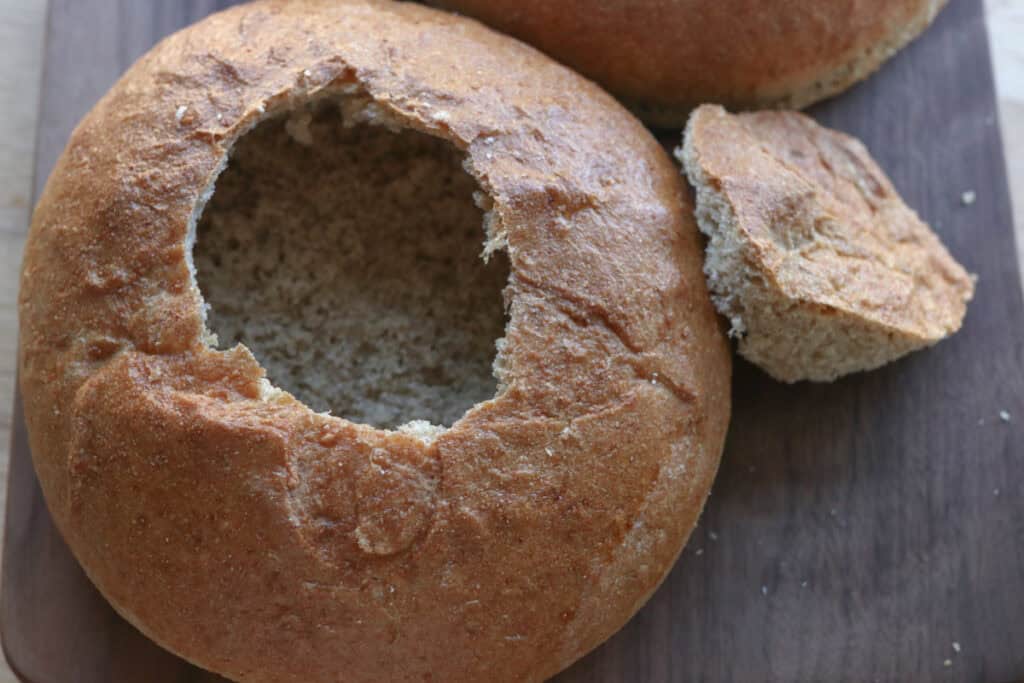
Hollowed Bread Bowl Walls Are Too Thin and Break Easily
Be careful when hollowing; leave at least a 1/2-inch thickness all around. If your dough is too thin when shaping, the bread bowl may collapse or crack during baking.
Bread Bowl Soggy After Adding Soup
Serve the soup immediately after filling to minimize sogginess. You can also lightly toast the hollowed bread bowl in the oven before adding soup to strengthen the crust.
Dough Is Sticky and Hard to Handle
If the dough is too sticky, add a little more flour gradually while kneading until it reaches a soft but manageable consistency. Avoid adding too much flour at once to keep the bread tender.
Freezing & Storing Leftovers
Freezing:
Let the bread bowls cool completely to room temperature. Wrap each one tightly in plastic wrap and then place in freezer bags. They keep well for up to 2 months. To reheat, thaw at room temperature and warm in a 350°F oven until crisp again.
Storing:
Store leftover bread bowls in a plastic bag or loosely covered with a kitchen towel at room temperature to maintain crustiness for up to 2 days. Avoid airtight containers for short storage since you want to keep the crust crisp.
Extra FAQs
Can I use a different grain for milling?
Absolutely. Try spelt, einkorn, or kamut for unique flavors and textures, but keep in mind that hydration and rising times might vary.
How thick should the bread bowl walls be before baking?
Aim for about a 1/2-inch thickness to balance sturdiness with a fluffy interior. Thinner walls might collapse, while thicker ones can feel dense.
What’s the best soup to serve in these bread bowls?
Hearty soups like clam chowder, tomato soup, taco soup, or a creamy soup work wonderfully because they won’t soak through quickly and add extra comfort.
Can I prepare the bread bowls ahead of time and fill later?
You can bake the bowls a day ahead and store them properly; just hollow and fill with soup just before serving to keep the crust crisp.
Homemade Soup Bread Bowls with Fresh Milled Flour
Ingredients
- 1 ¾ cup warm water
- 3 tablespoons melted butter
- 2 ¼ teaspoons salt
- 1 tablespoon sugar or honey
- 1 tablespoons instant yeast
- 4 cups freshly milled hard white wheat flour finely milled (520 grams)
- egg for egg wash
Instructions
- In the bowl of a stand mixer, combine the water, butter, salt, and sugar.
- Add 3 ½ cups flour and combine. Let it rest for 15 minutes.
- Add the yeast and remaining flour, if needed. Add a half cup at a time, watching to see when it starts to pull away from the sides of the bowl. Do not add anymore flour once it starts doing this.
- Knead until the dough is smooth and you reach windowpane. The dough should be smooth and not stick to your fingers when you touch it.
- Place in a bowl and cover to rise until doubled, about an hour.
- Once risen, turn out on an oiled surface. Knead a couple times and shape into a ball. Then, divide it in half or in fourths, depending on how many you are making.
- Knead each dough ball a couple of times, then form into a ball by cupping the top of it and pulling it down toward you. Rotate it and cup and pull until a smooth ball is formed.
- Preheat the oven to 400 degrees F.
- Cut a small “x” on each one if desired, then place on a baking sheet lined with parchment paper. Cover and place in a warm spot to rise until puffy, only about 20-25 minutes. Do not let these over proof. You just want them to get puffy.
- Once risen, whisk an egg with a teaspoon of milk or water and brush over each one.
- Bake for 18-22 minutes, until they are browned all over.
- Once cooled, use a knife to cut the top out and scoop out the inside to create a bowl shape. Fill with your favorite soup!


This recipe is amazing! I added garlic powder onion powder and some parsley for a garlic bread flavor to the bread bowl. Kid approved!! 🫶🏼