Sheet Pan Protein Pancakes with Fresh Milled Flour
This post may contain affiliate links. Please read our Disclosure Policy.
If you’ve been hunting for a breakfast that feels both homemade and a little impressive without the fuss of traditional pancakes that have to be flipped one by one, you’re in for a treat. Sheet pan protein pancakes made with fresh milled flour are a time-saving way to make your morning routine even better. Imagine waking up to the inviting aroma of wholesome pancakes that are not just fluffy but packed with protein to power your day. There’s something truly satisfying about a simple recipe that feels both cozy and cleverly easy—this sheet pan protein pancake recipe hits that sweet spot. Plus, the delicious convenience of sheet pan pancakes means more time sipping your coffee and less time hovering over the stove.
What Makes This Recipe Great
Effortless batch cooking.
By baking your protein pancakes on a sheet pan, you skip the juggling act of flipping individual pancakes. This hands-off method saves time and makes it easier to serve a crowd or prep for busy mornings with hungry kids.
Nutritious and hearty ingredients.
Using fresh milled flour adds a golden depth of flavor and boosts the nutritional value compared to regular all purpose flour. Coupled with protein powder, these pancakes help keep you full longer, perfect if you’re chasing an active day or just want a more balanced breakfast.
Delightfully versatile.
You can easily customize this time-saving recipe with your favorite mix-ins — fruits, nuts, or spices — and adjust sweetness to your taste. It’s a welcoming canvas the whole family will enjoy, sure to become a staple in your breakfast rotation.
For more healthy breakfast options, try these high protein waffles or this coffee cake baked oatmeal!
Overview of Ingredients
Fresh Milled Flour
Fresh milled flour offers a lively, nutty flavor and retains more nutrients than store-bought processed flour. If milling isn’t an option, whole wheat or spelt flour can be a good substitute, though the texture may be slightly different.
Protein Powder
Protein powder enriches these pancakes with an extra boost of energy and improves texture. Whey protein powder works wonderfully, but plant-based powders like pea or hemp are great alternatives if you prefer vegan options.
Coconut oil
The coconut oil adds flavor and moisture and allows the pancake to brown evenly. Avocado oil is a good substitute.
Pure Maple syrup
Naturally sweetened, the maple syrup gives these fluffy pancakes that classic pancake flavor. Substitute with honey or even coconut sugar.
Eggs
Eggs provide structure and moisture, helping hold these pancakes together. If you’re avoiding eggs, try flax eggs made with ground flaxseed and water as a plant-based substitute.
Baking Powder
Baking powder lifts the pancakes, giving them that delightful fluffiness. If you don’t have baking powder, a mix of baking soda and cream of tartar will work in a pinch.
Milk or Milk Alternative
Milk adds moisture and tenderness to the batter. Almond milk or oat milk can easily be swapped in here for a dairy-free version, just keep an eye on consistency.
Tips for Success
#1 Use room temperature ingredients
Bringing eggs and milk to room temperature before mixing helps the batter blend more smoothly and prevents clumps. This small step can make a noticeable difference in the pancake’s texture.
#2 Don’t overmix the batter
Mix your wet and dry ingredients just until combined. Overmixing can lead to dense, tough pancakes, which nobody wants when you’re craving fluffiness.
#3 Spread the batter evenly
When pouring your batter on the sheet pan, spread it out evenly with a spatula or the back of a spoon. This ensures uniform cooking and consistent pancake thickness across the pan.
#4 Keep an eye on oven temperature
Ovens can be slightly unpredictable, so use an oven thermometer to ensure your pancakes cook evenly. The goal is a golden top without drying out the interior.
#5 Customize with toppings after baking
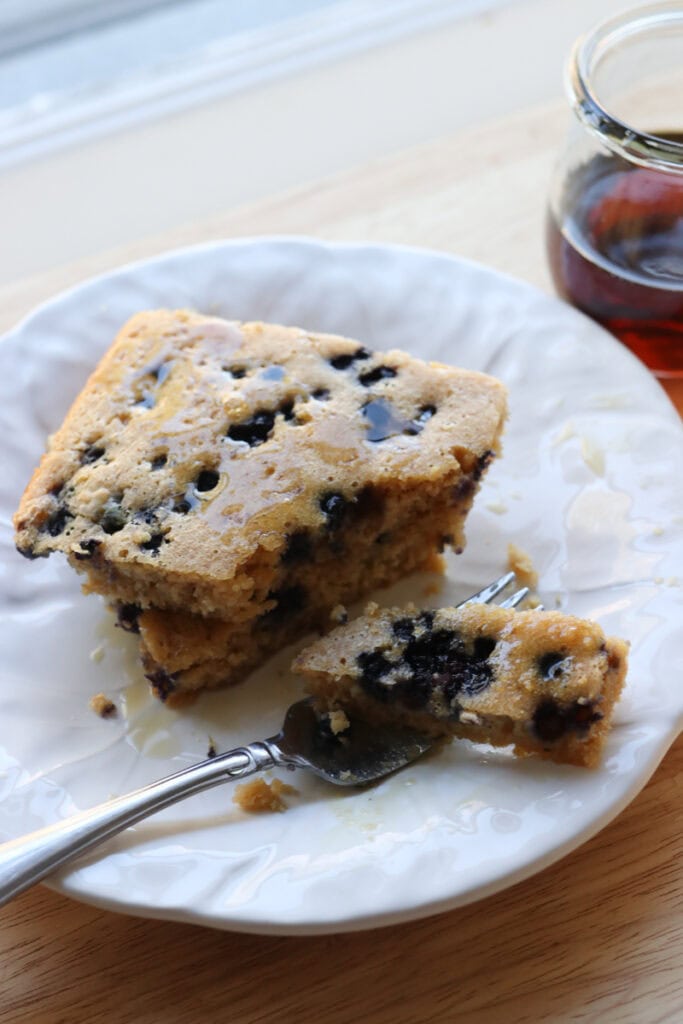
These high protein pancakes can be served with any variety of delicious toppings – peanut butter and banana or berries and whipped cream. Add them on top right after baking for bursts of fresh flavor and pleasing texture contrasts.
Helpful Tools & Supplies
Whether you’re just dipping your toes into the world of fresh milled flour or you’re a seasoned home baker, I’ve taken the guesswork out of what you truly need. All of these tools and resources are available in my shop, designed to help your journey be smooth and nourishing:
Grain Mills
- NutriMill Classic Grain Mill – My go-to for fine, consistent milling; perfect for sandwich breads and everyday baking.
- NutriMill Harvest Grain Mill – Stone-ground elegance: this model delivers whole-grain flavor with a beautiful appearance.
Mixers
- Ankarsrum Mixer – A powerhouse kitchen companion with multiple speeds and attachments—ideal for kneading bread dough effortlessly.
Baking & Bread Tools
- Bread Bow Knife – Artisan-made with a high-carbon steel blade and cherry wood handle—this knife slices loaves with ease.
- Sourdough Essentials Kit With Starter – Complete starter kit that includes dehydrated sourdough starter, banneton baskets, a dough whisk, scoring lame, and more.
Cookbooks & eBook Bundles
- Everyday Whole Grains Vol. 1 & 2 (printed & digital) – Packed with 70+ recipes built around fresh milled flour, from breads to snacks and desserts.
- The Fresh Breads Bundle – A comprehensive set including eBooks like The Perfect Loaf, the Cookie Jar, bulk baking guides, and a sourdough mini‑course—all centered on fresh milled flour.
- Freshly Milled Made Simple Guide – A video-based guide that walks you through milling and baking basics, making the process feel easy and approachable.
Specialty Items
- Dehydrated Sourdough Starter – Just add water and flour to rehydrate this starter—perfect for bakers without an active sourdough culture.
- I Knead Fresh Flour Mug – A charming, handmade 12 oz ceramic mug—great for coffee breaks during dough rising!
Why These Are Worth It
Every tool in this collection has been personally vetted to support you in baking with fresh milled flour. From the grain mills that make your flour, to mixers that knead dough, to resources that teach you every step—it’s all here to make sure your homemade bread journey is joyful, nourishing, and successful.
➡️ Explore all of these items and more in the Generation Acres Farm Shop — your one-stop spot for fresh milled flour baking essentials.
Equipment:
Sheet Pan (rimmed)
Mixing Bowls
Whisk
Measuring Cups and Spoons
Spatula
Parchment Paper or Silicone Baking Mat
How to Make Sheet Pan Protein Pancakes with Fresh Milled Flour
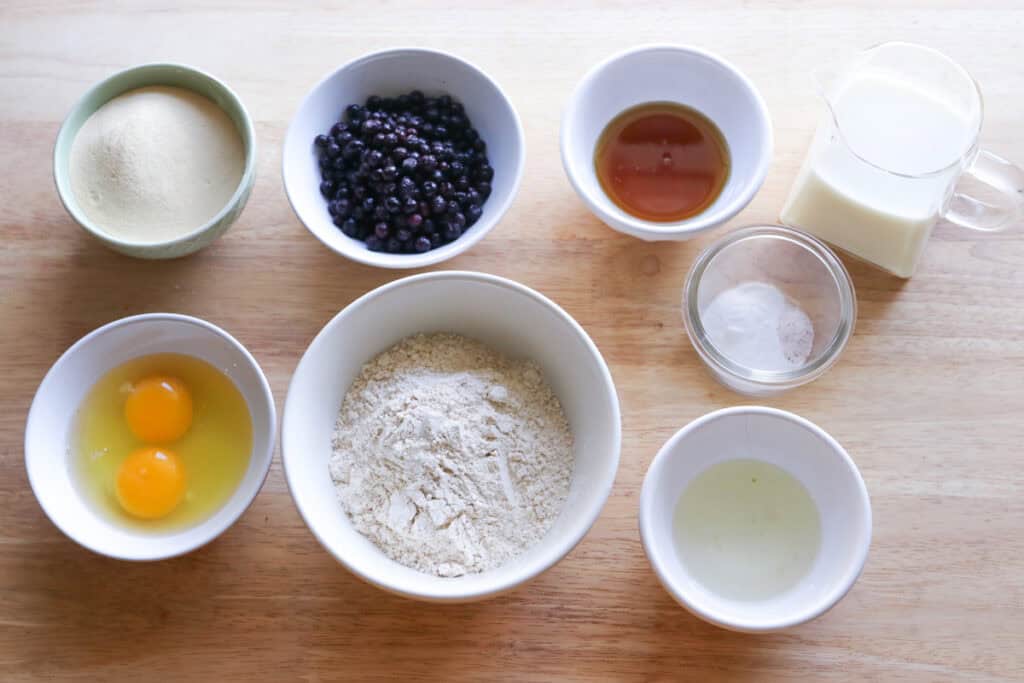
Ingredients:
- 2 cups freshly milled soft white wheat flour, finely milled (230 grams)
- ⅔ cup vanilla protein powder (80 grams)
- 1 ½ teaspoons baking powder
- ¼ teaspoon salt
- 1 cup whole milk (246 grams)
- 2 eggs
- 3 tablespoons maple syrup
- 3 tablespoons melted coconut oil
- ¾ cup frozen blueberries (94 grams)
Directions:
- Preheat the oven to 425 degrees F. and grease a 9×13 inch pan.
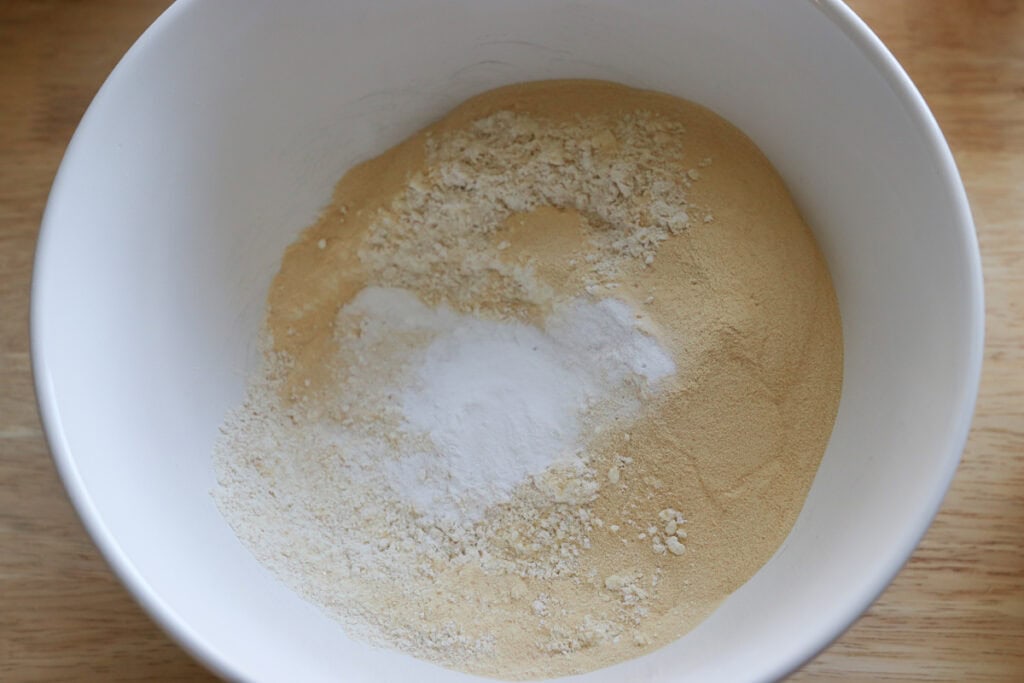
- In a medium bowl combine the dry ingredients.
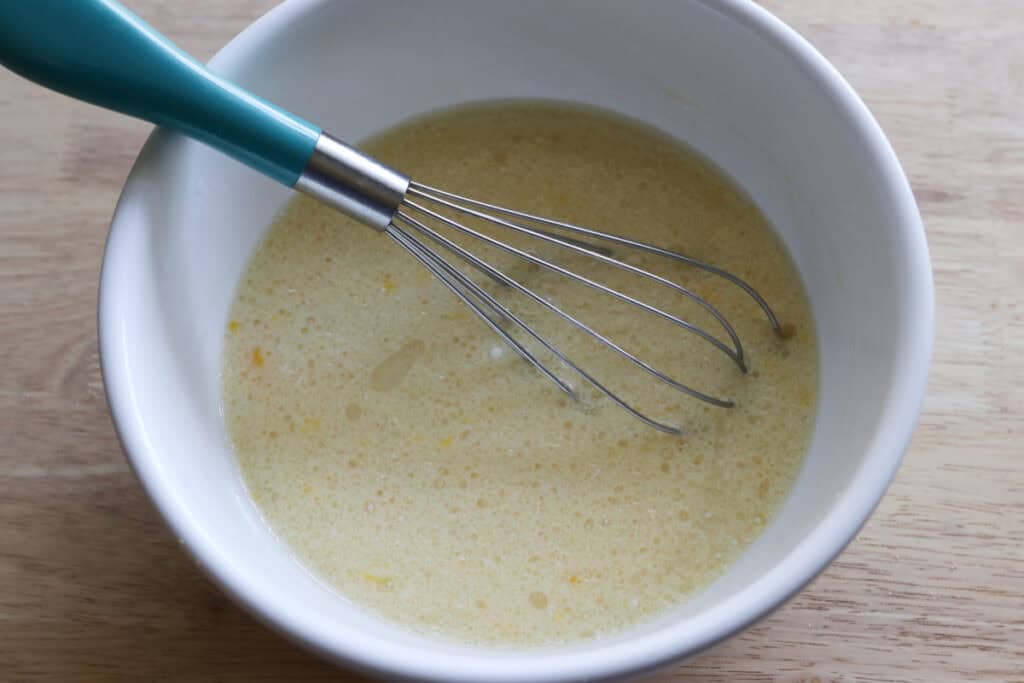
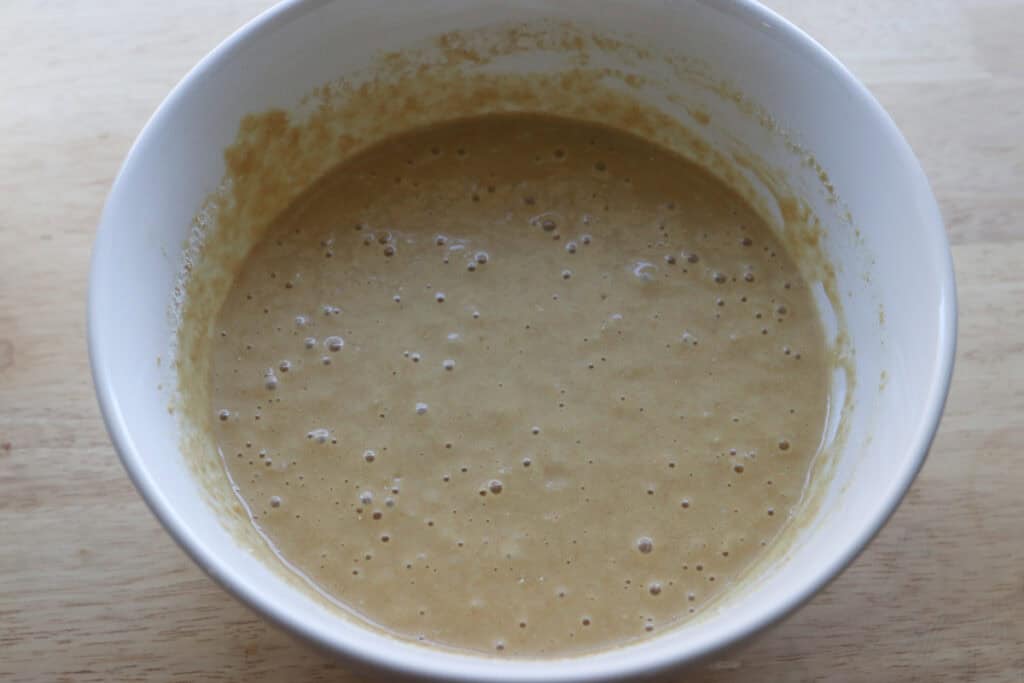
- In a large bowl, combine the wet ingredients, but not the blueberries.
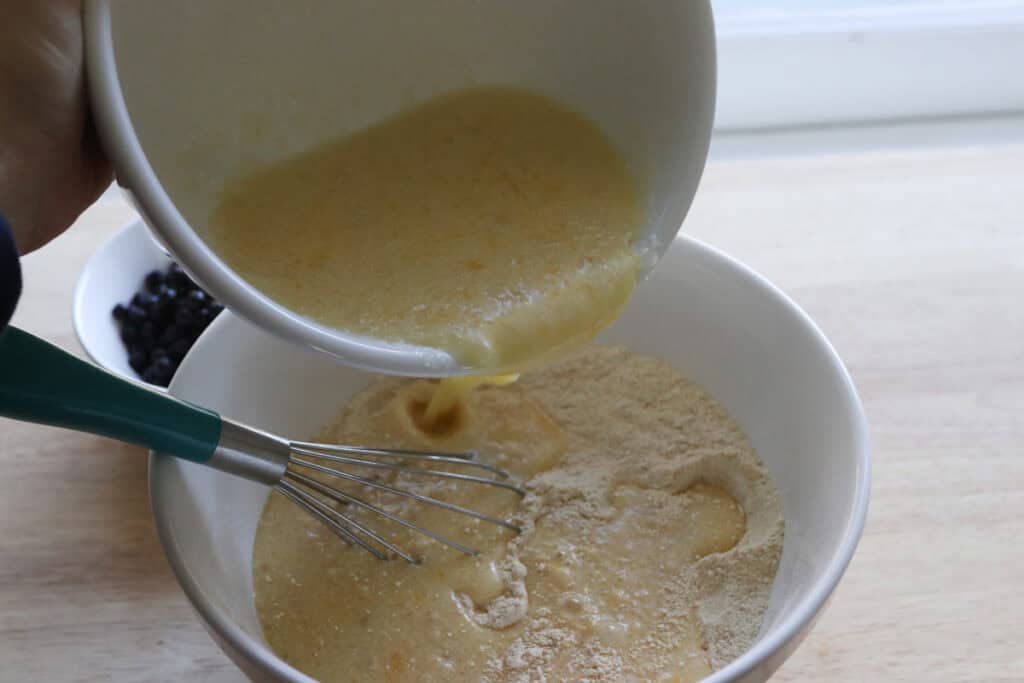
- Combine the dry ingredients with the wet ingredients and allow the batter to rest for 10 minutes.
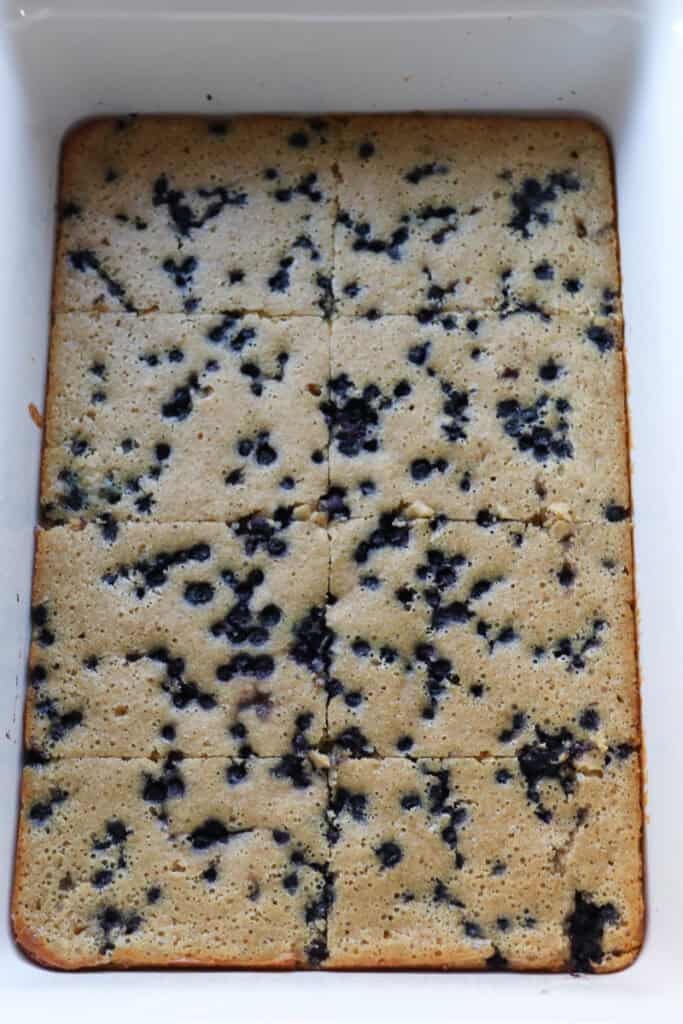
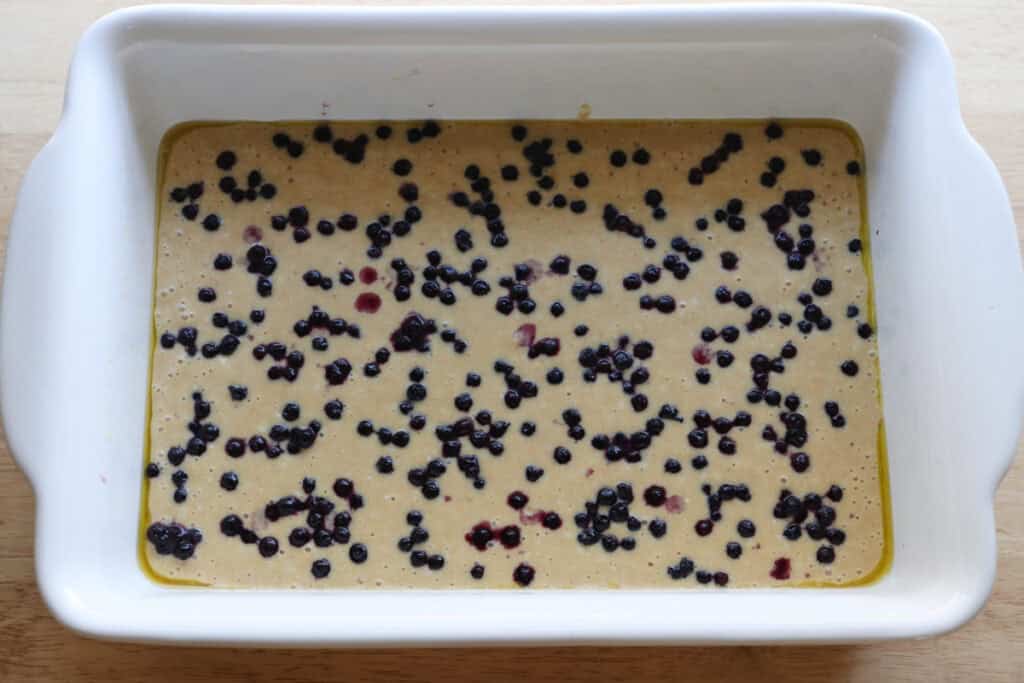
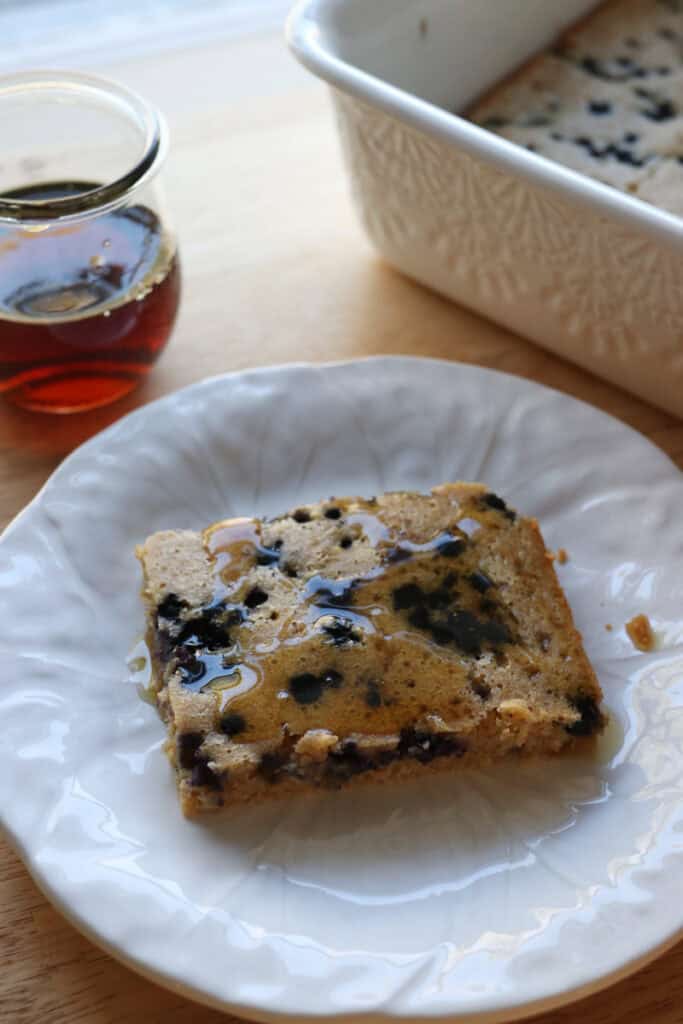
- Pour in the pan and sprinkle with the blueberries.
- Bake for 20-25 minutes, until the edges start to turn golden brown.
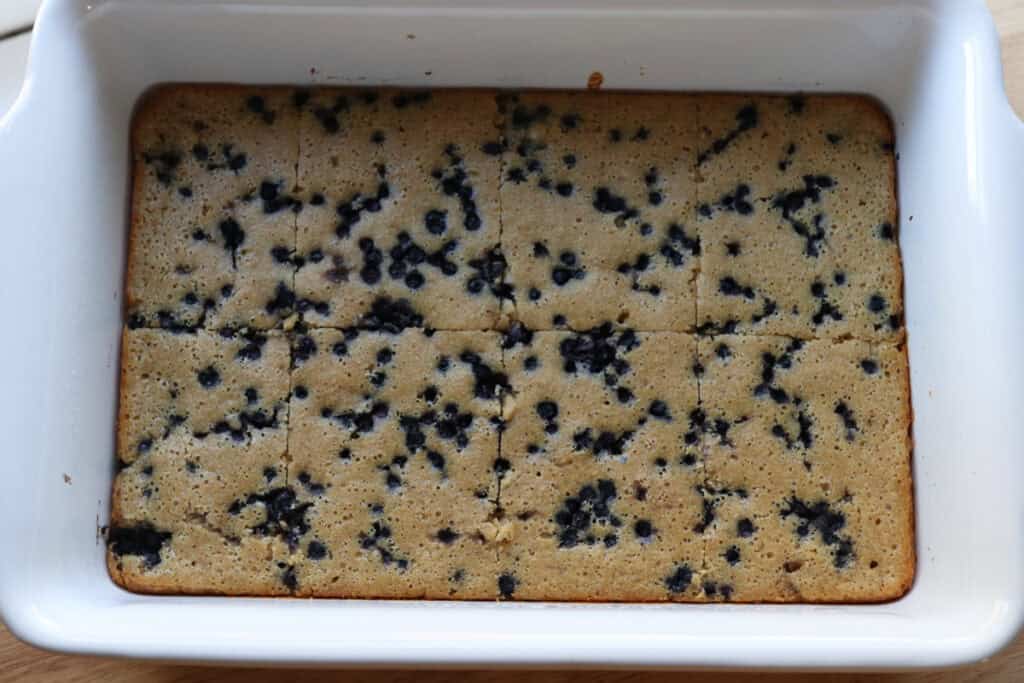
- Allow to cool for several minutes before cutting.
Recipe Variations
Add Berries or Banana:
Fold in fresh or frozen blueberries or mashed bananas for natural sweetness and extra moisture.
Swap Protein Powder:
Use your favorite flavored protein powder like vanilla or chocolate to switch up the flavor profile.
Spiced Up:
Add a pinch of cinnamon, nutmeg, or pumpkin pie spice for a cozy, warming touch.
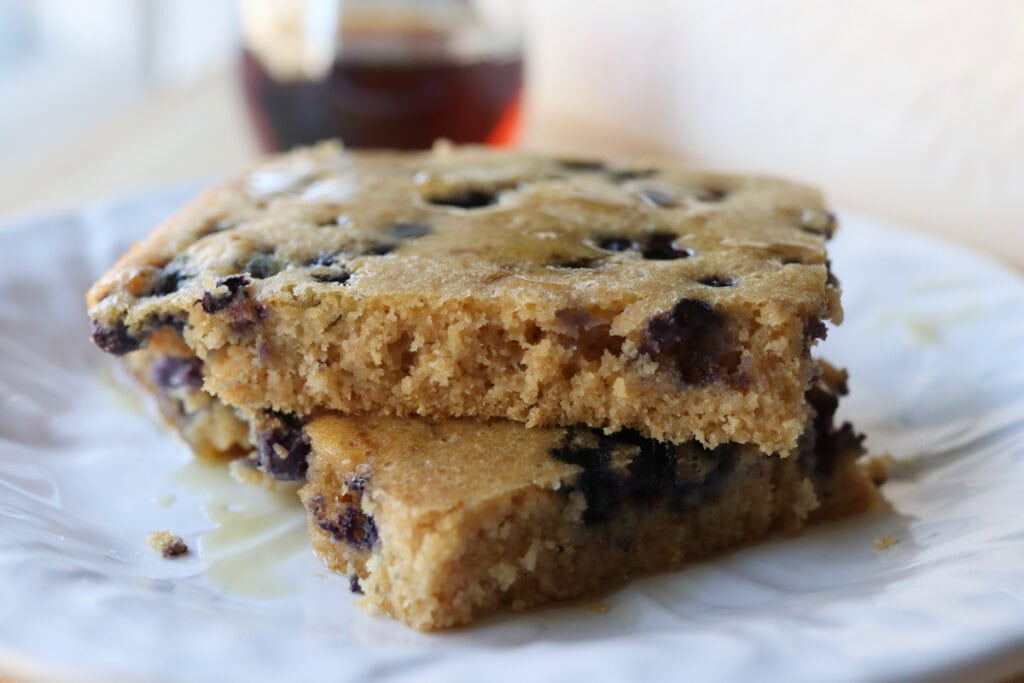
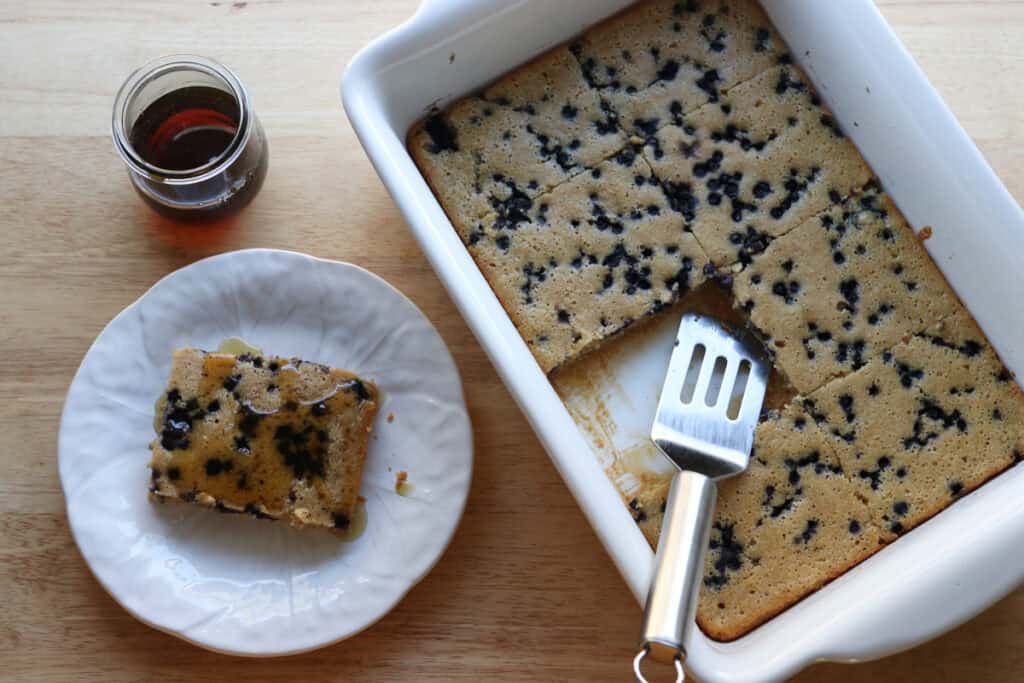
Drizzle Toppings:
Drizzle the top of the pancake with almond butter, maple syrup, or fresh fruit compote after baking for extra indulgence.
Troubleshooting Common Problems with this Recipe
Pancakes Are Too Dense
Avoid over-mixing the batter and be sure to use fresh baking powder for proper rise. Also, evenly spread the batter on the sheet to ensure uniform cooking.
Pancakes Stick to the Pan
Make sure your sheet pan is very well greased with oil or butter.
Edges Are Too Crispy or Burnt
Check your oven temperature as cooking time may vary for some ovens. Lowering the heat slightly or moving the sheet pan to the middle rack can help avoid burnt edges.
Pancakes Take Too Long to Cook
Spreading the batter too thickly can increase baking time. Try to spread it evenly and keep the thickness consistent to allow the heat to penetrate properly.
Texture Is Too Dry
Adding too much protein powder or fresh milled flour without balancing liquid can dry out the pancakes. If this happens, increase the wet ingredients slightly next time or add a spoonful of greek yogurt or applesauce to the batter.
Freezing & Storing Leftovers
Freezing:
For best results, let the pancakes cool completely before stacking them with parchment paper between each layer to prevent sticking. Store in an airtight container or freezer bag and freeze for up to 2 months. Reheat straight from frozen using your method of choice.
Storing:
Keep leftover pancakes in an airtight container in the refrigerator for up to 4 days. To avoid sogginess, separate layers with parchment paper.
How To Reheat
Oven Method
Best for:
Keeping the outside slightly crisp while warming the entire pancake through.
Preheat your oven to 350°F (175°C). Place pancakes on a baking sheet in a single layer and warm for about 10 minutes. If you want an extra crispy edge, heat for a few more minutes but watch closely to prevent drying.
Microwave Method
Best for:
A quick reheating option when you’re short on time.
Place pancakes on a microwave-safe plate and cover with a damp paper towel to keep moisture in. Heat on high for 30-60 seconds, checking for warmth to avoid overheating and making them rubbery.
Toaster Oven Method
Best for:
Warming and crisping pancakes with less drying than a microwave.
Place pancakes in a toaster oven at 350°F and heat for 4-6 minutes. This helps re-crisp edges while gently warming the center.
Skillet Method
Best for:
Reheating a single pancake quickly without drying it out.
Heat a non-stick skillet over medium-low heat and add a small pat of butter or oil. Warm each pancake for 1-2 minutes on each side until heated through and slightly crisped.
Extra FAQs
Can I use oat flour instead of fresh milled flour?
Yes, oat flour can work nicely and adds a mild sweetness, but you might need to adjust the liquid ratio for the right batter consistency.
Is it necessary to use protein powder in this recipe?
Not at all. Protein powder adds nutritional value and a bit of texture, but you can omit it if you prefer, just expect a lighter protein content. You may also need to adjust flour amounts.
Can I prepare the batter the night before?
You can mix the batter ahead and store it in the fridge overnight. Give it a gentle stir before baking to redistribute any settled ingredients.
Are these pancakes gluten-free?
That depends on the flour and protein powder you use. Substitute with gluten-free flour blend and certified gluten-free protein powder to make the recipe safe for gluten sensitivity.
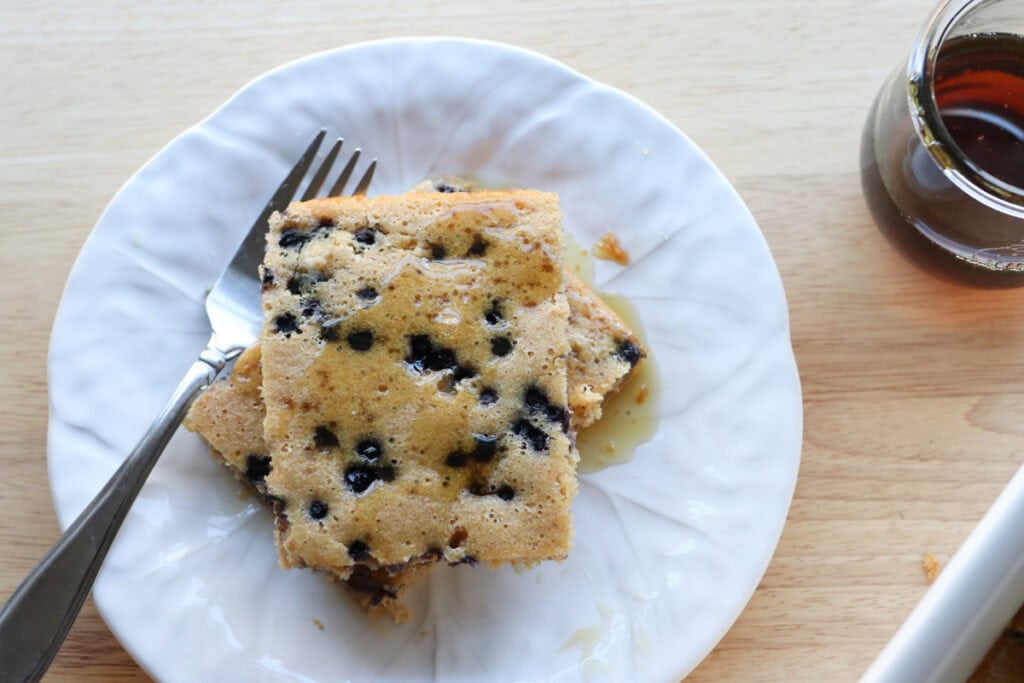
What’s the best way to serve these pancakes?
Try topping with fresh fruit, nut butter, or a drizzle of maple syrup for a simple and satisfying breakfast. They pair well with yogurt or a side of crispy bacon if you’re feeling indulgent.
Sheet Pan Protein Pancakes with Fresh Milled Flour
Ingredients
- 2 cups freshly milled soft white wheat flour finely milled (230 grams)
- ⅔ cup vanilla protein powder 80 grams
- 1 ½ teaspoons baking powder
- ¼ teaspoon salt
- 1 cup whole milk 246 grams
- 2 eggs
- 3 tablespoons maple syrup
- 3 tablespoons melted coconut oil
- ¾ cup frozen blueberries 94 grams
Instructions
- Preheat the oven to 425 degrees F. and grease a 9×13 inch pan.
- In a medium bowl combine the dry ingredients.
- In a large bowl, combine the wet ingredients, but not the blueberries.
- Combine the dry ingredients with the wet ingredients and allow the pancake batter to rest for 10 minutes.
- Pour in the pan and sprinkle with the blueberries.
- Bake for 20-25 minutes, until the edges start to turn golden brown.
- Allow to cool for several minutes before cutting.
Nutrition