
Super Fluffy Sandwich Bread with Fresh Milled Flour
This post may contain affiliate links. Please read our Disclosure Policy.
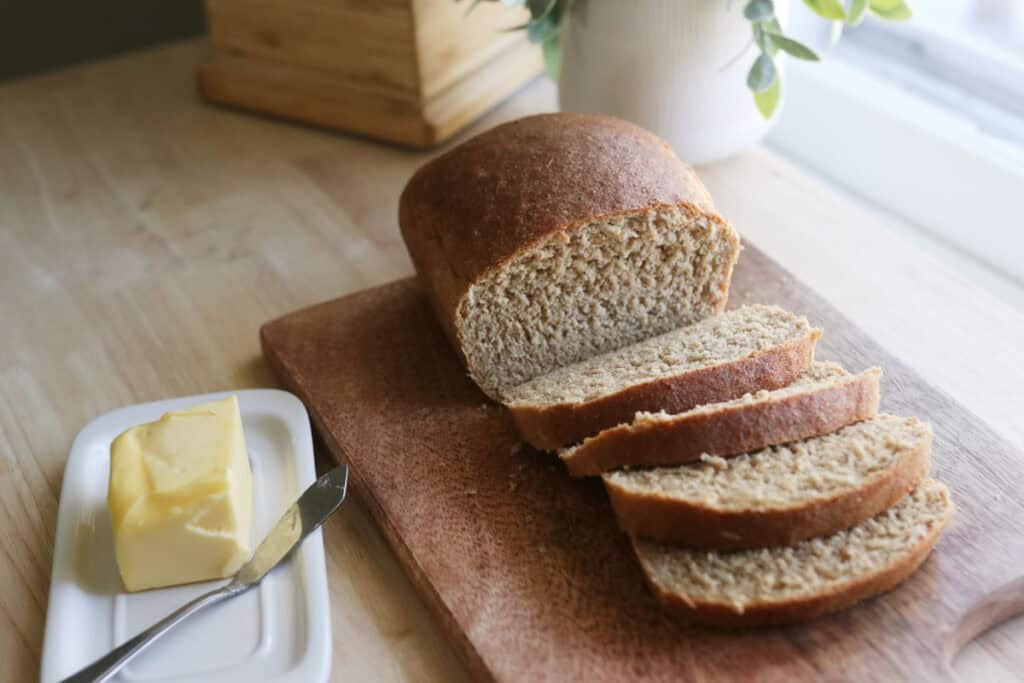
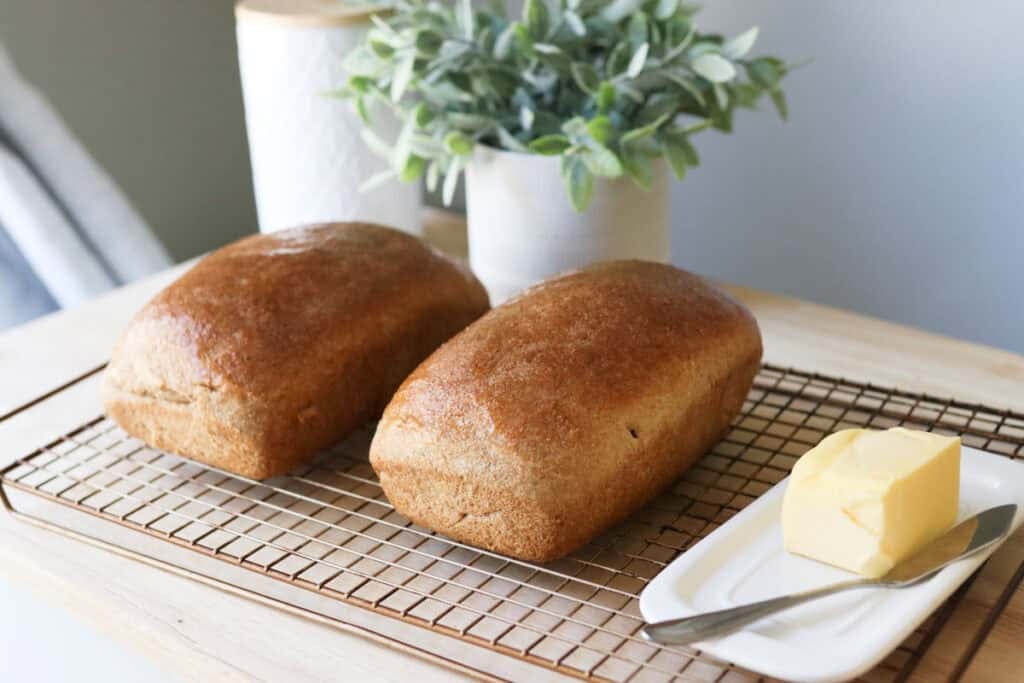
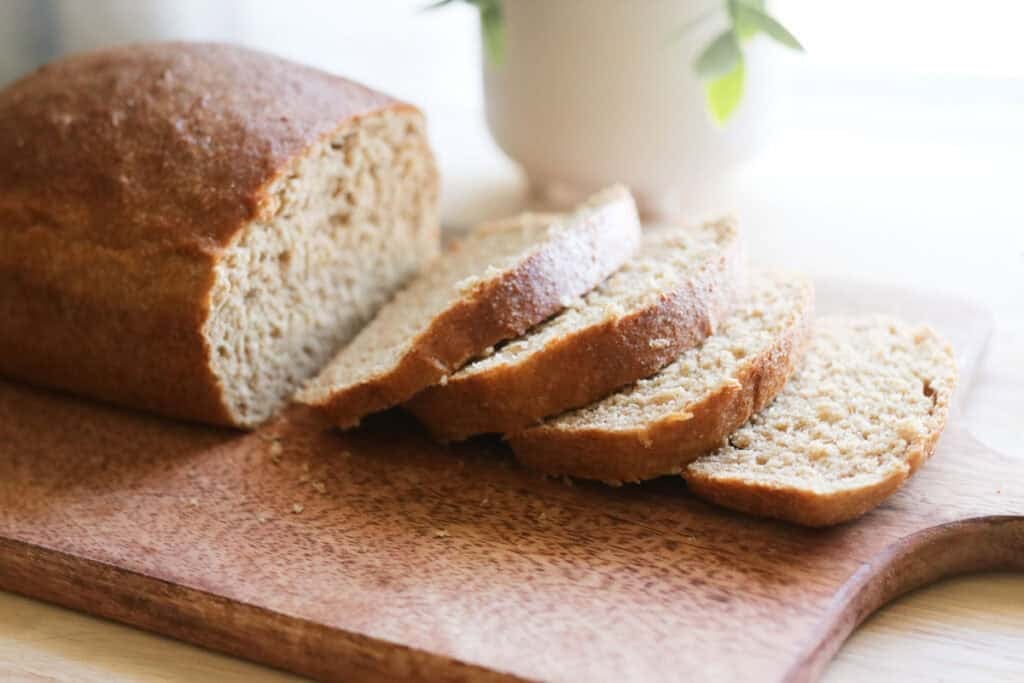
If you’re looking for the softest, fluffiest sandwich bread recipe that’s also packed with nutrition—you’re in the right place. This homemade bread is made with fresh milled flour, giving it a depth of flavor and softness that store-bought bread just can’t compete with.
Whether you’re making toast, grilled cheese, or school lunchbox sandwiches, this loaf has become a staple in our home. It’s sturdy enough to hold up to any filling but still incredibly light and tender. And unlike typical whole wheat flour bread from the store, this version is made with freshly milled grains—so it’s full of vitamins, fiber, and flavor.
New to baking bread from scratch or curious about how to make sandwich bread at home with fresh milled flour? Don’t worry—I’ll walk you through every step. This easy bread recipe is beginner-friendly, nourishing, and will have your kitchen smelling amazing in no time.
Why You’ll Love This Bread
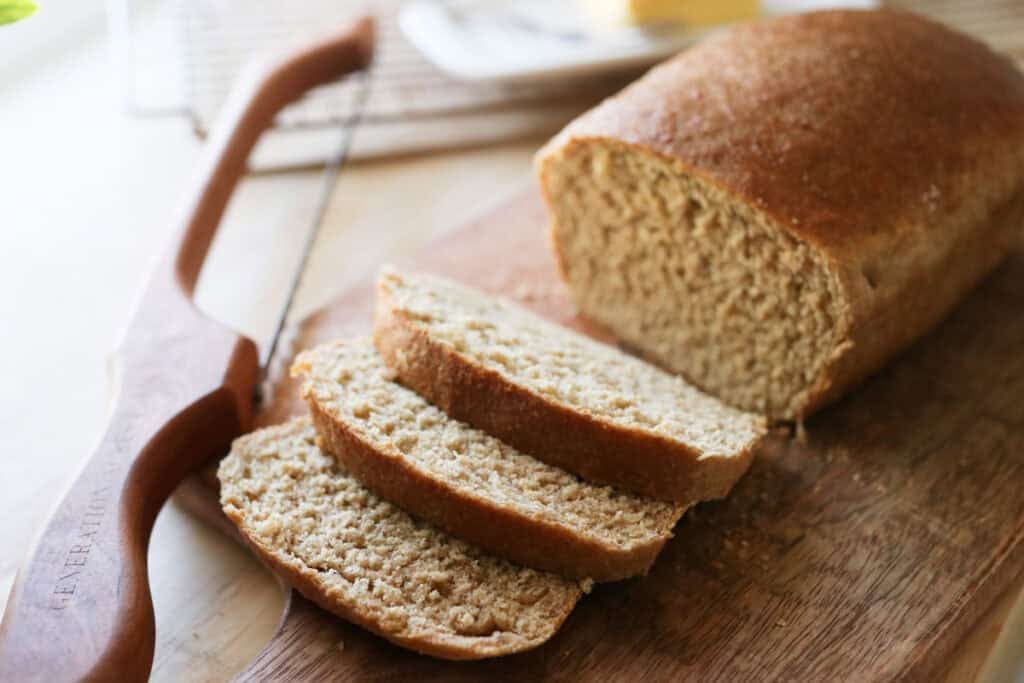
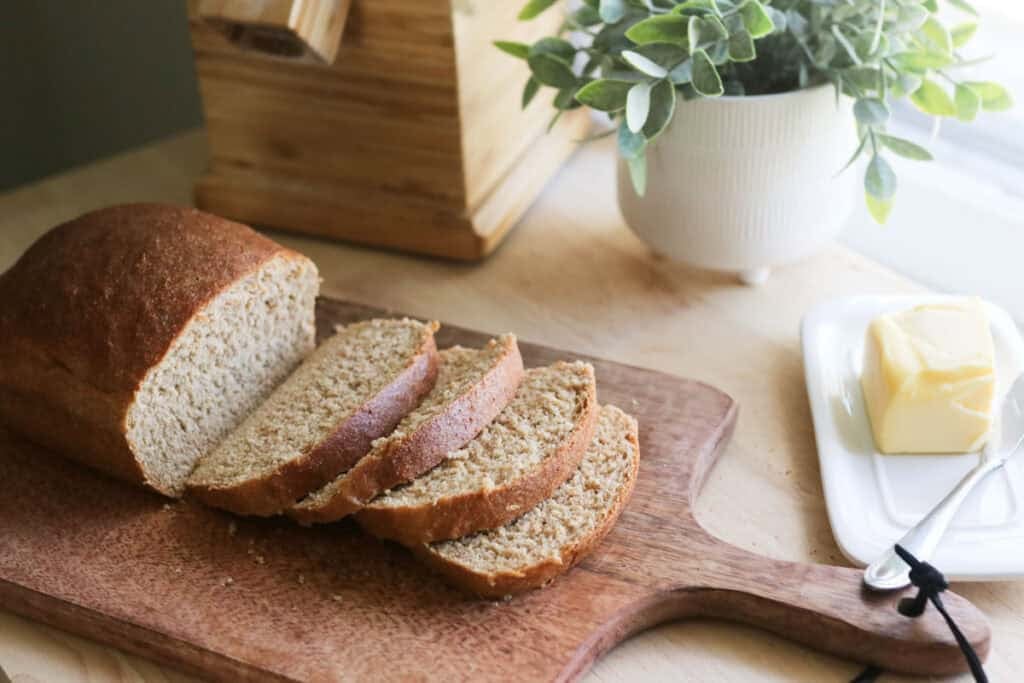
- Fluffy and soft – This is the kind of bread that doesn’t fall apart when you slice it, but still feels pillowy when you bite in.
- Made with fresh milled flour – That means more nutrients, better flavor, and no mystery ingredients.
- Everyday friendly – It’s easy enough for weekday baking but impressive enough to share with friends or neighbors.
Why Fresh Milled Flour Is a Total Game-Changer
If you’ve never baked with fresh milled flour before, you are in for a treat—not just flavor-wise, but health-wise too. Most of us grew up thinking all flour was the same. But here’s the truth: that bag of white flour at the store has been stripped of its most nutritious parts.
When grains go through industrial roller milling, the bran and the germ (where most of the vitamins, fiber, and healthy fats are) are removed to extend shelf life. What you’re left with is basically starch—flour that’s designed to last forever on a shelf but does almost nothing to nourish your body.
Fresh milled flour, on the other hand, keeps all parts of the grain intact. That means you get the full spectrum of nutrients, fiber to support digestion, and natural oils that give your bread a richer taste and better texture. And because it hasn’t been sitting around oxidizing for months, it’s alive, vibrant, and full of flavor.
People often say they feel better eating bread made from fresh flour—and I believe it. My family’s had fewer stomach issues, steadier energy, and way fewer blood sugar crashes since we made the switch. Once you try it, you might wonder why you ever bought bread (or flour) from the store in the first place.

Why I’ll Always Choose Fresh Milled Flour Over Store-Bought Bread
There was a time when I thought store-bought bread was “just fine.” I’d grab a loaf off the shelf, maybe even a whole wheat flour version and call it a day. But once I started paying attention to ingredients—and how my family felt after eating bread—I realized we could do so much better.
Fresh milled flour changed everything. The texture, the flavor, the nutrition – it’s honestly not even in the same category as conventional bread. When you mill your grains at home, you’re getting flour that’s alive with nutrients, fiber, and healthy oils—none of which are found in shelf-stable purpose flour.
And while store-bought bread often uses preservatives, dough conditioners, and added sugars to create softness and a longer shelf life, fresh bread made from fresh milled flour is naturally fluffy, flavorful, and far more satisfying.
If you’re used to baking with regular purpose flour, don’t worry—making the switch is easier than you think. You’ll feel the difference in the dough and in your body.
My Favorite Tools for Making Sandwich Bread
You don’t need a bunch of fancy gadgets to make homemade bread, but having the right tools can definitely make the process smoother—especially if you’re baking regularly like I do. Here are a few of my tried-and-true favorites:
- Grain Mill: I use the Nutrimill Harvest and Nutrimill Classic. Both are excellent for turning whole grains into soft, fine flour right in your kitchen.
- Stand Mixer: Ankarsrum mixer will be your bread-baking BFF. It handles big batches of dough with ease and will save your arms from kneading fatigue.
- Dough Scraper: I use this all the time to lift and shape dough, clean my counter, and even portion loaves evenly.
- Kitchen Scale: Accurate measurements = consistent bread. Weighing ingredients will give you consistent results.
- Loaf Pans: I have used and loves these stainless bread pans for many years – a little oil make them completely non stick without the chemicals.
- Proofing Container or Bowl with Lid: Helps track the rise and keeps things neat and covered during fermentation.
- Bread Knife: A good serrated knife makes slicing a breeze without squishing your loaf. Trust me—it’s worth it.
You don’t need everything at once. Start with the basics and add as you go!

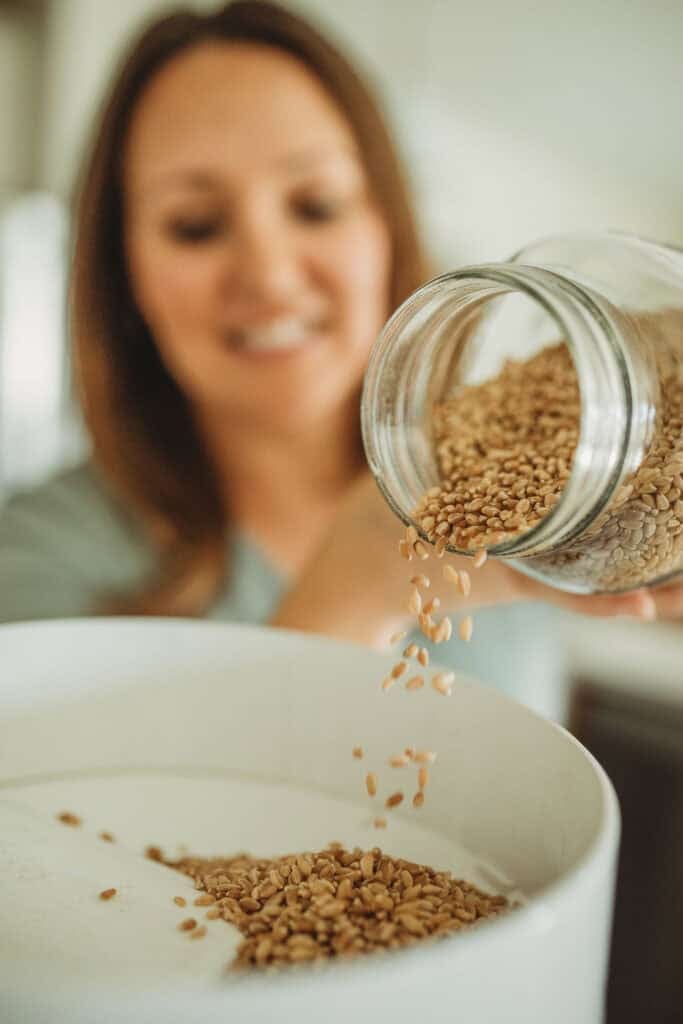
Choosing the Right Grains for Sandwich Bread
Picking the right grains for sandwich bread is half the fun of milling at home—and it can totally change the flavor and texture of your final loaf.
Here are some of my go-to choices:
- Hard White Wheat: This is my absolute favorite for sandwich bread. It has a mild flavor, light color, and bakes up soft and fluffy—perfect for kids or anyone who’s used to white bread.
- Hard Red Wheat: A bit heartier in flavor and darker in color. It’s slightly nuttier and more robust, great if you love the taste of classic whole wheat bread.
- Spelt: This ancient grain adds a subtle sweetness and softness. I’ll sometimes mix in a cup or two with hard wheat for added depth.
- Einkorn or Kamut: These ancient grains are gorgeous and flavorful, but they behave a little differently. I typically use them for specialty loaves or quick breads, not everyday sandwich bread, since they can be a little more finicky with gluten development.
My tip? Start with hard white wheat if you’re new to fresh milling. It gives you that traditional sandwich bread texture with way more nutrition and flavor. As you get more confident, try blending different grains to create your perfect loaf – my favorite blend is 50/50 hard red and hard white wheats.
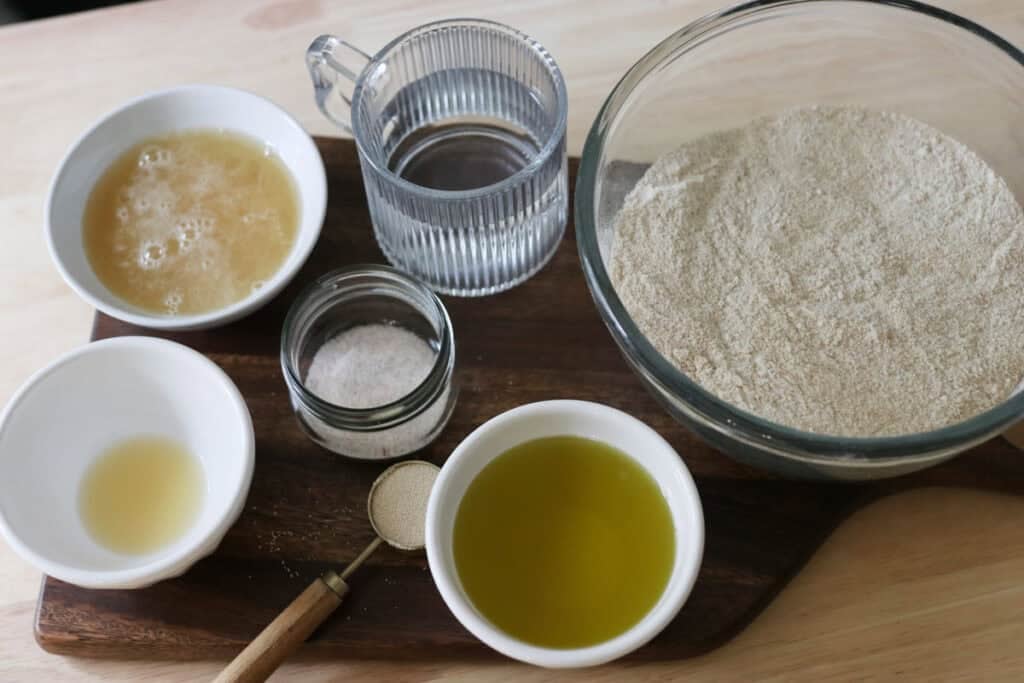
How To Make Super Fluffy Sandwich Bread with Fresh Milled Flour
1 ½ cups very warm water (330 grams)
2 tsp. salt
½ cup olive oil (100 grams)
½ cup honey (130 grams)
5-6 cups fresh milled flour, finely milled (675-810 grams)
1 tbsp. instant yeast
2 tsp. lemon juice
Directions
- Combine wet ingredients and the salt in the mixer. (Water, salt, oil, lemon juice and honey)
- Next add half your flour. Mix until well combined.
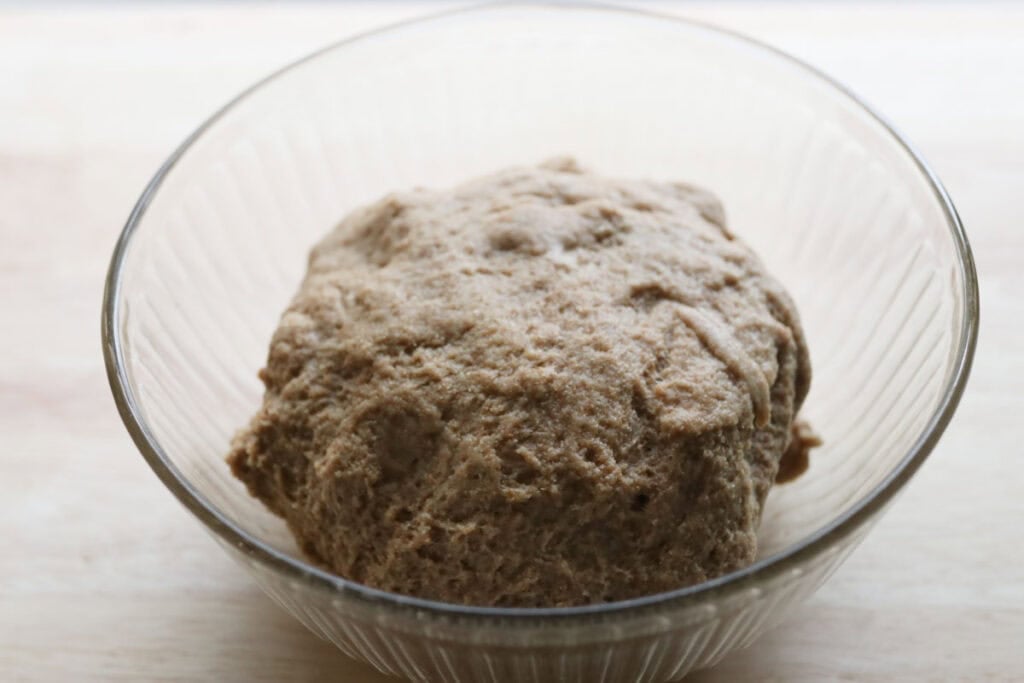
- Allow the dough to rest in the mixer for 10 minutes before proceeding. This will make a softer loaf and helps to hydrate the fresh flour.
- Add yeast and the rest of your flour. I like to add the flour slowly, 1/2 cup at a time and watch how the dough reacts. You don’t want to add too much flour. Add just enough to where a soft dough forms and the dough begins to pull away from the sides of the bowl.
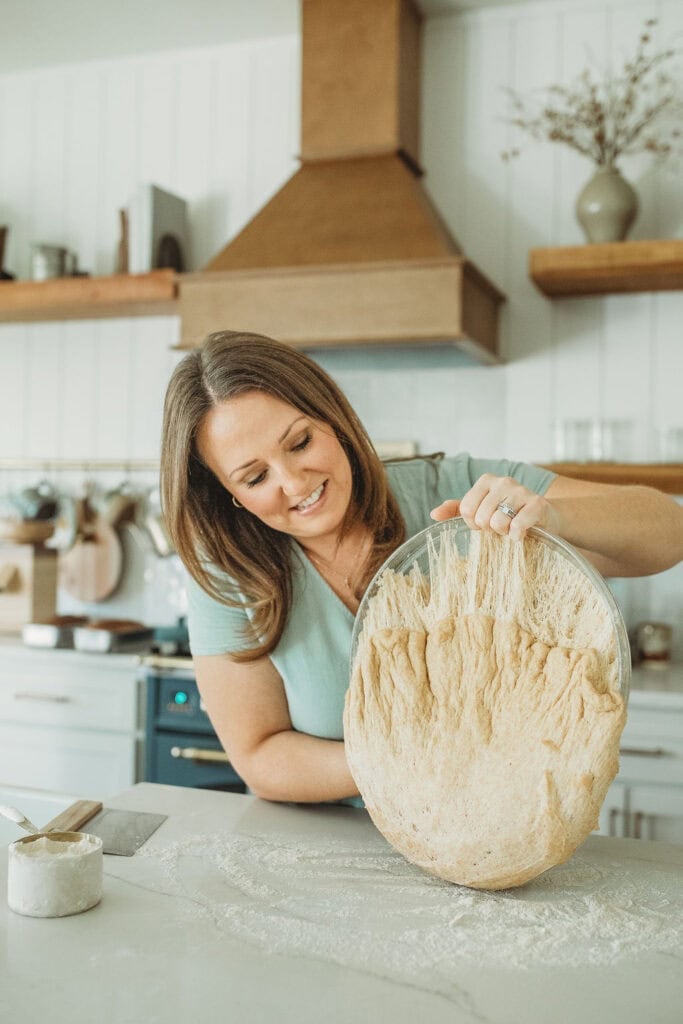
- Knead dough until smooth and elastic. This takes about 6-8 minutes with a mixer and 10+ minutes if you are kneading by hand. Do the window pane test to ensure the kneading has been done properly.
- First rise. Move the dough to a large bowl and place somewhere warm. I like to use my barely warmed oven(preheat for a few minutes and then turn it off). Allow the dough to rise until double in size, in a warm spot that takes 30-45 minutes. If rising on the counter, cover the dough and it may take longer to double in size.
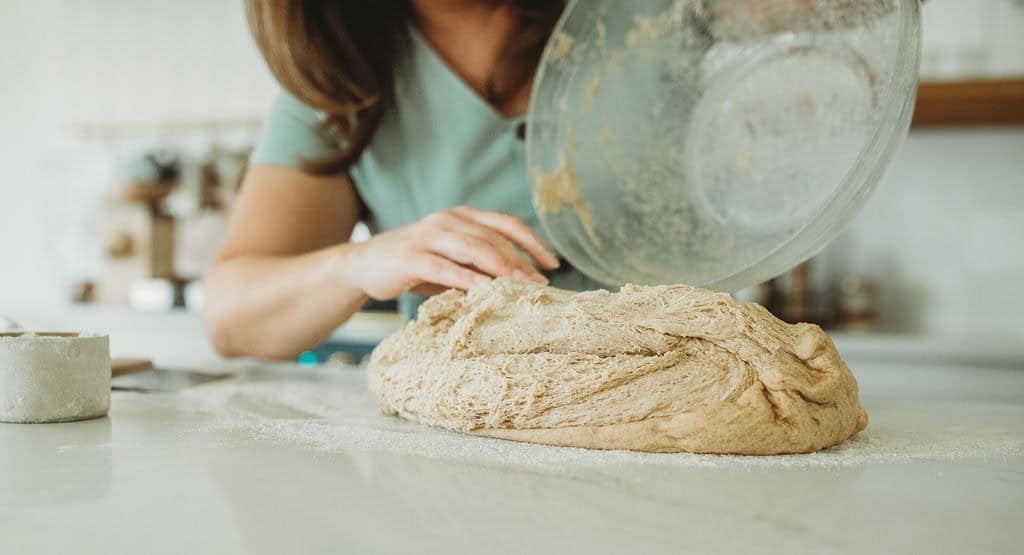
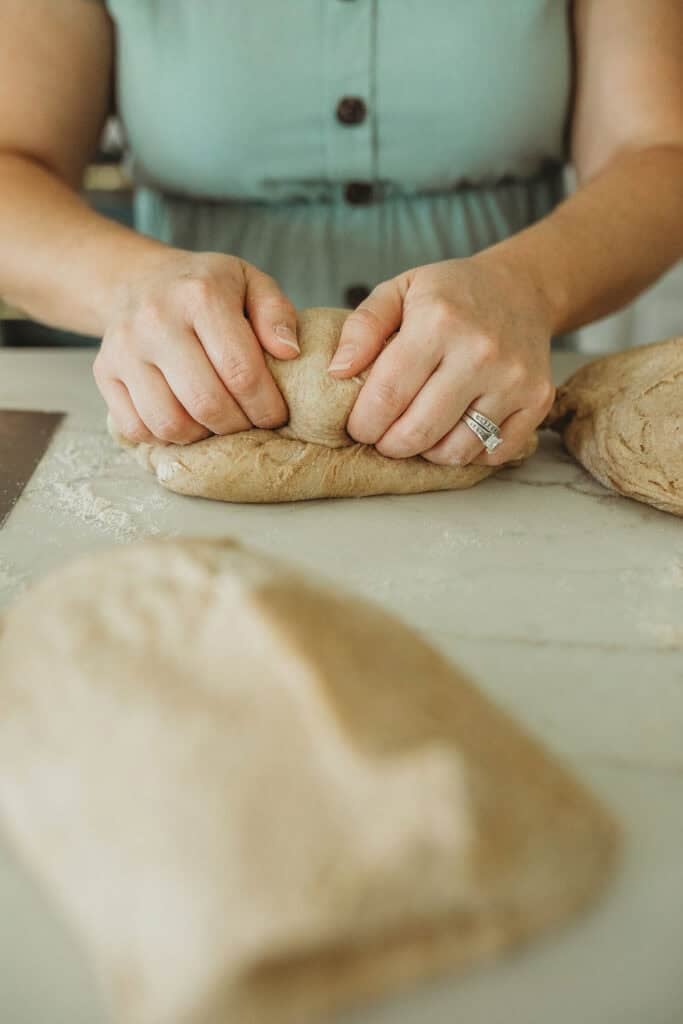
- Turn dough out onto clean counter and cut in half. Shape loaves and place in greased loaf pans and allow to rise until double in size again.
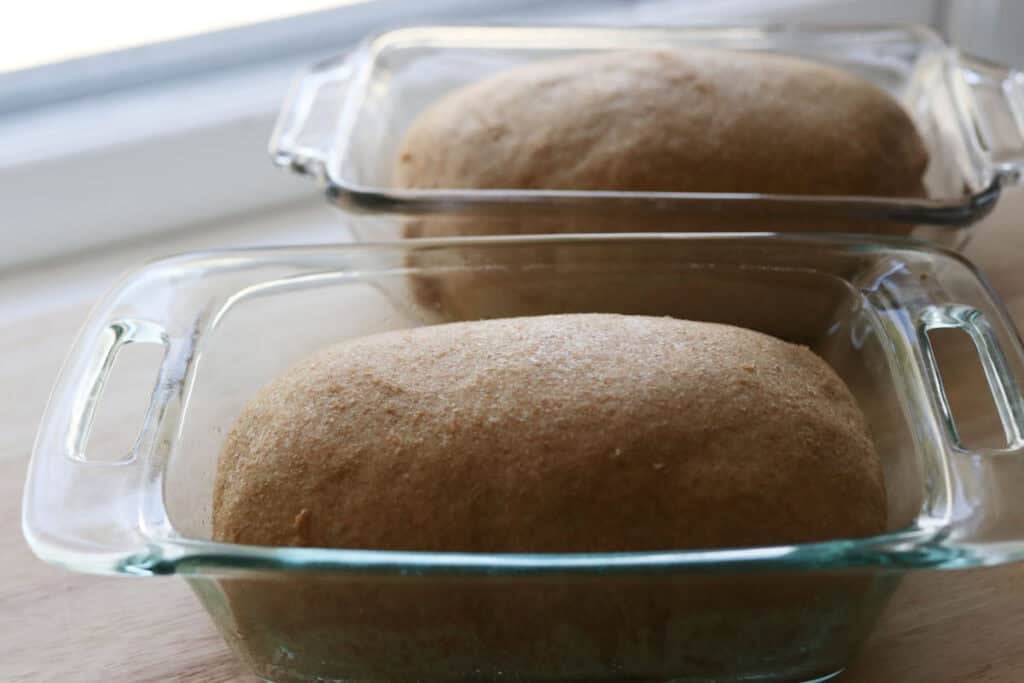
- Once doubled bake at 350* F. for 25-30 minutes until tops are golden brown and the bread is cooked through, about 190 degrees F.
Tips for Bread Success
- Don’t skip the resting time after the first mix—fresh flour needs it.
- Add the flour gradually. Too much and your bread will be dry.
- Let the dough rise in a warm, draft-free place. I use my oven (preheated for a couple of minutes and then turned off).
- Do the windowpane test—it’s your best friend for knowing when you’ve kneaded enough.
How to Store, Freeze & Reheat
Store:
Keep on the counter wrapped in a clean towel or bread bag for up to 3-5 days. After that, freeze it!
Freeze:
Cool completely, then wrap tightly in plastic or store in a freezer bag. You can freeze whole or sliced. It keeps well for up to 3 months.
Reheat:
Thaw on the counter or pop a slice in the toaster. For whole loaves, rewarm in the oven at 325°F wrapped in foil for about 10–15 minutes.
Leftover Bread Ideas
- French Toast – Day-old bread is perfect.
- Croutons – Cube it up, toss with olive oil and seasonings, and toast.
- Breadcrumbs – Blend dry slices for fresh breadcrumbs.
- Grilled Cheese – This bread makes next-level grilled cheese.
- PB&Js or Lunchbox Sandwiches – Kid-approved, mom-loved.
FAQ
Can I use store-bought flour instead?
Yes, but fresh milled really makes a difference in taste and nutrition. If you don’t have a mill yet, use high-quality organic, unbleached all purpose flour, but you will need to use more flour in the recipe.
What’s the lemon juice for?
It helps strengthen the dough, soften the bran and makes for an even softer loaf.
Can I use active dry yeast?
Yep! Just dissolve it in the warm water with a bit of honey first before adding it in.
What if I don’t have a mixer?
You can totally knead by hand. It’s a little workout, but a great way to get a feel for your dough.
Room Temperature Matters—More Than You Might Think
When you’re baking with fresh milled flour, keeping an eye on room temperature makes a big difference in how your bread rises. The yeast (or sourdough starter, if you’re going that route) is pretty sensitive to its environment. If your kitchen is cold, the first rise can take a lot longer than expected—and the second rise might stall out altogether.
I always recommend letting your ingredients, especially eggs or butter if your recipe calls for them, come to room temperature before starting. Cold ingredients can slow fermentation and throw off your dough’s texture. And when you’re baking with fresh milled flour, which is already more absorbent than refined flour, you want everything to be just right to get that perfectly fluffy crumb.
Tip: If your kitchen runs cold, let your dough rise in your (turned off!) oven with the light on, or warm the oven for just 2-3 minutes, then turn it off before placing your bowl inside.
Boosting Your Bread with Vital Wheat Gluten
Fresh milled flour has all the natural gluten your bread needs—but depending on the grain you use, sometimes it helps to add a little extra boost. That’s where vital wheat gluten comes in. It’s especially helpful if you’re baking with softer wheats or making lighter sandwich-style loaves and want that extra structure.
While I don’t typically use it, adding a teaspoon or two per loaf can help give your dough better elasticity and result in taller, fluffier loaves—especially helpful if you’re transitioning from baking with bread flour or purpose flour.
Some bakers even add a bit of vital wheat gluten when working with sourdough starter and fresh milled flour to support the natural fermentation process. It’s totally optional, but it’s a handy trick to keep in your back pocket!
Super Fluffy Sandwich Bread with Fresh Milled Flour
Ingredients
- 1 ½ cups very warm water (110*f ) 330 grams
- 2 tsp. salt
- ½ cup olive oil 100 grams
- ½ cup honey 130 grams
- 5-6 cups fresh milled flour finely milled (675-810 grams)
- 1 tbsp. instant yeast
- 2 tsp. lemon juice
Instructions
- Combine wet ingredients and the salt in the mixer. (Water, salt, oil, lemon juice and honey)
- Next add half your flour. Mix until well combined.
- Allow the dough to rest in the mixer for 10 minutes before proceeding. This will make a softer loaf and helps to hydrate the fresh flour.
- Add yeast and the rest of your flour. I like to add the flour slowly, 1/2 cup at a time and watch how the dough reacts. You don’t want to add too much flour. Add just enough to where a soft dough forms and the dough begins to pull away from the sides of the bowl.
- Knead dough until smooth and elastic. This takes about 6-8 minutes with a mixer and 10+ minutes if you are kneading by hand. Do the window pane test to ensure the kneading has been done properly.
- First rise. Move the dough to a large bowl and place somewhere warm. I like to use my barely warmed oven(preheat for a few minutes and then turn it off). Allow the dough to rise until double in size, in a warm spot that takes 30-45 minutes. If rising on the counter, cover the dough and it may take longer to double in size.
- Turn dough out onto clean counter and cut in half. Shape loaves and place in greased loaf pans and allow to rise until double in size again.
- Once doubled bake at 350* F. for 25-30 minutes until tops are golden brown and the bread is cooked through, about 190 degrees F.
Nutrition
Let’s Bake!
Making bread at home is one of those simple pleasures that never gets old. Especially when it tastes this good and makes your whole kitchen smell amazing. Give it a try—you’ll feel like a total kitchen rockstar.
Let me know if you bake this! I’d love to hear how it turns out or answer any questions you have 💛


Hello! I have made many successful loaves of FMF bread using my kitchen aid but when switching to the ankarsrum I have yet to have a successful loaf. I followed your recipe along but still having trouble getting the bread to work. Any suggestions when using the Ankarsrum, things to look for? Thanks!
I have a couple of youtube videos about the ankarsrum that may help you. But first, are you using the dough roller? That’s my favorite tool for bread in the ankarsrum
Can I cut this recipe in half to make a single loaf?
I don’t see why not!
Can I make this bread and a bread maker?
Yes as long as your bread maker can handle this volume of dough
Can I reduce the amount of honey? If so, do I need to adjust ratios with something else?
Hi, what size bread pan are you using please? I didn’t see it listed. Thanks!
I haven’t tried it, but I think it would be fine!
I’d like to know too. My loaves are not very tall…. using this recipe
You’d like to know what?
What size pan you use
I’d like to know as well Ty
I’m so excited to try this recipe! I’m curious though, can I substitute butter in place of the olive oil? Will it be similar? Thanks!
This makes the best sandwich bread I’ve made so far with freshly milled flour. Mine takes longer to rise than the recipe says. I’ve used this recipe for hamburger buns, cinnamon rolls, cinnamon swirl bread and it all turned out perfect!
So happy to hear you’re enjoying it! Thanks for commenting and sharing your experience, it truly means so much <3
Marriana thank you for the suggestions. My kids loved this as hamburger buns and cinnamon rolls. I plan to use it to make pizza dough next. I am saving this recipe as my go to bread dough recipe for my fresh milled flour.
I tried this recipe and everything rose so nicely but my bread turned out flat. Any ideas of what I did wrong?
Could be a number of things. First, did you use fresh milled flour? If so, what type of grain and what type of grain mill do you have? Did you use instant yeast or active yeast? Also if you let your bread rise too long in the pan it will fall flat in the oven
My dough seems dense and not sticky what am I doing wrong
Can I use sourdough starter instead of yeast
Possibly, but I haven’t tried it!
I tried this recipe twice, using all the ingredients you recommend, and the dough isn’t rising. What could I be doing wrong? I used warm water the first time. The second time I used a thermometer to make sure the liquid was the optimal temperature to activate the yeast and it still isn’t seeming to rise. I placed it in the oven with the light on (and the oven off), and I used milled wheat. Any tips??
Hi! Could be a number of things. What kind of yeast are you using? What kind of flour? Is the flour milled fine enough? Are you kneading to windowpane?
Hi Kristin! This was the very first thing I ever made with FMF and my family absolutely loved it! I’ve now made it several times and each time it’s turned out great! Do you by chance have a printable version of this recipe I’ve though?
Awesome, so glad to hear it! You should be able to print it right from the recipe card
I would also like to print the recipe but can’t find the recipe card.
Thanks
My loaf pans are 13x4x4 will these work for your recipe?
I’m not too sure. Possiby!
New baker here, can you give temperatures for “very warm water”. Also when you say you add a cup of the spelt is that 1 cup after it’s milled or one cup of wheat berries?
About 110* f. for the water and my measurements are always for the flour after it is milled 🙂 I hope that helps!
Do you sift your flour tomorrow remove the bran before you use it?
No, never remove the bran. It’s the fiber and other nutrients
What size bread pans did you use?
9×5
What type of grain should I mill for this recipe?
Hard white and/or hard red
Im new to fmf and although my sweets taste pretty much the same, bread has not. That’s until I found this recipe, I just made my first soft, non crumbly, delicious loaf bread. 😋 thanks for sharing your recipe. I did use 200g of soft white and the rest with hard red.
SOOO Happy to hear this!! Welcome to the wonderful world of FMF!
I’ve made this a few times. My kids love this bread! When I go to add the rest of the flour and watch for it to pull away from the bowl, mine will start to bulk up and pull away, but as I continue to knead it, it goes back to getting stuck on the side of the bowl again. Is that normal? Or do I still need to add more flour? I’m always afraid I’m going to add too much so I’m always second guessing myself.
I’ve been making fresh-milled bread for 4 years now and I love using this recipe. It’s the one I use for cinnamon rolls, bread, cinnamon twists, rolls, etc. I like to play with the grain ratios but really like using Kamut (40%), hard white (40%), and hard red (20%). I also add a TBSP of vital wheat gluten and 2 TBSP of sunflower lecithin. Those ingredients aren’t necessary though…they just help with the softness. Thanks for all your lovely recipes!!! I also have one of your books and love the bagel recipe!
Turned out great!
Can I long, cold rise in the fridge?
Yes that should work fine!
I am trying the recipe for the first time. (I am new to Fresh Milling, so I am go strictly by the recipes, I have not learned how to tweak, or recognize too much of an ingredient yet). After I let the dough set, and began adding the remaining flour, it was way too much, put a strain on my Ankarsrum, so I added a bit more water. If I this again, I think, I will add just enough of the flour so that it stays wet????