
The Best Sourdough Pizza with Freshly Milled Flour
This post may contain affiliate links. Please read our Disclosure Policy.
If you’ve ever wondered how a simple pizza can turn into a culinary adventure, let me introduce you to sourdough pizza made with fresh milled flour. There’s something wildly satisfying about the nutty, earthy aroma that comes from grinding your own flour combined with the tangy charm of sourdough. It’s like your taste buds are taking a little trip to artisan heaven right in your own kitchen. Plus, making the dough from scratch invites a bit of that joyful unpredictability we all secretly love when cooking. The process invites you to slow down and appreciate each element—from the nutty flour to the tangy starter and the crisp, warm crust fresh from the oven. Whether you’re impressing friends or enjoying a family pizza night, this delicious pizza crust is a good way to introduce comfort, flavor, and the satisfaction of homemade goodness. So next time you crave pizza, why not give this artisanal twist a try? Let’s dive into what makes this the perfect recipe.

What Makes This the Perfect Pizza Dough
Freshly milled flour for unbeatable flavor
Using flour you mill yourself is the best part of this sourdough pizza dough. It adds a depth and vibrancy to the dough that store-bought flours just can’t match. The natural oils and slight coarseness give your pizza crust a delightful bite and a rich, toasted aroma.
The magic of sourdough fermentation
The sourdough starter does all the heavy lifting here, creating a dough that’s beautifully airy with just the right tang. Plus, it’s a healthier option, thanks to the natural fermentation process that breaks down gluten and adds beneficial probiotics.
A fun and rewarding process
Grinding your own flour and nurturing a sourdough starter might sound intimidating, but it’s a deeply rewarding kitchen project. It turns a simple meal prep into a hands-on experience worth savoring—every rise and stretch of the dough tells a story.
A better texture, naturally Thanks to the strength of fresh flour and the structure from sourdough fermentation, your crust gets that ideal balance: crisp edges, chewy center, and a soft, flavorful bite—without additives or conditioners.
You control every ingredient No preservatives. No weird dough enhancers. No mystery oils. Just fresh grain, filtered water, natural starter, and salt. When you mill it yourself and ferment it naturally, you’re keeping your food as real and nourishing as it gets.
For more freshly milled recipes check out out our delicious strawberry brownies or super fluffy sandwich bread!
Overview of Core Ingredients and Substitutions
Fresh Milled Flour
This is the star ingredient, and milling your own wheat berries offers a fresh, nutty flavor and a texture far superior to pre-packaged flours. If you don’t have a grain mill, high-quality whole wheat or bread flour can be a good substitute, though some of the vibrant flavor will be lost.
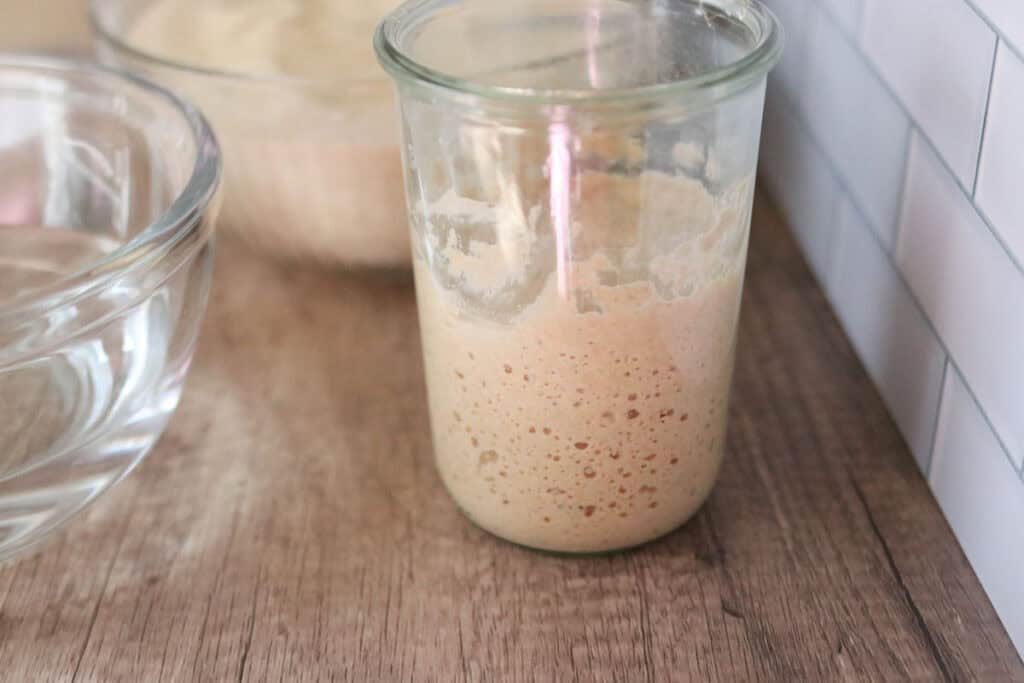
Sourdough Starter
A lively sourdough starter adds complexity and acts as your natural yeast, making the dough rise with that signature tang. If you’re new to sourdough, don’t worry—there are plenty of easy starter recipes online.
Water
Use filtered water for the best flavor and fermentation results. Tap water is usually fine, but if your tap water is heavily chlorinated, try using bottled or filtered water to avoid hindering the starter’s activity.
Salt
Salt enhances the flavor and controls fermentation, making sure your dough doesn’t turn into a wild party.
Olive Oil
A good olive oil adds tenderness to the dough and imparts a mild fruity flavor. Avocado oil is a good replacement here if you do not have olive oil.

Tips for Success
#1 Keep your starter lively
Feed your sourdough starter regularly and keep it at room temperature before using. A bubbly, active starter ensures better rise and flavor development in your pizza dough.
#2 Don’t rush the fermentation
Patience is your dough’s best friend—allow it to ferment for at least 2-5 hours or overnight in the fridge for a richer, more complex taste. Quick rises might be tempting, but the flavor payoff is well worth the wait.
#3 Keep the dough hydrated
Slightly higher hydration (more water) in your dough creates a lighter, airier crust. If the dough feels sticky, don’t worry—that’s a good sign of hydration, just be gentle when shaping it.
#4 Don’t overload your toppings
It’s tempting to pile on every favorite topping, but too much can weigh down your dough and make it soggy. Keep it balanced for a perfectly crisp crust and well-roasted toppings.
#5 Use fresh, quality toppings
From tomatoes to basil to mozzarella, freshness matters here. The simple, clean flavors really shine when your base dough is this spectacular.
Helpful Tools & Supplies
Whether you’re just dipping your toes into the world of fresh milled flour or you’re a seasoned home baker, I’ve taken the guesswork out of what you truly need. All of these tools and resources are available in my shop, designed to help your journey be smooth and nourishing:
Grain Mills
- NutriMill Classic Grain Mill – My go-to for fine, consistent milling; perfect for sandwich breads and everyday baking.
- NutriMill Harvest Grain Mill – Stone-ground elegance: this model delivers whole-grain flavor with a beautiful appearance.
Mixers
- Ankarsrum Mixer – A powerhouse kitchen companion with multiple speeds and attachments—ideal for kneading bread dough effortlessly.
Baking & Bread Tools
- Bread Bow Knife – Artisan-made with a high-carbon steel blade and cherry wood handle—this knife slices loaves with ease.
- Sourdough Essentials Kit With Starter – Complete starter kit that includes dehydrated sourdough starter, banneton baskets, a dough whisk, scoring lame, and more.
Cookbooks & eBook Bundles
- Everyday Whole Grains Vol. 1 & 2 (printed & digital) – Packed with 70+ recipes built around fresh milled flour, from breads to snacks and desserts.
- The Fresh Breads Bundle – A comprehensive set including eBooks like The Perfect Loaf, the Cookie Jar, bulk baking guides, and a sourdough mini‑course—all centered on fresh milled flour.
- Freshly Milled Made Simple Guide – A video-based guide that walks you through milling and baking basics, making the process feel easy and approachable.
Specialty Items
- Dehydrated Sourdough Starter – Just add water and flour to rehydrate this starter—perfect for bakers without an active sourdough culture.
- I Knead Fresh Flour Mug – A charming, handmade 12 oz ceramic mug—great for coffee breaks during dough rising!
Why These Are Worth It
Every tool in this collection has been personally vetted to support you in baking with fresh milled flour. From the grain mills that make your flour, to mixers that knead dough, to resources that teach you every step—it’s all here to make sure your homemade bread journey is joyful, nourishing, and successful.
➡️ Explore all of these items and more in the Generation Acres Farm Shop — your one-stop spot for fresh milled flour baking essentials.

Equipment for Sourdough Pizza Crust:
Mixing bowls
Cast iron pizza pan
Rolling pin or hands for shaping dough
Pizza cutter
How to Make The Best Sourdough Pizza Crust
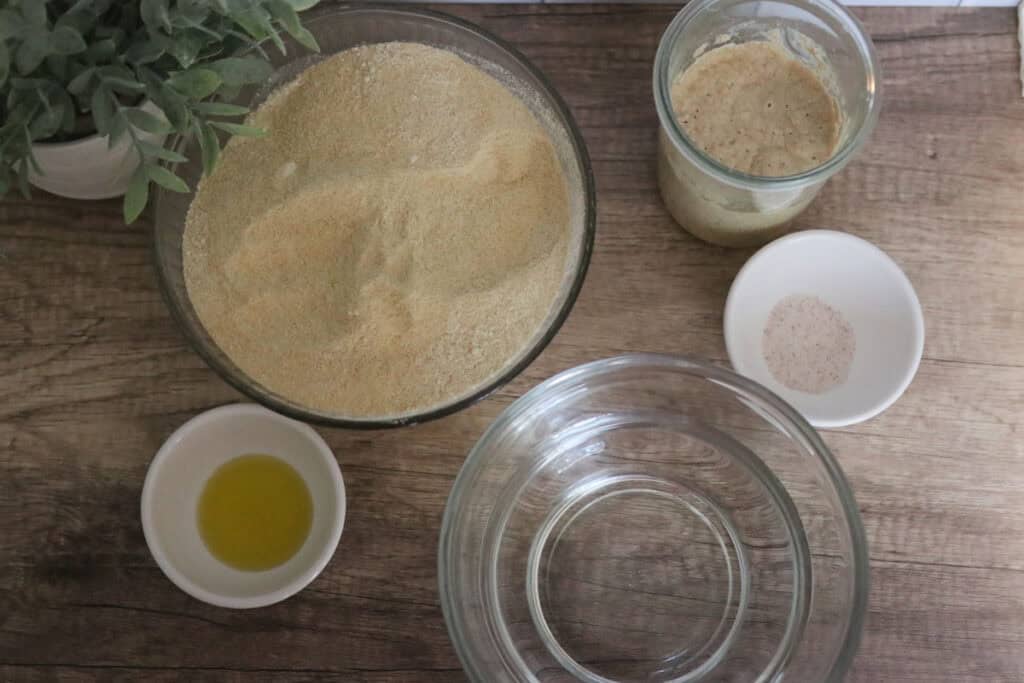
INGREDIENTS
900g flour
630g water
180g active sourdough starter
3 tsp Salt
3-5 tsp. Olive oil
INSTRUCTIONS
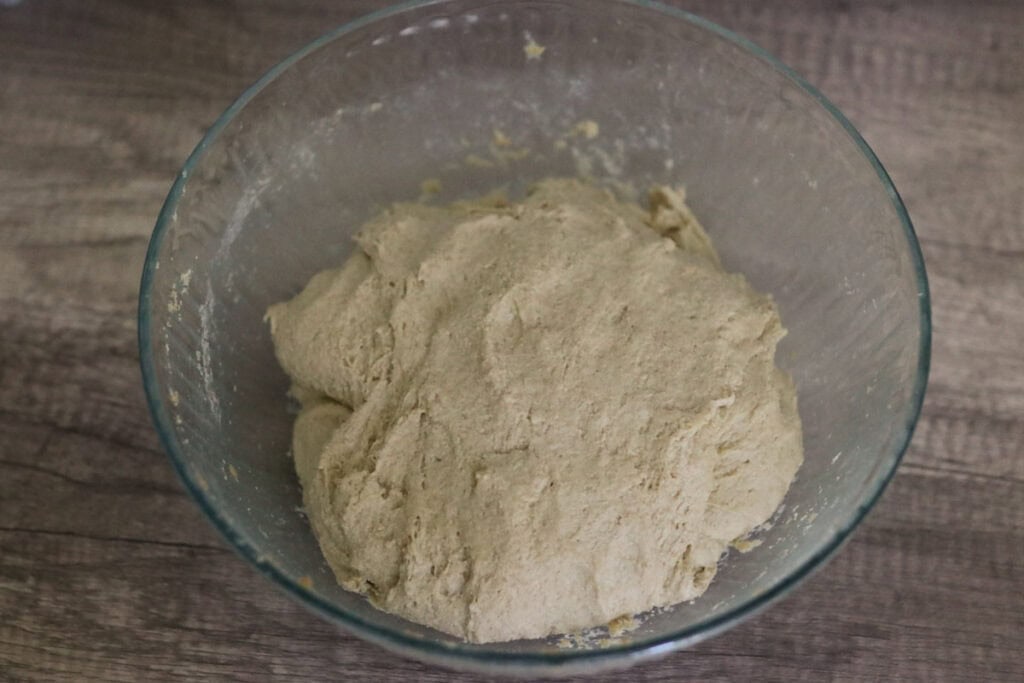
- Stir the water and starter in a large bowl.
- Add the flour and olive oil. Mix well until full combined.

- Let the dough rest for 30 minutes.
- Add salt and mix in the salt thoroughly by hand.
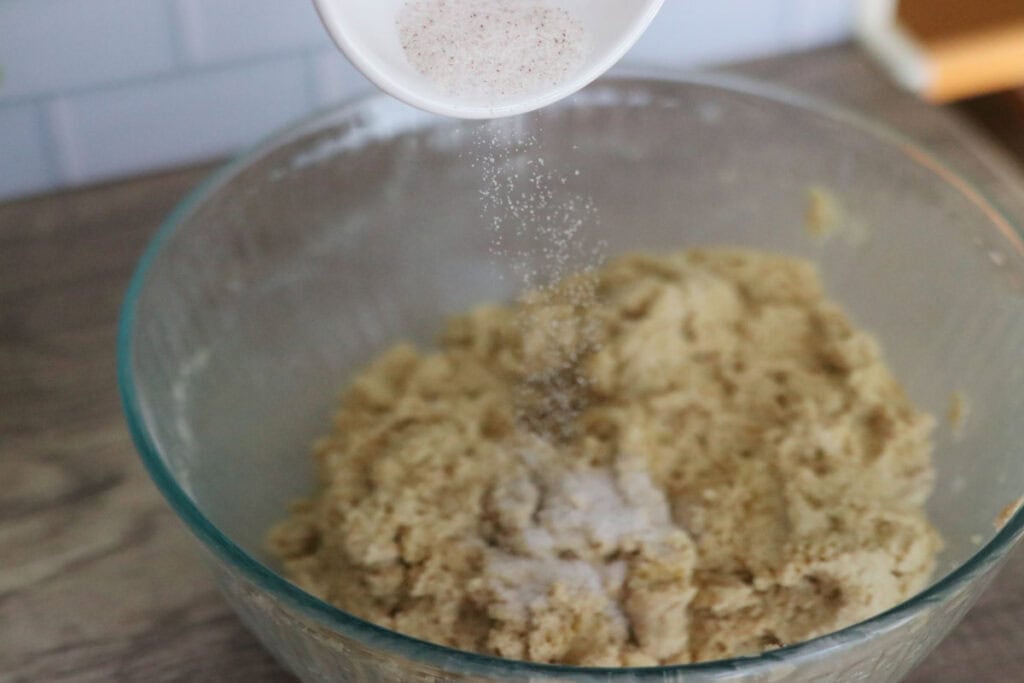
- Rest for another 30 minutes.
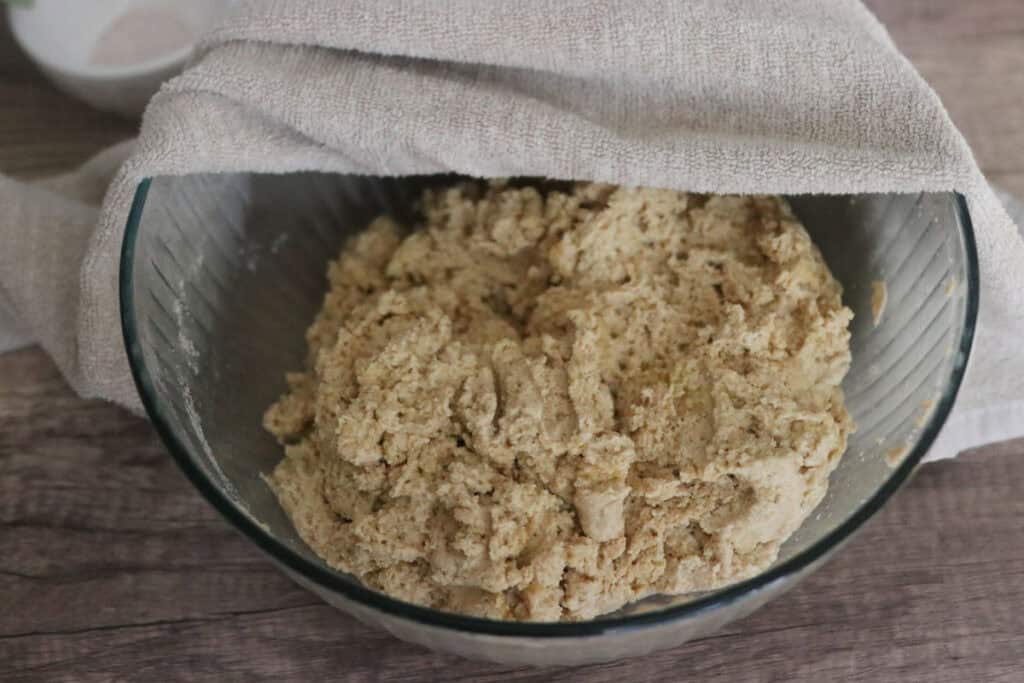
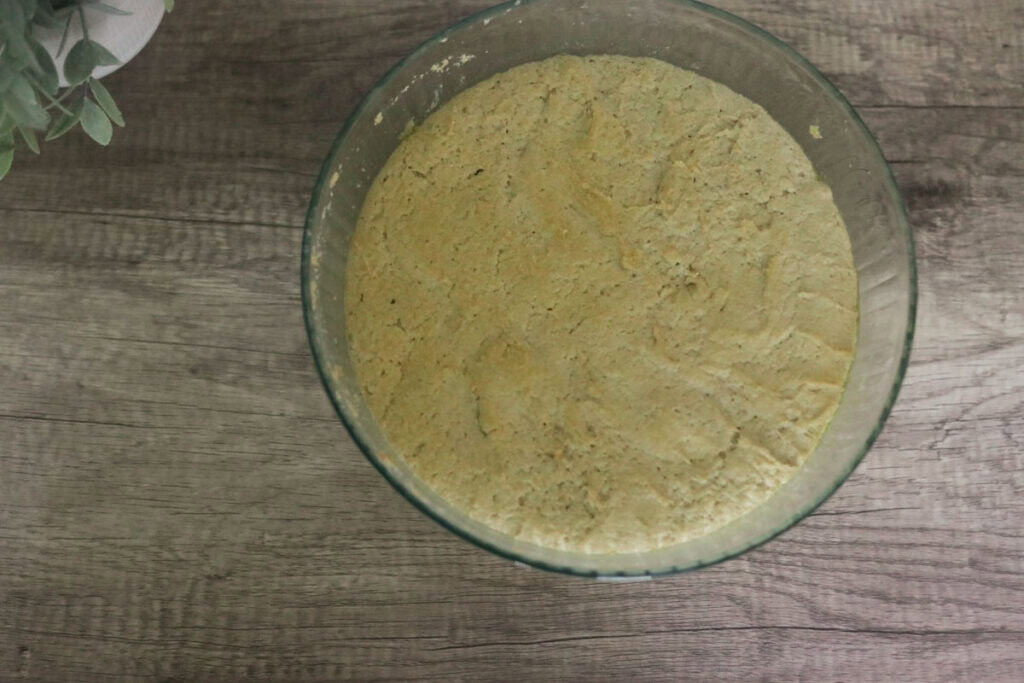
- Set a timer for 30 minutes and do 4 sets of coil folds 30 minutes apart.
- After the coil folds, drizzle olive oil in the bottom of the bowl and cover the dough for the bulk ferment. The dough should double in size in 2-5 hours.
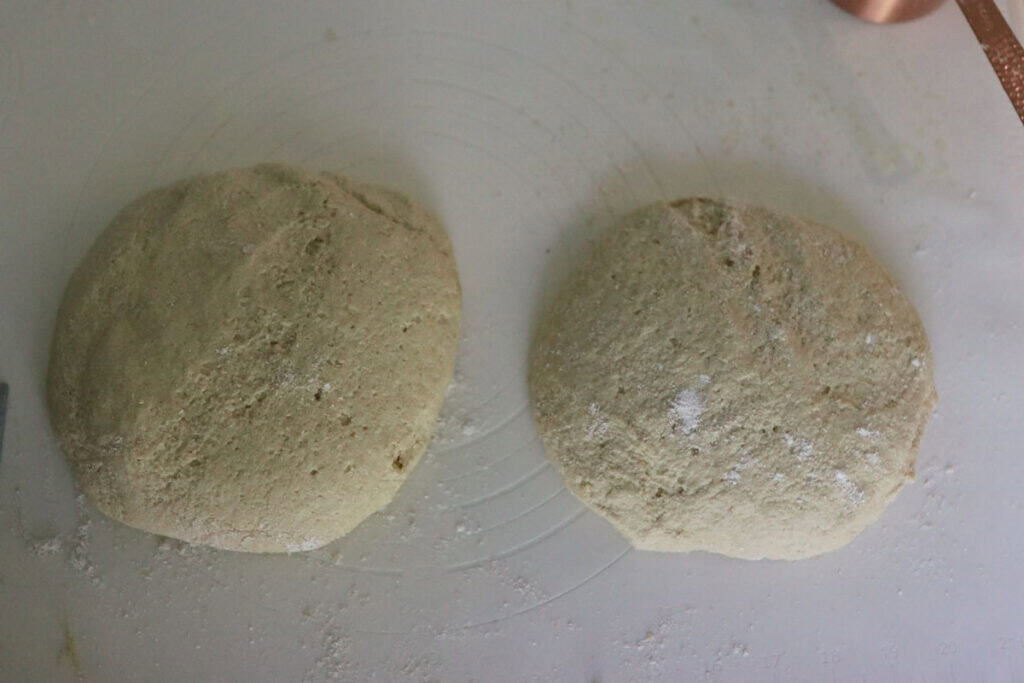
- After the dough has doubled, turn out onto floured surface and cut into 2 even pieces.
- Form the dough pieces into balls and place them into ziplock bags that have been drizzled with olive oil.
- You can use them straight away, place them in the refrigerate to continue fermenting for a couple days then cook them or store them in the freezer for up to 3 months.
BAKING
- Preheat oven to 450*
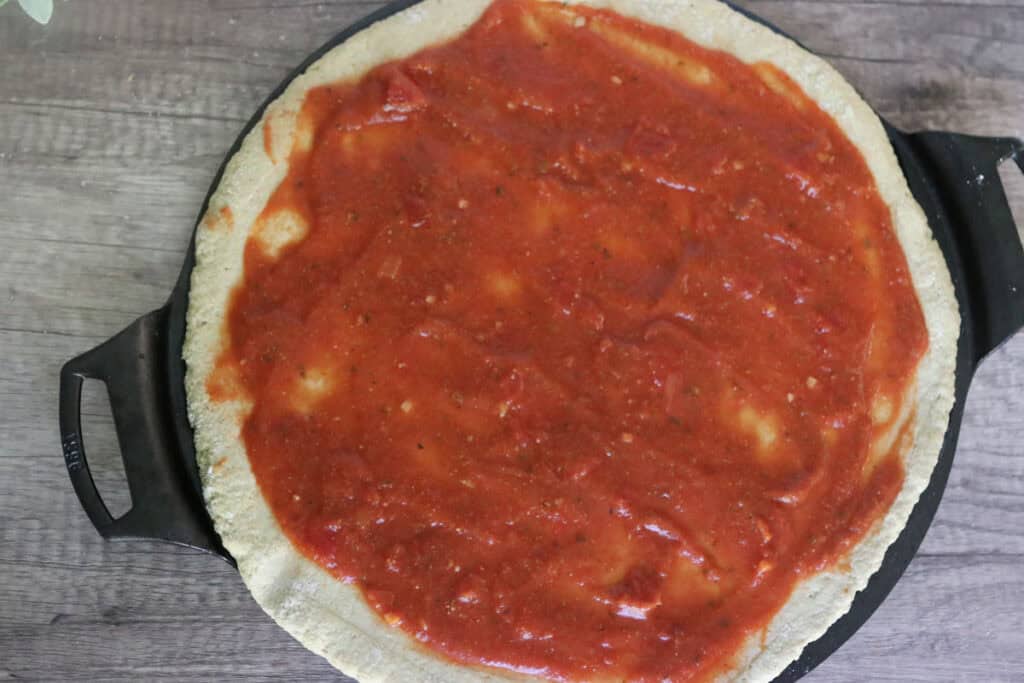
- Roll out dough and place on parchment lined baking sheet
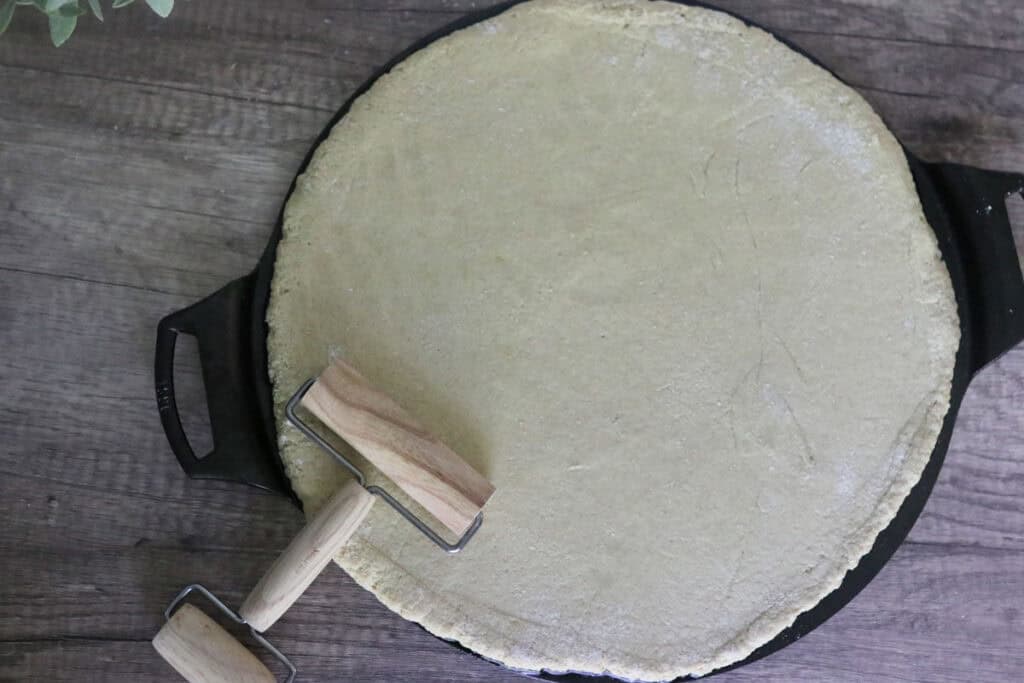
- Add desired pizza sauce, cheese and favorite toppings.
- Cook for 8-10 minutes or until golden brown and cooked through.

- If the cheese is not browning, you can broil the pizza for a few minutes.

Favorite Topping Variations to Include in Your Recipe
1. Tomato & Basil (Classic Margherita Style)
Sliced heirloom tomatoes or cherry tomatoes
Fresh basil leaves
Fresh mozzarella
Optional: drizzle of olive oil and a pinch of flaky salt after baking
2. Roasted Veggie Medley
Zucchini, bell peppers, red onion, and mushrooms (pre-roasted)
A thin spread of garlic olive oil instead of sauce
Sprinkle of goat cheese or dairy-free feta
Fresh arugula tossed on top after baking
3. Garden Veggie Supreme
Sautéed spinach or kale
Cherry tomatoes
Olives, red onion, and banana peppers
Shredded mozzarella
Sprinkle of fresh oregano after baking

Recipe Variations
Add Herbs to Dough:
Incorporate dried oregano or rosemary into the dough for an herbal twist.
Toppings Mix-Up:
Experiment with roasted veggies, spicy sausage, or even a drizzle of honey for a sweet-savory surprise.
Flatbread Style:
Skip the rising time for a quicker, thinner flatbread pizza option.
Flavor Boosters
Brush the crust with garlic-infused olive oil before baking to add an aromatic layer of flavor.
Sprinkle freshly cracked black pepper and red chili flakes on your pizza before baking for a subtle kick that wakes up your taste buds.
Add a pinch of smoked sea salt to your dough or topping ingredients for a delicate smoky undertone without the smokehouse.
Top finished pizza with fresh basil leaves or arugula tossed in lemon juice to introduce freshness and a peppery bite.
A drizzle of aged balsamic vinegar over the hot pizza just before serving brings a delightful sweet tang that balances the savory flavors beautifully.
What To Serve With Your Sourdough Pizza
Simple Green Salad
Light, crisp greens dressed with lemon vinaigrette refresh the palate and provide a lovely contrast to the pizza’s richness.
Roasted Garlic
The mellow sweetness of roasted garlic served on the side pairs beautifully with the tangy sourdough crust.
Grilled Vegetables
Seasonal grilled veggies give a smoky, caramelized side that’s both healthy and tasty alongside your pizza.
Troubleshooting Common Problems with this Recipe
Dough Won’t Rise
If your dough feels dense or is not rising, check your sourdough starter’s activity first—it might need feeding or more warmth. Make sure the environment is cozy but not too hot, ideally around 75-80°F (24-27°C).
Crust Is Too Tough
Avoid overworking the dough and don’t add too much flour when shaping—it should be soft and slightly sticky. Also, ensure you don’t bake at too low a temperature that can dry out the crust.
Soggy Center
If your pizza base is soggy in the middle, preheat your pizza stone or steel thoroughly and try par-baking the crust for a few minutes before adding toppings. Also, go light on watery toppings like fresh tomatoes to prevent sogginess.
Overly Sour Taste
While sourdough is tangy, an overly sour dough might result from letting the dough ferment too long or using an overly acidic starter. Adjust fermentation times or feed your starter more frequently to mellow out the flavor.
Burnt Edges
Check your oven temperature with an oven thermometer; some ovens run hotter than their settings. Rotate your pizza during baking for more even cooking and avoid placing toppings too close to the edge. Freezing & Storing Leftovers
Freezing:
Let the pizza cool completely before wrapping it tightly in plastic wrap and placing it in a freezer-safe bag or container. Freeze for up to 2 months. When ready to enjoy, thaw at room temperature before reheating.
Storing:
Store leftover pizza in an airtight container or wrapped tightly in the refrigerator for 3-4 days. To keep the crust from getting too soggy, place a paper towel under the pizza slices in the container.

How To Reheat
Oven Method
Best for preserving the crispy crust and melted toppings. Preheat your oven to 375°F (190°C). Place leftover pizza directly on the oven rack or a baking sheet and heat for about 10 minutes or until warmed through and crispy.
Microwave Method
A speedy option but may soften the crust. Place pizza on a microwave-safe plate, cover with a paper towel to prevent splatters, and heat for 30-60 seconds depending on your microwave’s power.
Skillet Method
Use a skillet over medium heat, place the pizza slice in the pan, cover with a lid, and heat for 4-6 minutes. This method crisps the base nicely and melts the cheese without overcooking.
Toaster Oven Method
Perfect for small portions. Preheat the toaster oven to 375°F (190°C), place the pizza inside, and reheat for 5-7 minutes for a crispy and warm slice.
Extra FAQs
How do I know when my sourdough starter is ready to use?
Look for bubbles throughout the starter, a pleasant tangy smell, and it should roughly double in size within 4-6 hours after feeding.
Is sourdough pizza healthier than regular pizza?
Sourdough fermentation can improve digestibility and nutrient absorption, making it a slightly healthier option with a unique flavor profile.
Can I freeze sourdough pizza dough?
Yes, you can freeze the dough after the first rise. Wrap tightly and thaw in the refrigerator overnight before shaping and baking the next day.
What’s the best temperature for baking sourdough pizza?
A high temperature, typically 450-500°F (230-260°C), bakes the pizza quickly and crisps the crust without drying out the toppings.

The Best Sourdough Pizza with Freshly Milled Flour
Ingredients
- 900 g flour
- 630 g water
- 180 g active sourdough starter
- 3 tsp Salt
- 3-5 tsp. Olive oil
Instructions
- Stir the water and starter in a large bowl.
- Add the flour and olive oil. Mix well until full combined.
- Let the dough rest for 30 minutes
- Add salt and mix in the salt thoroughly by hand.
- Rest for another 30 minutes.
- Set a timer for 30 minutes and do 4 sets of coil folds 30 minutes apart.
- After the coil folds, drizzle olive oil in the bottom of the bowl and cover the dough for the bulk ferment. The dough should double in size in 2-5 hours.
- After the dough has doubled, turn out onto floured surface and cut into 5 even pieces.
- Form the dough pieces into balls and place them into ziplock bags that have been drizzled with olive oil.
- You can use them straight away, place them in the refrigerate to continue fermenting for a couple days then cook them or store them in the freezer for up to 3 months.
Baking:
- Preheat oven to 450*
- Roll out dough and place on parchment lined baking sheet
- Add desired pizza sauce, cheese and favorite toppings.
- Cook for 8-10 minutes or until golden brown and cooked through
- If the cheese is not browning, you can broil the pizza for a few minutes.


Easy to follow recipe that turned out pretty decent. If I were to make it again, I would try adding more salt as the crust was pretty bland in flavor for being whole grain. I also baked mine longer than 10 minutes – closer to 20 to make sure the crust was crispy.