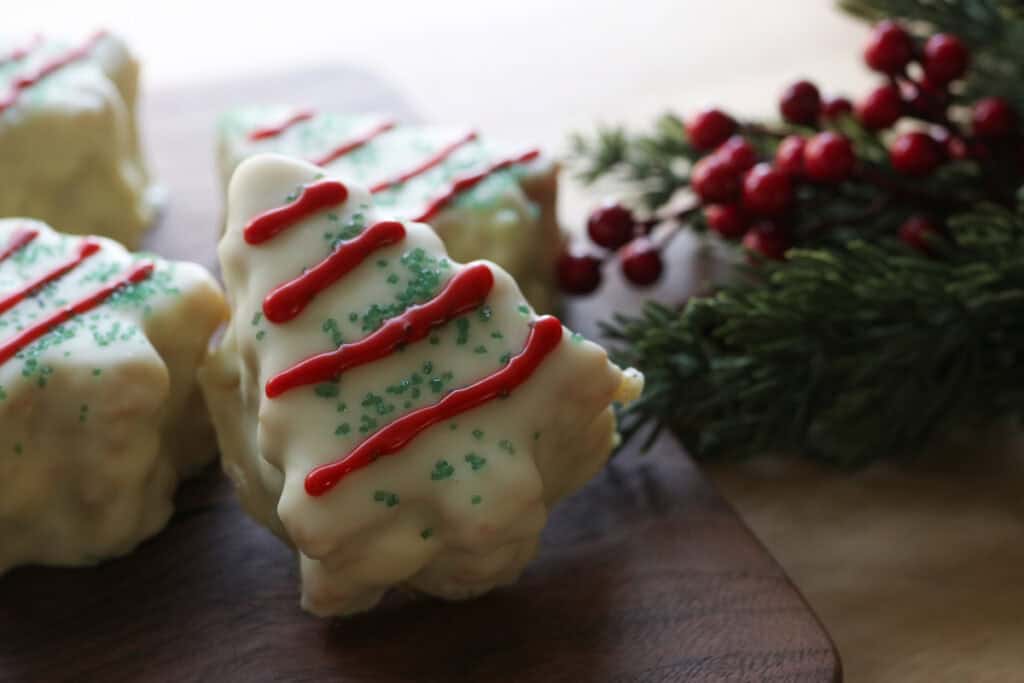
Fresh Milled Little Debbie Christmas Tree Cakes
This post may contain affiliate links. Please read our Disclosure Policy.
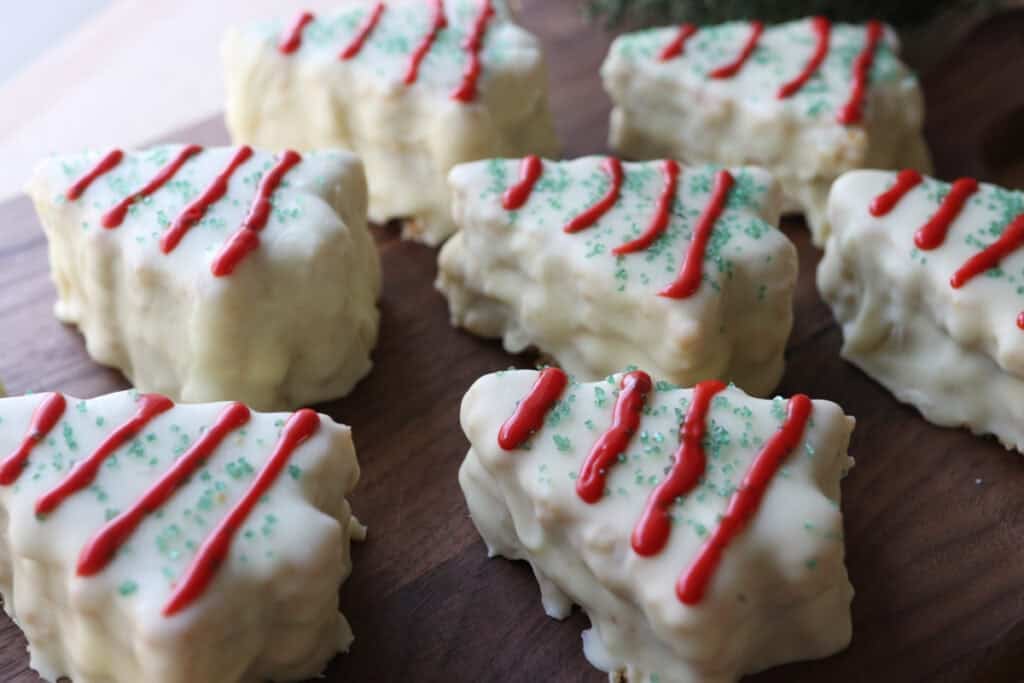
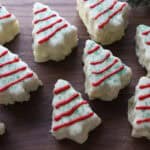
If you’ve ever enjoyed those nostalgic Little Debbie Christmas Tree Cakes, you know they’re a sweet little holiday hug disguised as a snack cake. Making a copycat version at home feels like a festive kitchen adventure, and using fresh milled flour and real ingredients adds an extra cozy touch that transforms these little cakes into a festive treat. Plus, there’s a charming satisfaction in turning simple ingredients into edible holiday magic right in your own oven. Whether you’re baking for your next holiday party or just craving a seasonal favorite, these homemade Little Debbie Christmas tree cakes are sure to spread warmth and smiles. Let’s make these Christmas trees together—because the holidays are simply better with a little homemade charm.
What Makes This Recipe Great
Classic nostalgia with a homemade twist.
Capturing the iconic look and taste of Little Debbie Christmas Tree Cakes at home is as heartwarming as it is delicious. Using fresh milled flour adds a wholesome depth and a slight nutty flavor that store-bought versions can’t match.
Impressively simple yet festive.
This recipe isn’t complicated, but the end result looks like you spent hours crafting these holiday treats. Perfect for making ahead and sharing with family, friends, or surprising your coworkers with something a little extra festive.
Fresh milled flour for superior texture and flavor.
Grinding your own flour right before baking makes a noticeable difference—it brings a fresh, vibrant grain flavor and a tender crumb that’s both light and delightfully moist, elevating these copycat Christmas tree cakes beyond the usual snack.
For more fresh milled Christmas treats, try this Cinnamon Sugar Star Bread or these Crispy Gingersnap Cookies!
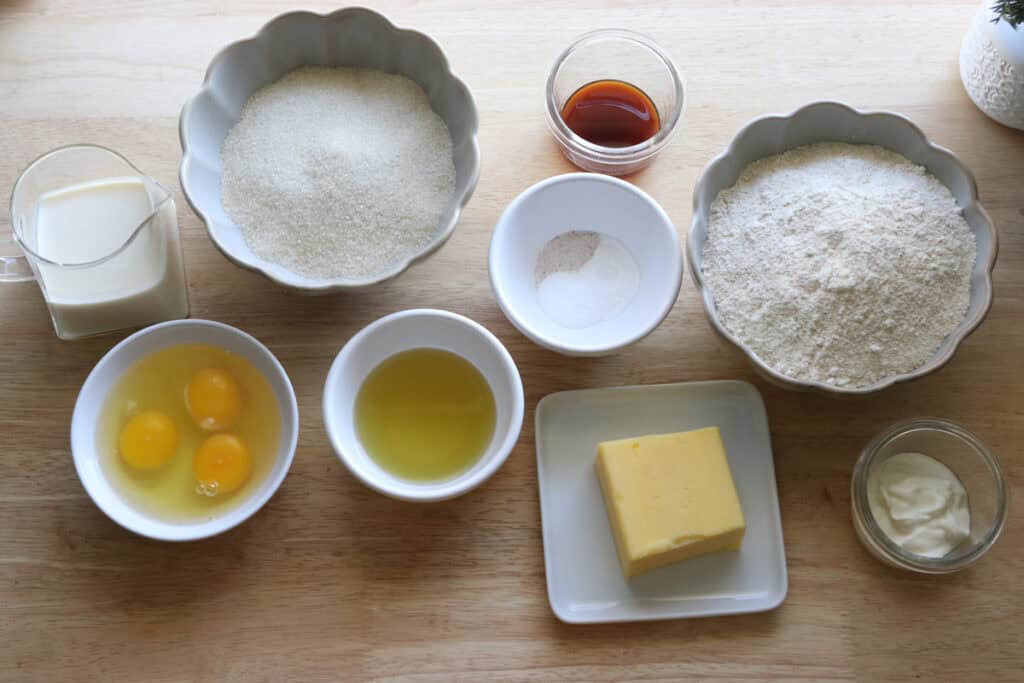
Overview of Ingredients
Fresh Milled Flour
Using freshly milled flour is like the baker’s secret weapon for amazing flavor and texture. If you find yourself without a mill, you can use high-quality all-purpose flour, but expect a slightly less nuanced taste.
White Chocolate
The white chocolate shell creates that smooth coating that gives these Christmas tree snack cakes their signature look and taste.
Powdered Sugar
Essential for the classic fluffy white frosting, powdered sugar blends smoothly without any grit. If you want to lighten it up, a sift before mixing helps prevent lumps and ensures your frosting is silky.
Butter
Butter lends richness and a tender crumb to the cakes. Unsalted butter lets you control the salt levels, but salted butter can be used with a slight adjustment to any additional salt in the recipe.
Tips for Success
#1 Mill your flour fresh
If you have a grain mill, milling your flour right before baking will significantly enhance the flavor and texture of these cakes. Fresh flour has oils that start to dissipate once milled, so a same-day grind keeps your cakes moist and fragrant.
#2 Don’t skip sifting
For the best cake crumb, sift your dry ingredients thoroughly. It avoids lumps, making for a smooth, professional-looking finish on your cakes.
#3 Use room temperature butter and eggs
Room temperature ingredients blend more evenly, which helps with the cake’s tender crumb and frosting consistency. It’s an easy step that avoids curdling and ensures even rising of the cakes.
#4 Chill before decorating
After baking, chilling the cakes helps the cake to set firmly and not be crumbly. This prevents crumbs from getting in the white chocolate during the dipping process.
#5 Practice gentle folding
When combining your wet and dry ingredients, gently mix, rather than mixing vigorously. This keeps the batter airy and results in a light, fluffy texture reminiscent of the original Christmas Tree Cakes.
Helpful Tools & Supplies
Whether you’re just dipping your toes into the world of fresh milled flour or you’re a seasoned home baker, I’ve taken the guesswork out of what you truly need. All of these tools and resources are available in my shop, designed to help your journey be smooth and nourishing:
Grain Mills
- NutriMill Classic Grain Mill – My go-to for fine, consistent milling; perfect for sandwich breads and everyday baking.
- NutriMill Harvest Grain Mill – Stone-ground elegance: this model delivers whole-grain flavor with a beautiful appearance.
Mixers
- Ankarsrum Mixer – A powerhouse kitchen companion with multiple speeds and attachments—ideal for kneading bread dough effortlessly.
Baking & Bread Tools
- Bread Bow Knife – Artisan-made with a high-carbon steel blade and cherry wood handle—this knife slices loaves with ease.
- Sourdough Essentials Kit With Starter – Complete starter kit that includes dehydrated sourdough starter, banneton baskets, a dough whisk, scoring lame, and more.
Cookbooks & eBook Bundles
- Everyday Whole Grains Vol. 1 & 2 (printed & digital) – Packed with 70+ recipes built around fresh milled flour, from breads to snacks and desserts.
- The Fresh Breads Bundle – A comprehensive set including eBooks like The Perfect Loaf, the Cookie Jar, bulk baking guides, and a sourdough mini‑course—all centered on fresh milled flour.
- Freshly Milled Made Simple Guide – A video-based guide that walks you through milling and baking basics, making the process feel easy and approachable.
Specialty Items
- Dehydrated Sourdough Starter – Just add water and flour to rehydrate this starter—perfect for bakers without an active sourdough culture.
- I Knead Fresh Flour Mug – A charming, handmade 12 oz ceramic mug—great for coffee breaks during dough rising!
Why These Are Worth It
Every tool in this collection has been personally vetted to support you in baking with fresh milled flour. From the grain mills that make your flour, to mixers that knead dough, to resources that teach you every step—it’s all here to make sure your homemade bread journey is joyful, nourishing, and successful.
➡️ Explore all of these items and more in the Generation Acres Farm Shop — your one-stop spot for fresh milled flour baking essentials.
Equipment:
Baking Sheet
Electric Mixer
Whisk and Spatula
Wire rack
Sifter
Piping Bag or Small Spoon for Decorating
How to Make Little Debbie Christmas Tree Cakes
Ingredients
Cake:
- 2 ½ cups freshly milled soft white wheat flour, finely milled and sifted (325 grams)
- 1 ½ teaspoons baking powder
- 1 teaspoon baking soda
- ¾ teaspoon salt
- 1 ½ cups maple sugar or sugar (180 grams)
- 3 eggs
- 1 teaspoon vanilla extract
- ¾ cup buttermilk (190 grams)
- ½ cup softened butter (115 grams)
- ¼ cup avocado oil (50 grams)
- ¼ cup plain greek yogurt (52 grams)
Icing:
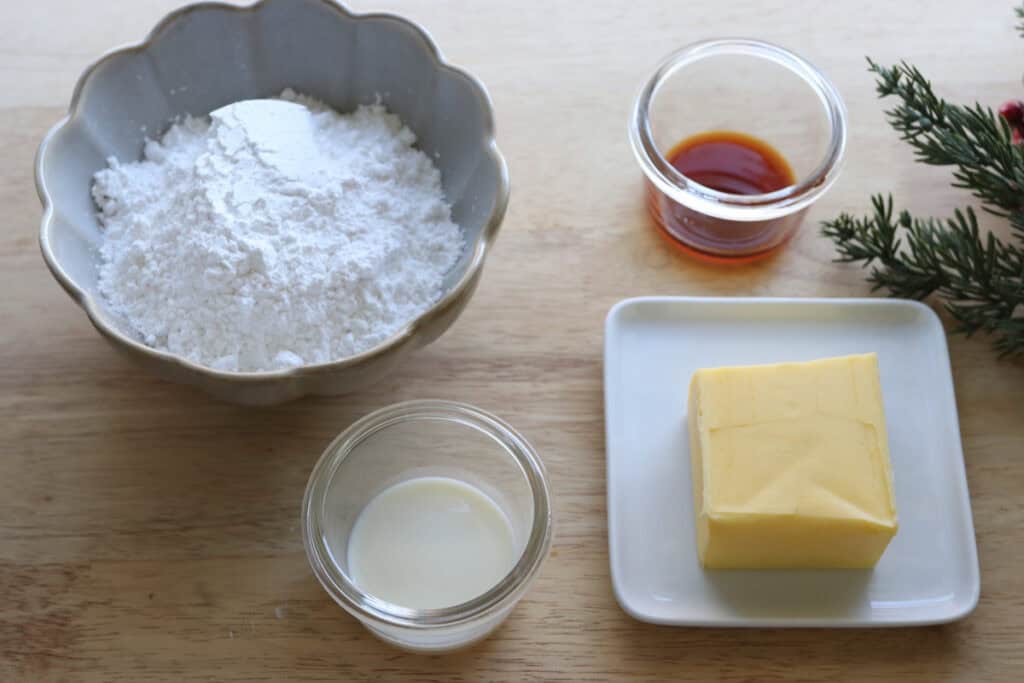
- ½ cup softened butter (115 grams)
- 1 ½ cups powdered sugar (150 grams)
- ½ teaspoon vanilla extract
- 2-3 tablespoons milk
Coating:
- 28 oz white chocolate chips
- 4 tablespoons coconut oil
Topping:
- ⅓ cup powdered sugar (33 grams)
- plant based food coloring (gel or powder)
- green sprinkles
Directions:
- Preheat the oven to 350 degrees F.
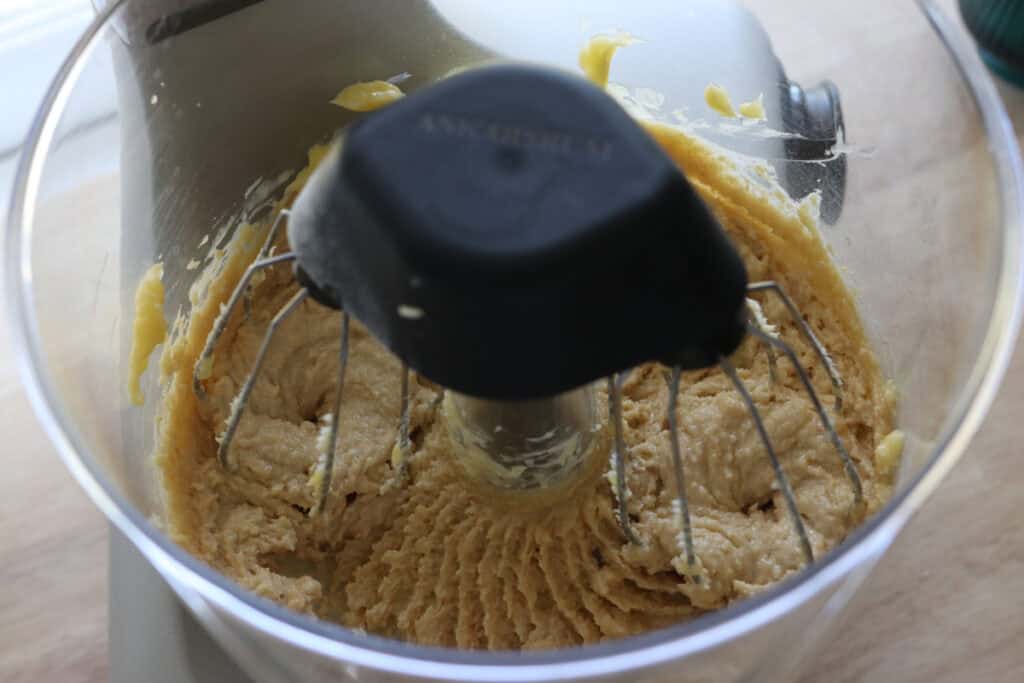
- In the bowl of a stand mixer, cream together butter, oil, and sugar.
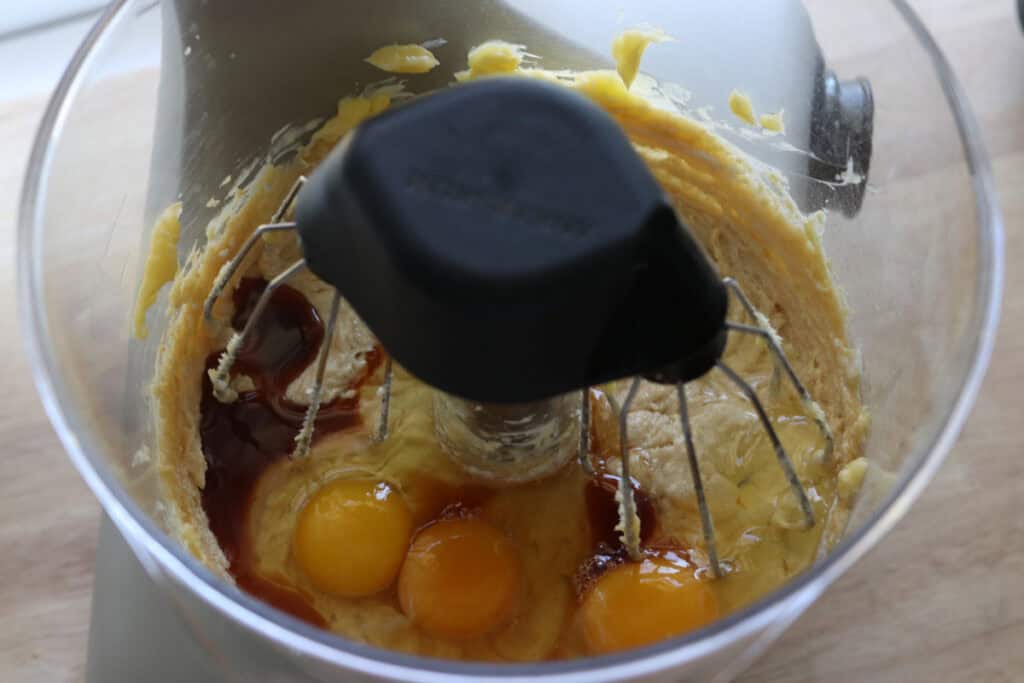
- Add in eggs and vanilla and beat until light and fluffy, for a couple minutes.

- Then add in the yogurt and mix until combined.
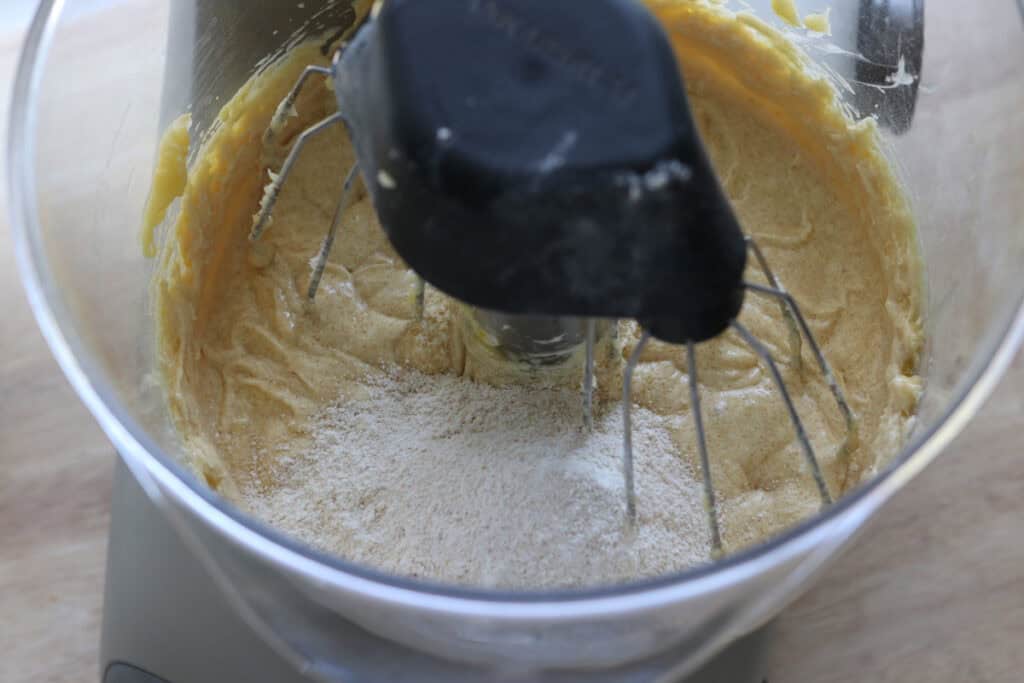
- After you mill your flour, pour it through a sifter and sift until most of the bran is left behind. You should have 325 grams after it has been sifted.
- In a medium bowl, mix together flour, baking powder, baking soda, and salt.
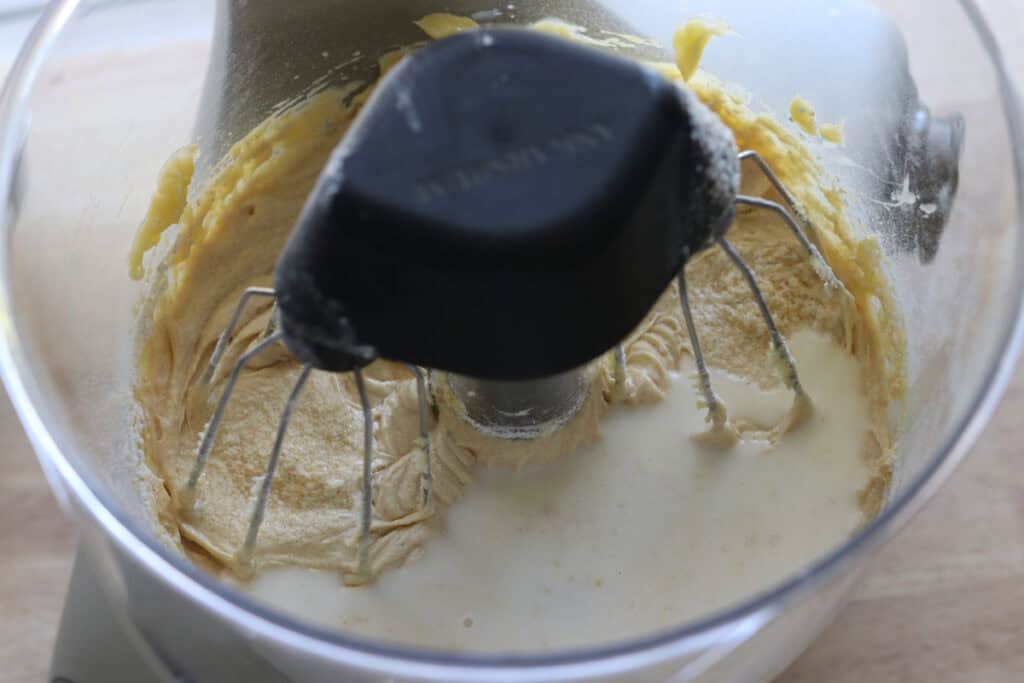
- Working in batches, add ⅓ of the flour mixture into the batter, then half of the buttermilk, mixing well between each addition. Repeat, and end with adding in the last of the flour.

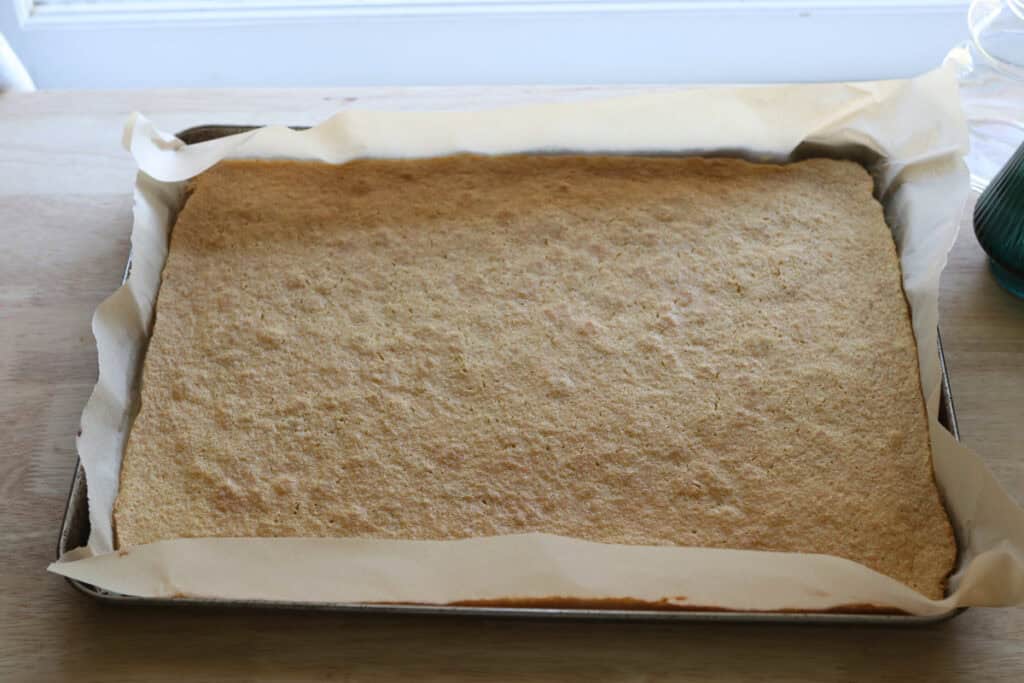
- Pour cake batter into a rimmed baking sheet lined with parchment paper in a thin layer. You can use either a large baking sheet (about 13 x 18), or two smaller baking sheets.
- Bake for 17-20 minutes.
- Allow the cake to cool.
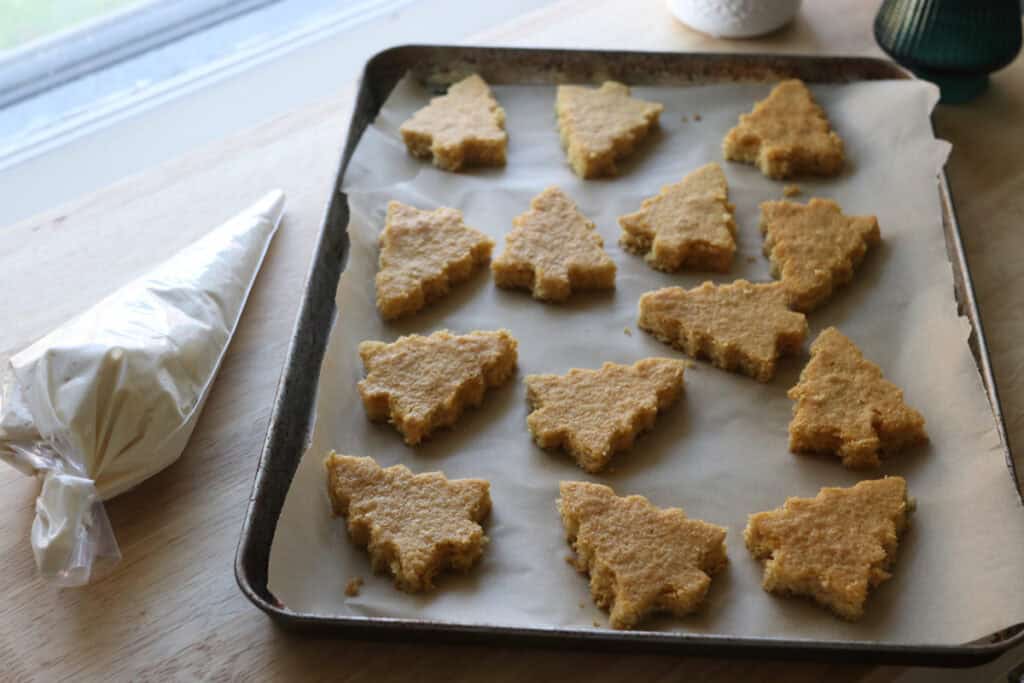
- Using a Christmas tree cookie cutter, cut out Christmas tree shapes while the cake is still in the pan.
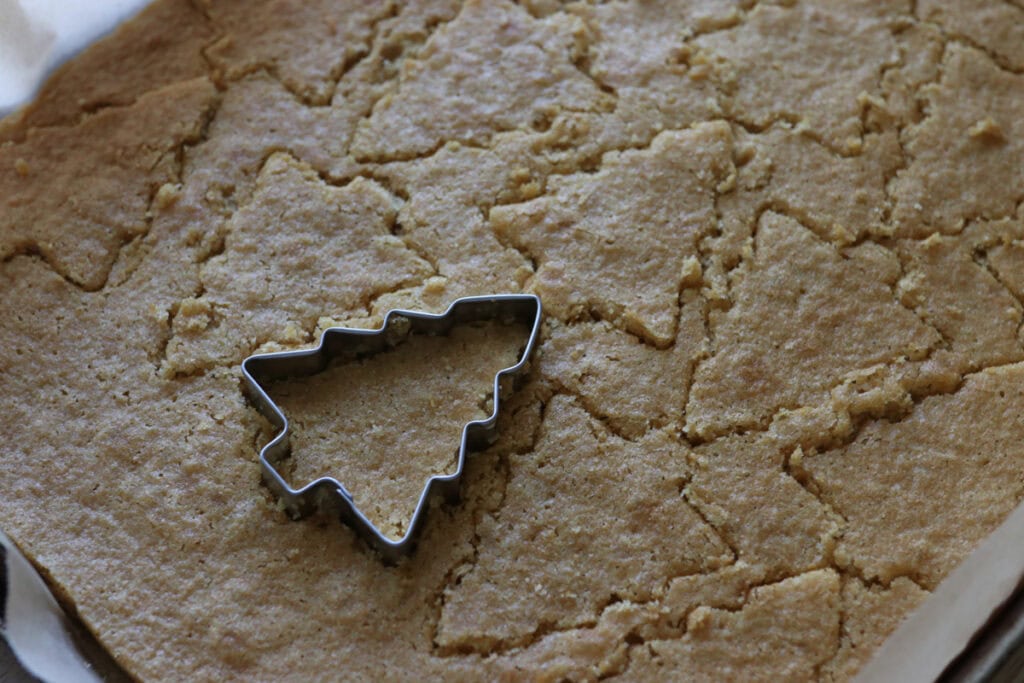
- Use a spatula to remove the trees from the pan.
- If the trees are too thick, you can use a knife to cut a little bit off the backs of them.
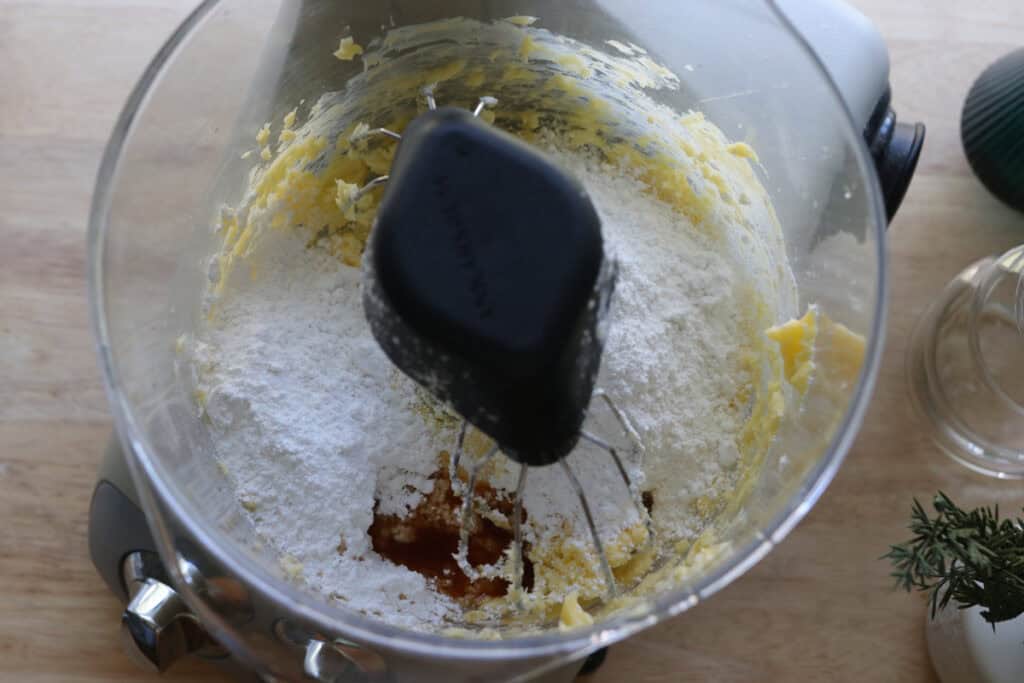
- To make the icing, beat together butter, powdered sugar, milk, and vanilla until fluffy and smooth. Make sure the icing is not too runny.
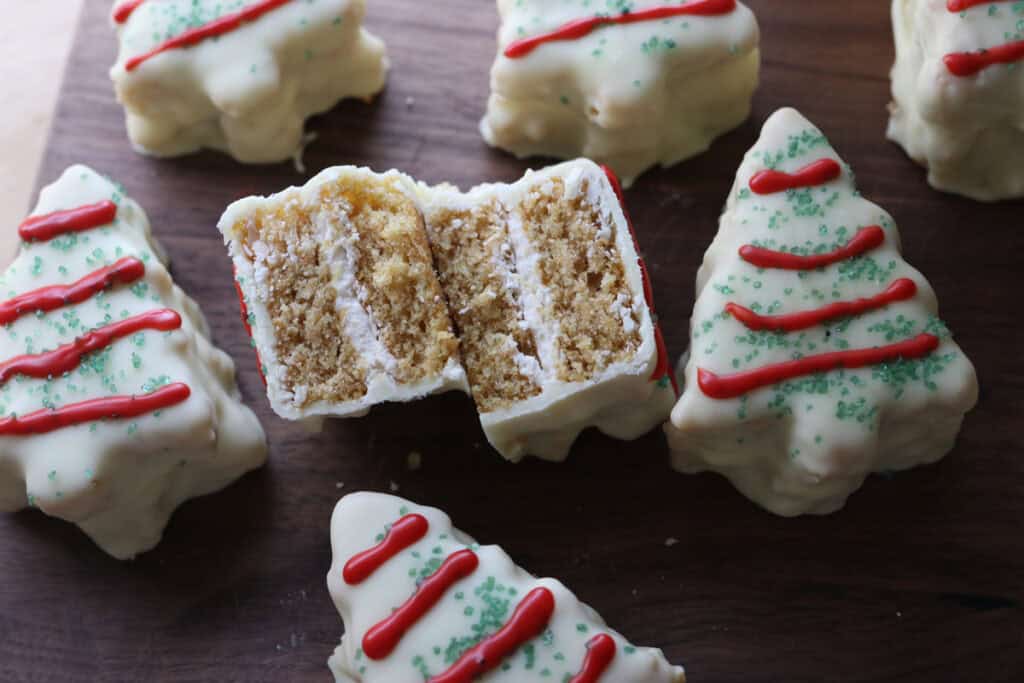
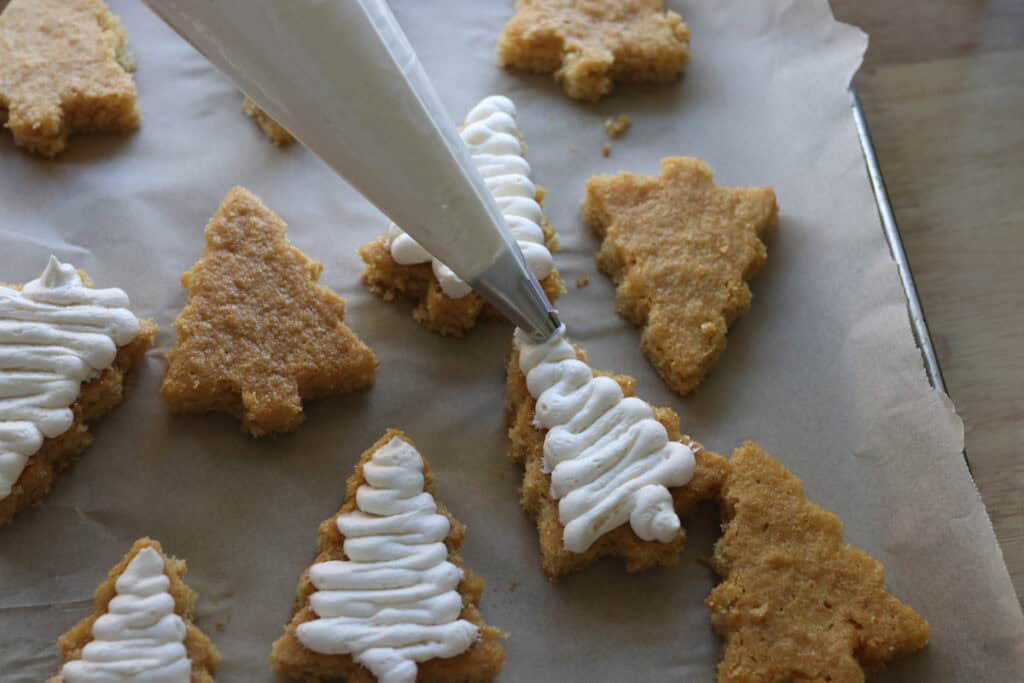
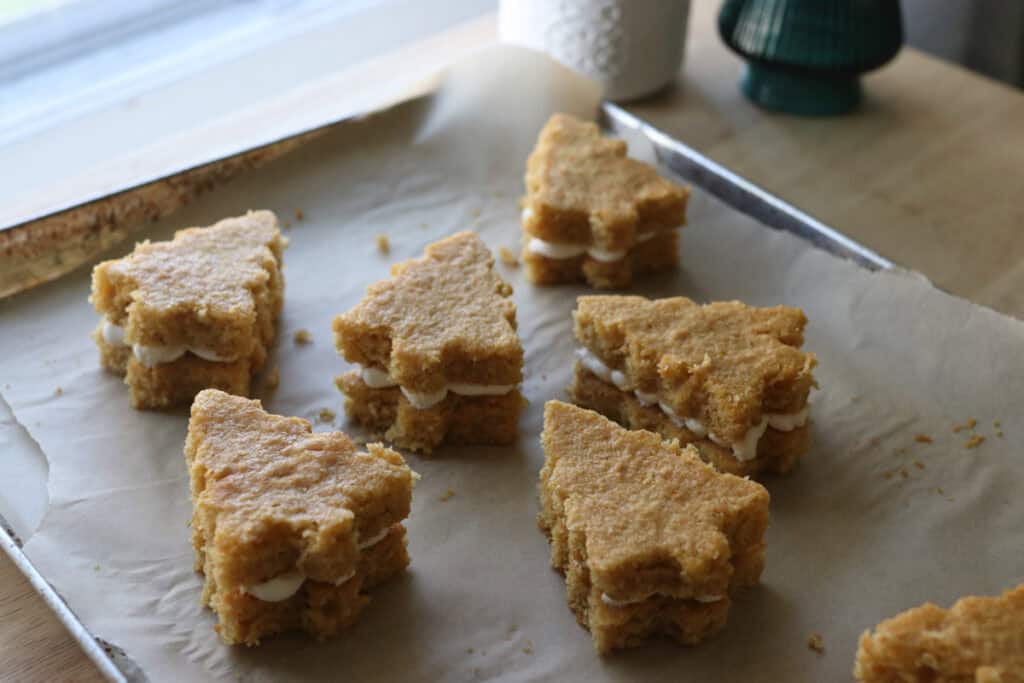
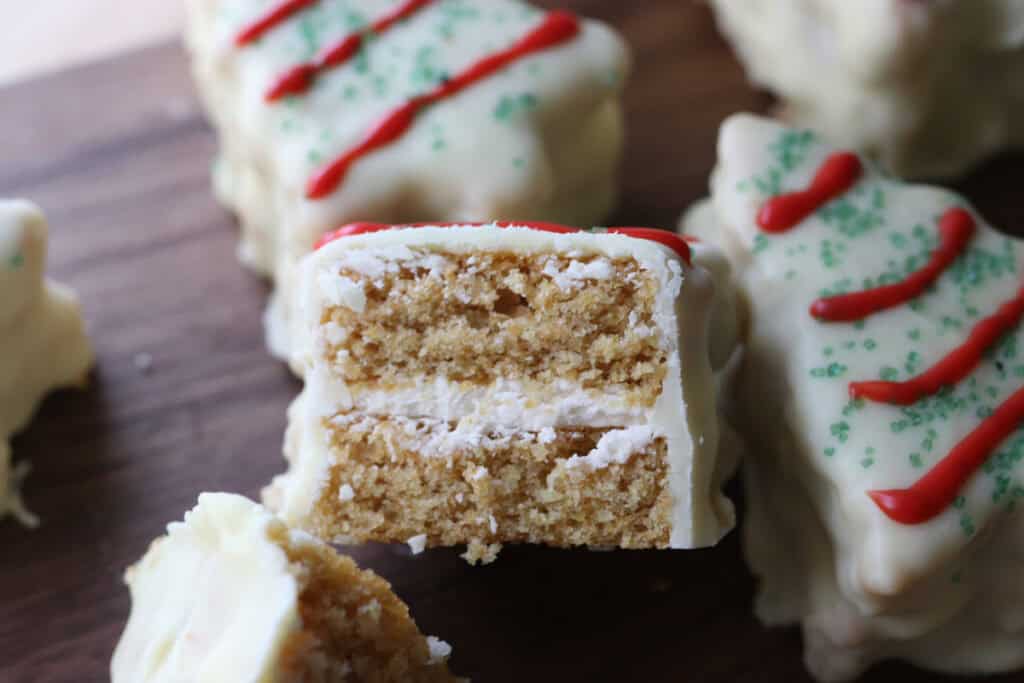
- Put the icing in a ziploc bag or a piping bag and pipe the icing onto half of the trees. Put the rest of the trees on top of the iced trees to make the cakes.
- Place the cakes on a baking sheet lined with parchment paper and freeze for one hour.
- Once the cakes have frozen, melt the white chocolate chips and coconut oil in a medium bowl in 15-30 second increments in the microwave. Be careful not to burn the chocolate!
- To coat the cakes, take one tree cake and place it on a large fork. Holding over the bowl of chocolate, use a small measuring cup to dip into the melted chocolate and pour the chocolate over the cake while it is on the fork. Continue pouring the white chocolate over top of the cake until it is fully covered in chocolate.
- Place the cakes on a baking sheet lined with wax paper or parchment paper.
- Before the cakes harden, top with green sugar sprinkles.
- Place in the fridge until the white chocolate has hardened.
- Prepare the red icing by combining the powdered sugar with desired amount of food coloring. If using gel, you may need to add some milk to make it more runny.
- If using a powder coloring that mixes into water, you can just mix it with the powdered sugar. You want a thick consistency that is not too thick to squeeze out of a small hole. Just add more or less powdered sugar to get the right consistency.
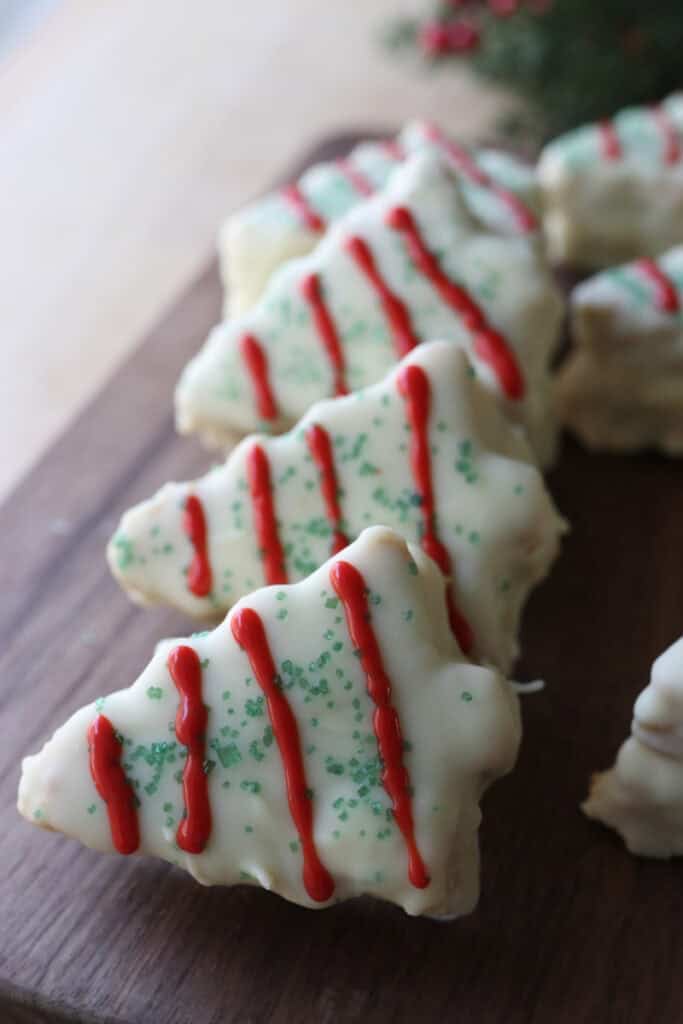
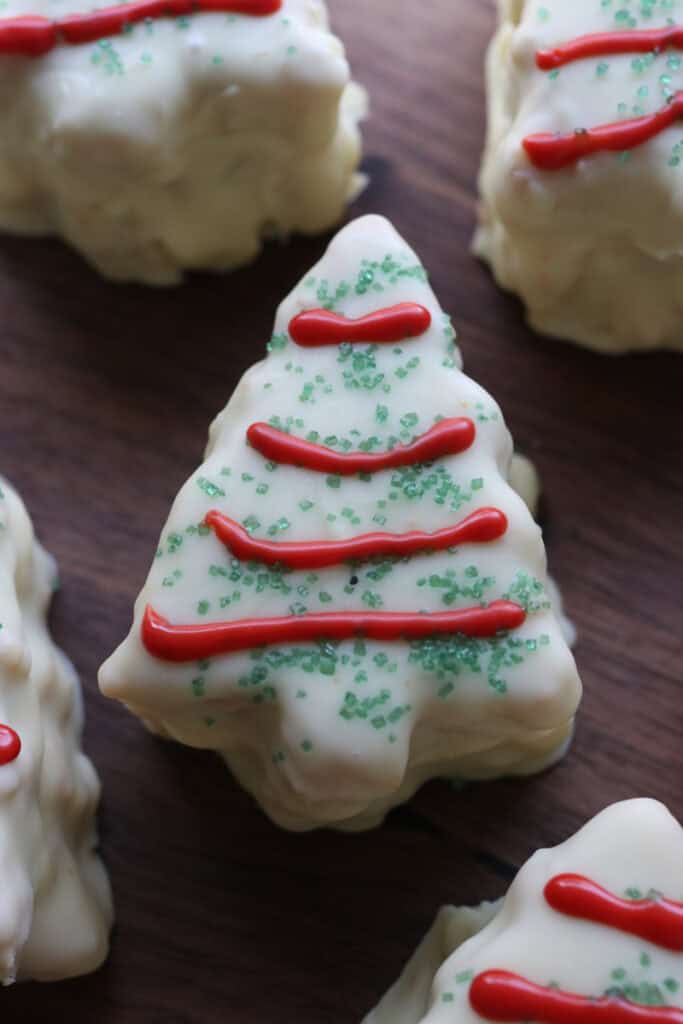
- Pour the icing into a plastic bag and ice the trees with four stripes each.
- Place back in the fridge until hardened.
Recipe Variations
Gluten-Free Version:
Swap the fresh milled flour for a gluten-free blend, but be prepared for a slightly different texture and possibly shorter shelf life. Adding a binder like xanthan gum helps mimic gluten’s elasticity.
Vegan Adaptation:
Use plant-based butter and a flaxseed or chia egg substitute for binding. Coconut milk or almond milk works well for moisture, and you can find vegan-friendly food colorings at specialty stores.
Extra Fudge Factor:
Add mini chocolate chips to the batter for delightful pockets of melty chocolate inside each cake. It’s a small indulgence that makes the cakes feel even more festive.
Fruity Twist:
Incorporate a teaspoon of orange zest into the batter or frosting for a subtle citrus brightness that complements the chocolate beautifully. Cranberry bits can also be folded in for a tart surprise.
Decorate with Sprinkles:
Use holiday-themed sprinkles or edible glitter to add sparkle to your tree cakes. This is especially fun with kids and makes the cakes irresistible at any holiday gathering.
Troubleshooting Common Problems with this Recipe
Cake Is Too Dense
Make sure not to overmix the batter as this can develop the gluten and lead to a heavy texture. Also, double-check your leavening agents—expired baking powder or soda can prevent the cakes from rising properly.
Frosting Is Grainy
This usually happens if the powdered sugar isn’t sifted or if the butter is too cold. Let butter soften to room temperature and sift your powdered sugar before mixing to achieve that creamy frosting everyone loves.
Colors Run Together
Let the layer of chocolate dry slightly before applying the next color or decoration. If colors bleed, it’s often due to the chocolate being too wet or applied too quickly without setting time.
Cakes Dry Out Quickly
Using fresh milled flour and adding ingredients like sour cream or yogurt to the batter can help retain moisture. Store finished cakes in an airtight container at room temperature or refrigerate to extend freshness.

Extra FAQs
Can I prepare the batter a day ahead?
You can mix the batter the day before and refrigerate it overnight, but it may need a gentle stir before baking. Freshly mixed batter usually gives the best rise and texture.
What if I don’t have a tree-shaped mold?
No worries—a regular square or round pan works fine. Just cut your baked cakes into tree shapes with a sharp knife before frosting and decorating.
How long do these cakes keep?
They’re best enjoyed within 2-3 days of baking for optimal freshness and texture. Store in an airtight container at room temperature or in the fridge if your kitchen is warm.
Can I freeze decorated cakes?
It’s better to freeze undecorated cakes wrapped tightly in plastic, then frost and decorate after thawing. Frosting can sometimes change texture if frozen and thawed.
Is fresh milled flour really worth it?
Absolutely, if you have access to a grain mill. The freshness imparts a flavor and lightness that can’t be beat, making your homemade version stand out from store-bought snacks.
Fresh Milled Little Debbie Christmas Tree Cakes
Ingredients
Cake:
- 2 ½ cups freshly milled soft white wheat flour finely milled and sifted (325 grams)
- 1 ½ teaspoons baking powder
- 1 teaspoon baking soda
- ¾ teaspoon salt
- 1 ½ cups maple sugar or sugar 180 grams
- 3 eggs
- 1 teaspoon vanilla extract
- ¾ cup buttermilk 190 grams
- ½ cup softened butter 115 grams
- ¼ cup avocado oil 50 grams
- ¼ cup plain greek yogurt 52 grams
Icing:
- ½ cup softened butter 115 grams
- 1 ½ cups powdered sugar 150 grams
- ½ teaspoon vanilla extract
- 2-3 tablespoons milk
Coating:
- 28 oz white chocolate chips
- 4 tablespoons coconut oil
Topping:
- ⅓ cup powdered sugar 33 grams
- plant based food coloring gel or powder
- green sprinkles
Instructions
- Preheat the oven to 350 degrees F.
- In the bowl of a stand mixer, cream together butter, oil, and sugar.
- Add in eggs and vanilla and beat until light and fluffy, for a couple minutes.add
- Then add in the yogurt and mix until combined.
- After you mill your flour, pour it through a sifter and sift until most of the bran is left behind. You should have 325 grams after it has been sifted.
- In a medium bowl, mix together flour, baking powder, baking soda, and salt.
- Working in batches, add ⅓ of the flour mixture into the batter, then half of the buttermilk, mixing well between each addition. Repeat, and end with adding in the last of the flour.
- Pour cake batter into a rimmed baking sheet lined with parchment paper in a thin layer. You can use either a large baking sheet (about 13 x 18), or two smaller baking sheets.
- Bake for 17-20 minutes.
- Allow the cake to cool.
- Using a Christmas tree cookie cutter, cut out Christmas tree shapes while the cake is still in the pan.
- Use a spatula to remove the trees from the pan.
- If the trees are too thick, you can use a knife to cut a little bit off the backs of them.
- To make the icing, beat together butter, powdered sugar, milk, and vanilla until fluffy and smooth. Make sure the icing is not too runny.
- Put the icing in a ziploc bag or a piping bag and pipe the icing onto half of the trees. Put the rest of the trees on top of the iced trees to make the cakes.
- Place the cakes on a baking sheet lined with parchment paper and freeze for one hour.
- Once the cakes have frozen, melt the white chocolate chips and coconut oil in a medium bowl in 15-30 second increments in the microwave. Be careful not to burn the chocolate!
- To coat the cakes, take one tree cake and place it on a large fork. Holding over the bowl of chocolate, use a small measuring cup to dip into the melted chocolate and pour the chocolate over the cake while it is on the fork. Continue pouring the white chocolate over top of the cake until it is fully covered in chocolate.
- Place the cakes on a baking sheet lined with wax paper or parchment paper.
- Before the cakes harden, top with green sugar sprinkles.
- Place in the fridge until the white chocolate has hardened.
- Prepare the red icing by combining the powdered sugar with desired amount of food coloring. If using gel, you may need to add some milk to make it more runny.
- If using a powder coloring that mixes into water, you can just mix it with the powdered sugar. You want a thick consistency that is not too thick to squeeze out of a small hole. Just add more or less powdered sugar to get the right consistency.
- Pour the icing into a plastic bag and ice the trees with four stripes each.
- Place back in the fridge until hardened.