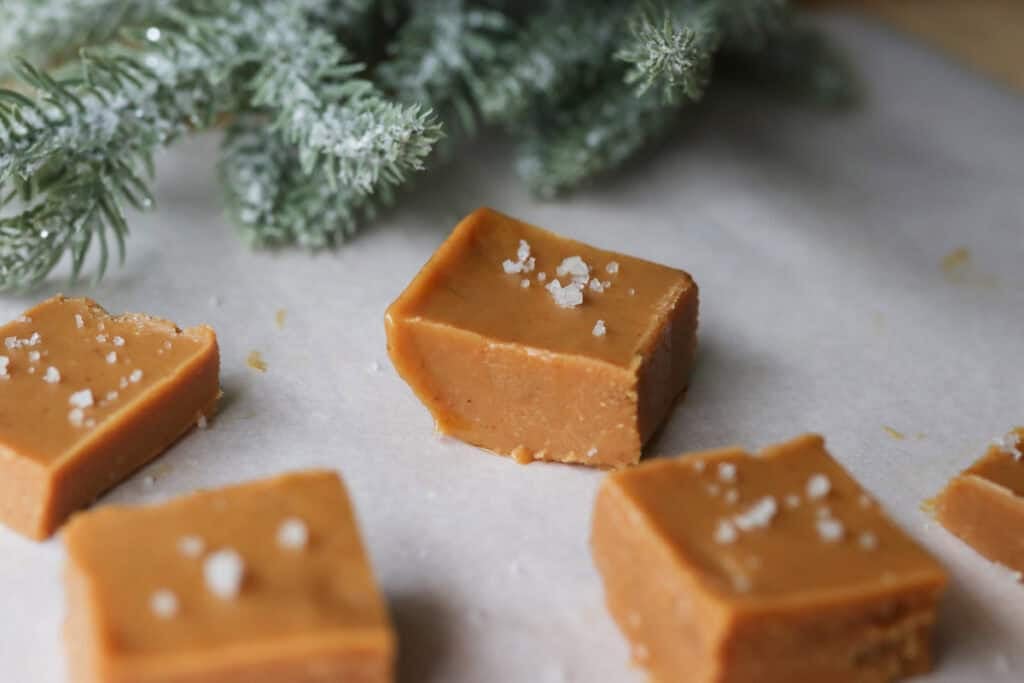
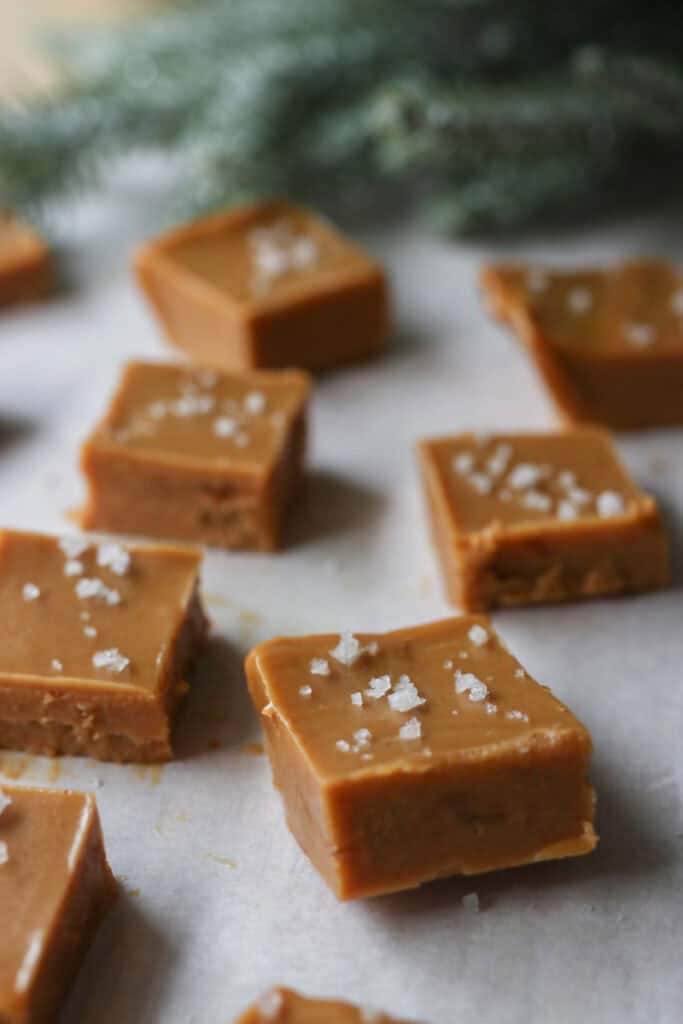
The Best 4-Ingredient Healthy Peanut Butter Fudge
This post may contain affiliate links. Please read our Disclosure Policy.
If you’re anything like me, the idea of traditional peanut butter fudge usually brings to mind a rich, sugary treat that’s a little too much on the guilty pleasure side. But what if I told you that with just four simple healthier ingredients, you can make a healthy no bake fudge that’s smooth, satisfying, and downright addictive? This homemade peanut butter fudge recipe is perfect for those moments when you want a sweet bite without the sugar crash, plus it’s so easy you might just find yourself making it on repeat. Made without refined sugars, this recipe is sure to satisfy your craving for healthier treat! Whether you want a quick snack or a special addition to your healthier desserts lineup, this fudge fits the bill beautifully. Trust me, once you try it, you might find yourself reaching for it way more often than expected.
What Makes This Recipe Great
Simple ingredients and healthy.
With only four healthy ingredients, this creamy peanut butter fudge is incredibly easy to make, and it skips all the artificial stuff and added sugars. It feels like an indulgence but is actually good for you, which is pretty much a win-win.
Deliciously creamy texture.
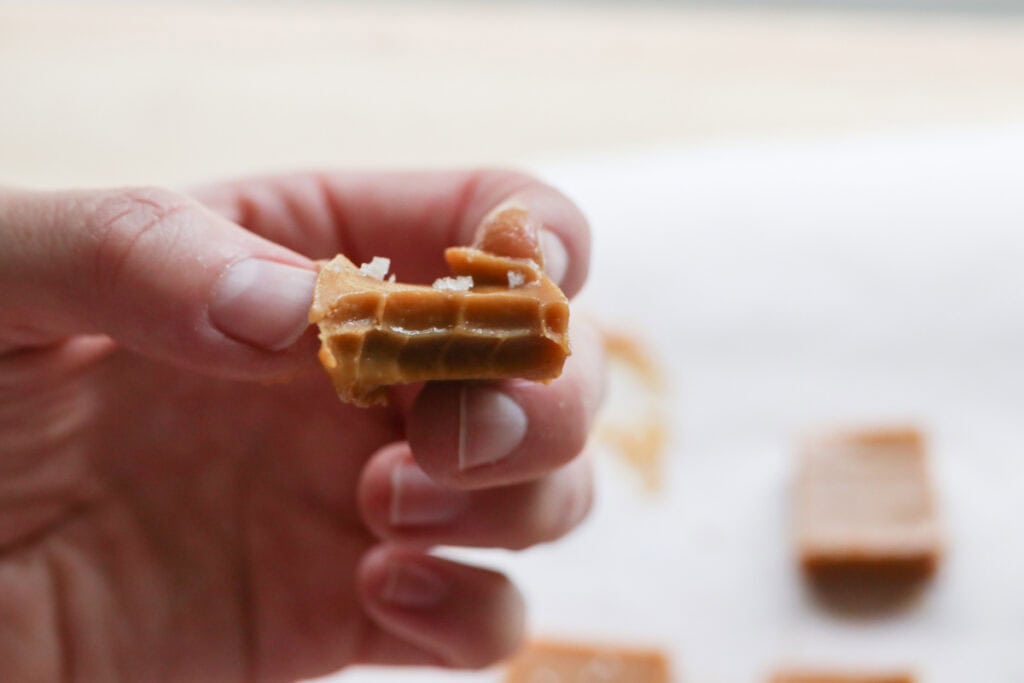
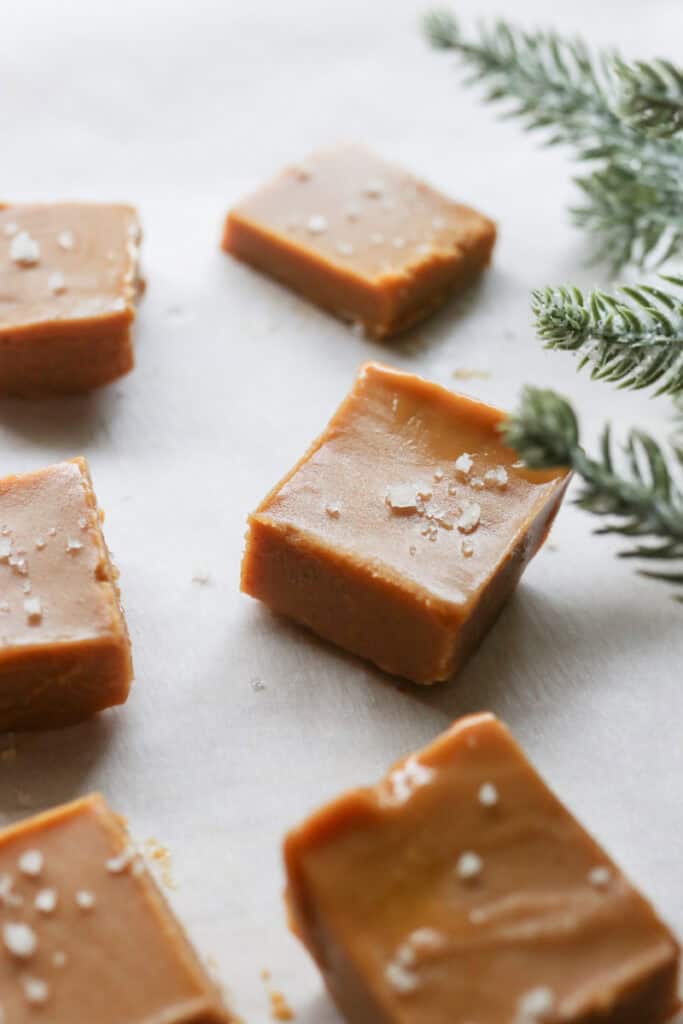
The combination of natural peanut butter and just enough sweetness creates a fudge that melts in your mouth—no gritty or chalky bites here. I love how each piece has that perfect balance of smoothness and firmness.
Versatile and customizable.
This recipe acts as a great base that you can tweak to fit your taste or dietary needs. Whether you want to add a hint of vanilla, a sprinkle of sea salt, or mix in some dark chocolate chips, it’s all up to your imagination.
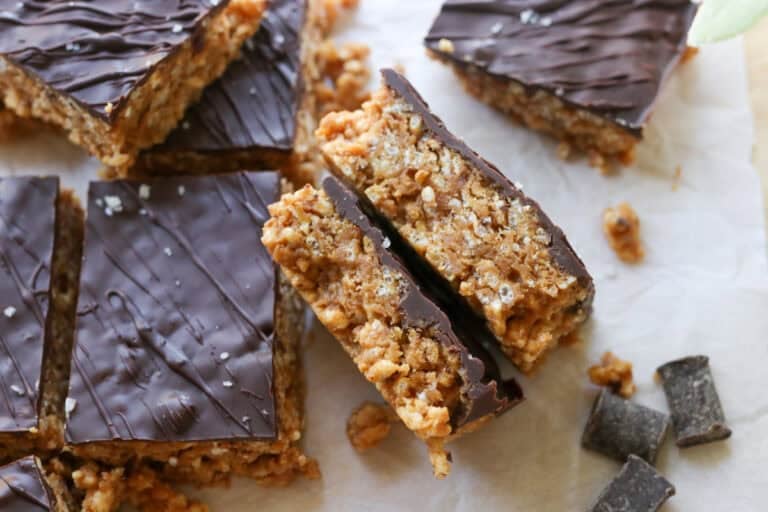
For more healthier treats, try these Chocolate Peanut Butter Rice Krispie Bars or these Healthy Christmas Sugar Cookies!
Overview of Ingredients
Natural Peanut Butter
Using natural peanut butter (the kind with just peanuts and maybe a pinch of salt) is key to keeping things healthy and flavorful. If you’re allergic or not a fan of peanuts, cashew or almond butter can work beautifully as a substitute.
Pure Maple Syrup
This adds just the right touch of natural sweetness without being overpowering. If you prefer something less sweet, you could experiment with a little honey for a more subtle sweetness.
Coconut Oil
Coconut oil helps give the fudge that firm-yet-creamy finish when chilled. If you want something neutral in taste, using refined coconut oil will not taste like coconut.
Vanilla Extract
A splash of vanilla brings warmth and rounds out the flavors nicely. If you don’t have vanilla on hand, a pinch of cinnamon or a bit of almond extract can add an interesting twist.
Tips for Success
#1 Melt ingredients gently
Heat your ingredients slowly over low heat or in short bursts in the microwave to avoid overheating. This preserves its texture and flavor, keeping your fudge silky rather than greasy.
#2 Chill for the right amount of time
Patience is your friend when setting this fudge—at least 30 minutes in the freezer is ideal to get that perfect firm bite. If you try to cut it too soon, you might end up with sticky edges.
#3 Line your pan with parchment paper
This makes removing the fudge so much easier and cleaner. You can lift out the whole block and cut it into neat squares without any sticky fingers or mess.
#4 Portion with a sharp knife
When cutting your fudge, use a sharp knife that you can warm slightly under hot water and dry before slicing to get clean, smooth edges. It saves you from crumbly corners and keeps things looking fancy.
Helpful Tools & Supplies
Whether you’re just dipping your toes into the world of fresh milled flour or you’re a seasoned home baker, I’ve taken the guesswork out of what you truly need. All of these tools and resources are available in my shop, designed to help your journey be smooth and nourishing:
Grain Mills
- NutriMill Classic Grain Mill – My go-to for fine, consistent milling; perfect for sandwich breads and everyday baking.
- NutriMill Harvest Grain Mill – Stone-ground elegance: this model delivers whole-grain flavor with a beautiful appearance.
Mixers
- Ankarsrum Mixer – A powerhouse kitchen companion with multiple speeds and attachments—ideal for kneading bread dough effortlessly.
Baking & Bread Tools
- Bread Bow Knife – Artisan-made with a high-carbon steel blade and cherry wood handle—this knife slices loaves with ease.
- Sourdough Essentials Kit With Starter – Complete starter kit that includes dehydrated sourdough starter, banneton baskets, a dough whisk, scoring lame, and more.
Cookbooks & eBook Bundles
- Everyday Whole Grains Vol. 1 & 2 (printed & digital) – Packed with 70+ recipes built around fresh milled flour, from breads to snacks and desserts.
- The Fresh Breads Bundle – A comprehensive set including eBooks like The Perfect Loaf, the Cookie Jar, bulk baking guides, and a sourdough mini‑course—all centered on fresh milled flour.
- Freshly Milled Made Simple Guide – A video-based guide that walks you through milling and baking basics, making the process feel easy and approachable.
Specialty Items
- Dehydrated Sourdough Starter – Just add water and flour to rehydrate this starter—perfect for bakers without an active sourdough culture.
- I Knead Fresh Flour Mug – A charming, handmade 12 oz ceramic mug—great for coffee breaks during dough rising!
Why These Are Worth It
Every tool in this collection has been personally vetted to support you in baking with fresh milled flour. From the grain mills that make your flour, to mixers that knead dough, to resources that teach you every step—it’s all here to make sure your homemade bread journey is joyful, nourishing, and successful.
➡️ Explore all of these items and more in the Generation Acres Farm Shop — your one-stop spot for fresh milled flour baking essentials.
Equipment:
Mixing Bowl
Saucepan or Microwave-safe Bowl
9×5-inch Loaf Pan or Small Square Pan
Parchment Paper
Spatula or Spoon
Sharp Knife
How to Make Healthy Peanut Butter Fudge
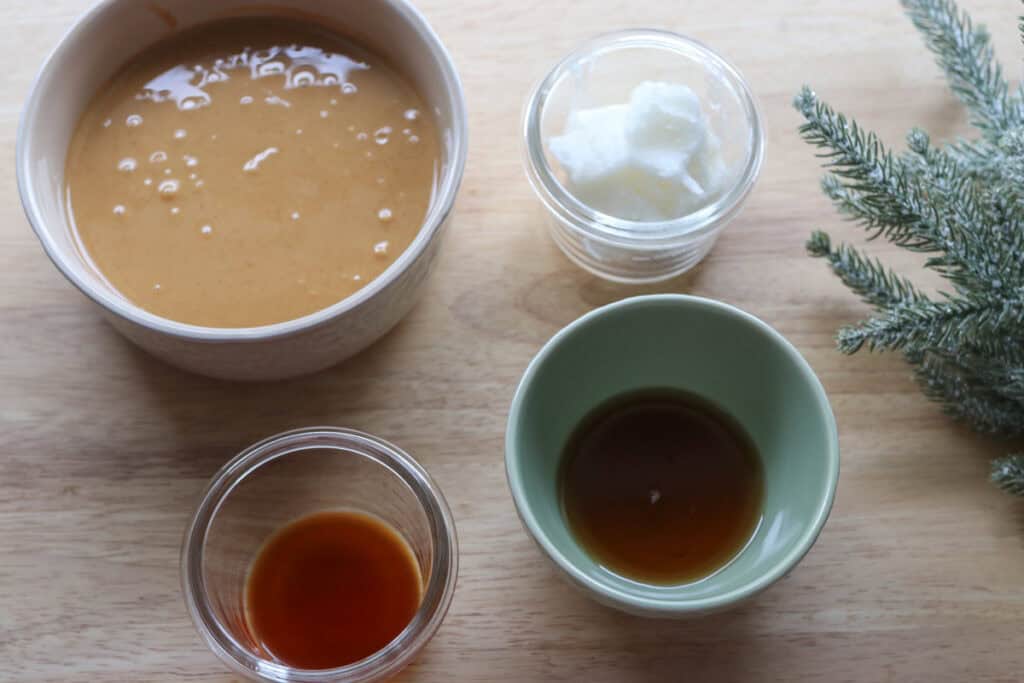
Ingredients:
1 ¼ cups salted, creamy peanut butter (165 grams)
4 tablespoons coconut oil
4 tablespoons maple syrup
1 teaspoon vanilla
flaky salt for topping, optional
Directions:
- Line an 8×8 glass pan with parchment or grease.
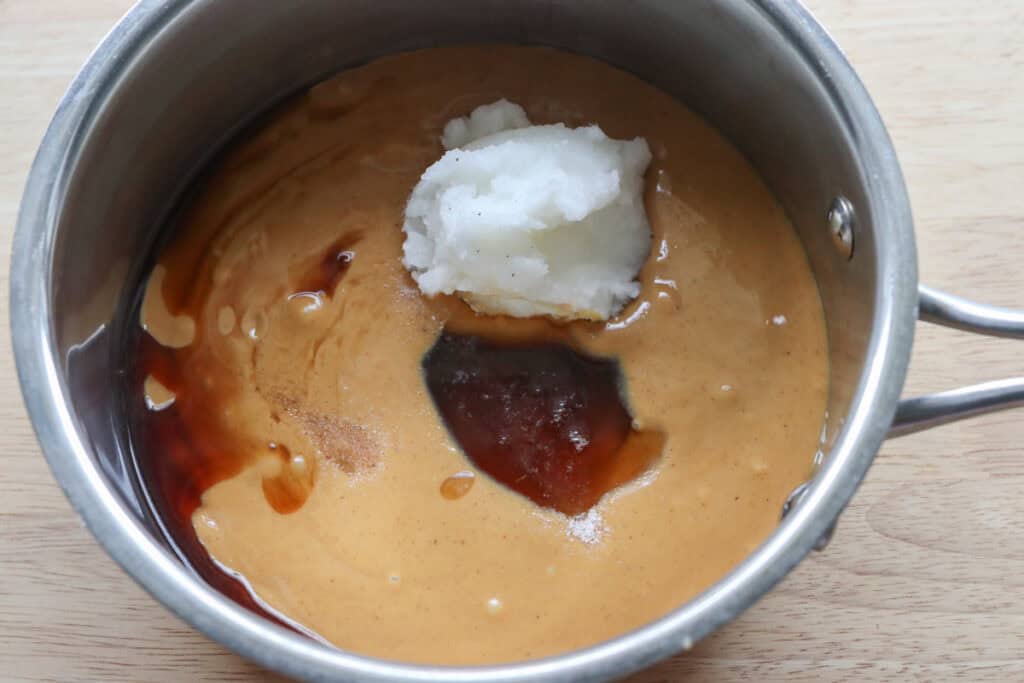
- Melt peanut butter, coconut oil, and maple syrup over low heat and stir until combined.
- Remove from the heat and add vanilla.
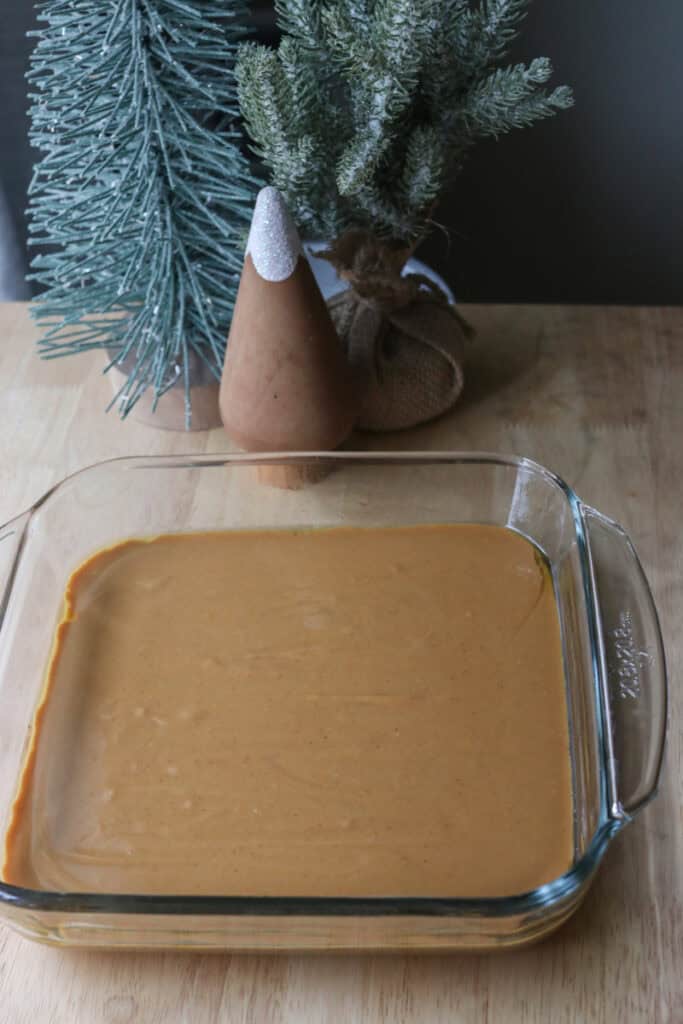
- Pour into prepared pan and freeze for 30 minutes or until firm.
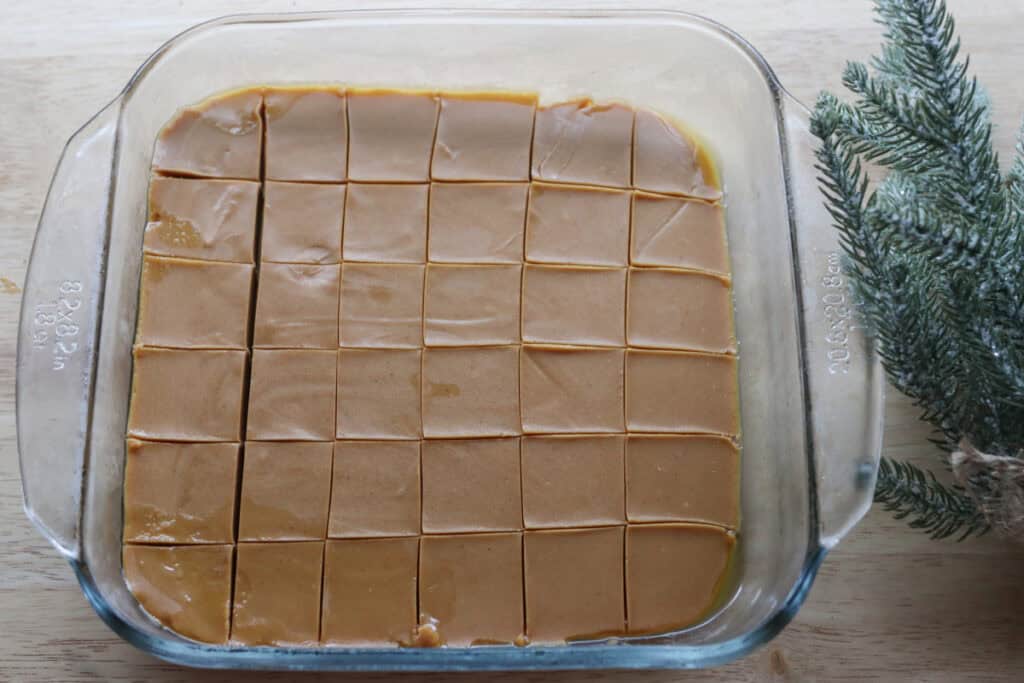
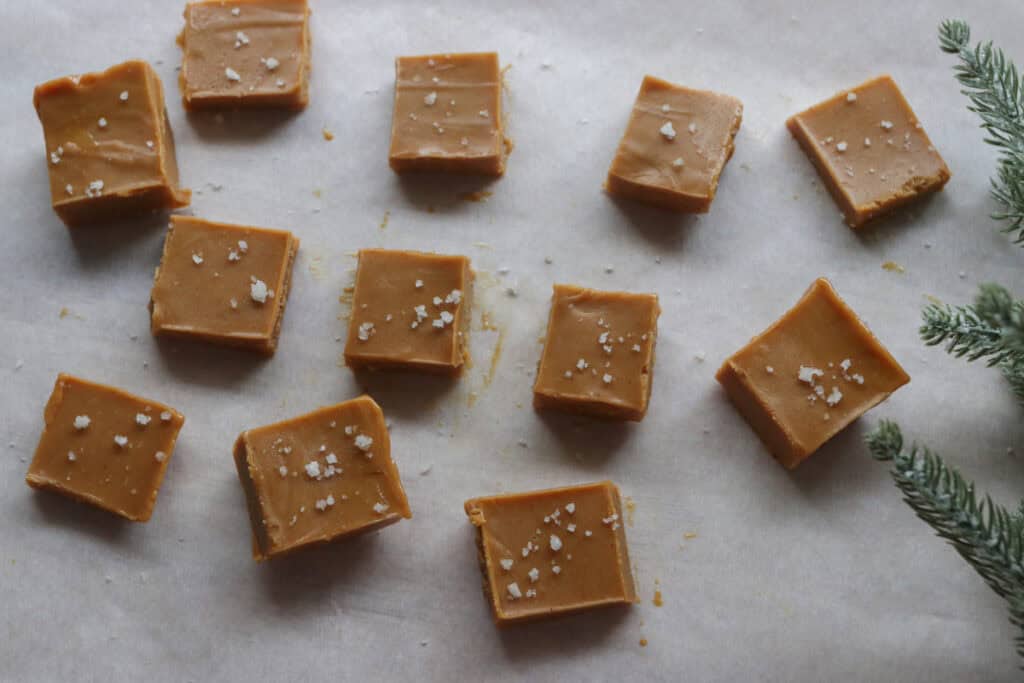
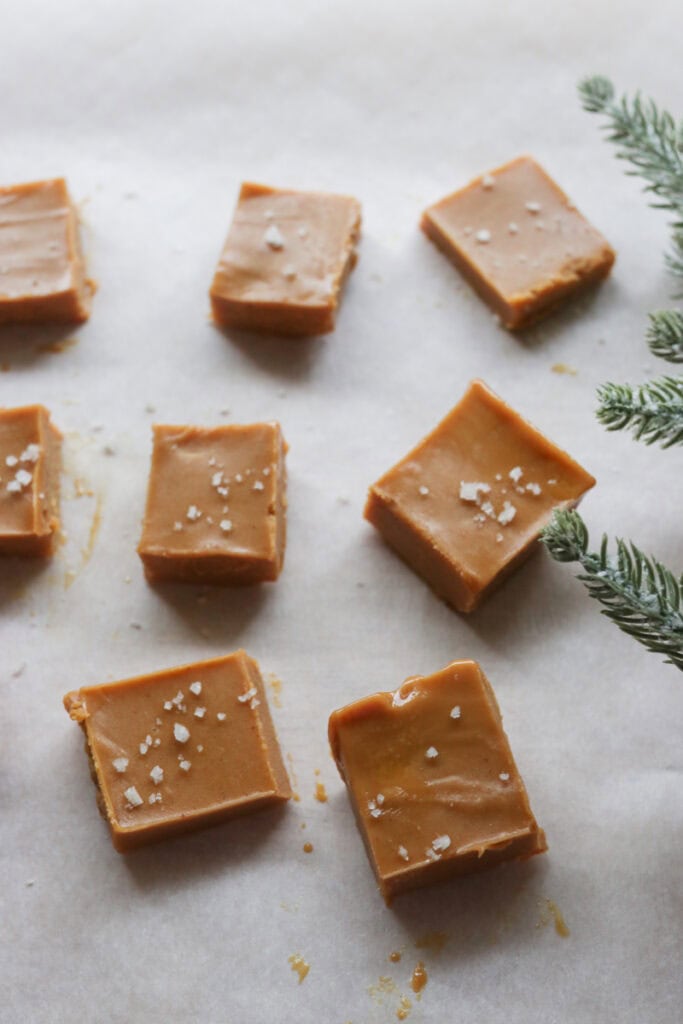
- Top with flaky salt if desired and cut into squares.
- Store in the freezer for a more firm fudge or in the fridge for a slightly softer fudge.
Recipe Variations
Add Chocolate Chips:
Stir in a handful of dark or semi-sweet chocolate chips before chilling for little pockets of gooey chocolate in every bite.
Swirl in Nut Butter:
Create a marbled effect by swirling in a different nut butter like almond or cashew before setting.
Sprinkle with Sea Salt:
A light sprinkle of flaky sea salt on top enhances the sweetness and adds a delightful contrast.
Boost with Protein Powder:
Mix in a scoop of your favorite protein powder to make this fudge an energizing post-workout treat.
Nut-Free Version:
Swap peanut butter for sunflower seed butter to keep it allergy-friendly without sacrificing creaminess.
Troubleshooting Common Problems with this Recipe
Fudge is Too Soft
If your fudge doesn’t set properly, double-check you used enough coconut oil and gave it enough time to chill. Also, make sure your fridge is cold enough—sometimes a quick extra hour in the freezer helps.
Fudge is Crumbly
Overheating the ingredients or using crunchy peanut butter instead of smooth can cause a crumbly texture. Mix gently and avoid overheating to keep the fudge luscious.
Fudge Sticks to the Pan
Not using parchment paper or greasing the pan lightly might cause sticking. Always line your pan well to make removal a breeze.
Maple Syrup is Overpowering
If the maple syrup flavor feels too strong, reduce the amount slightly or choose a milder sweetener like honey or agave.
Uneven Texture
Make sure all ingredients are thoroughly mixed and the ingredients have been fully melted to avoid lumps or grainy bits.
Freezing & Storing Leftovers
Freezing:
Wrap individual fudge pieces in parchment or wax paper and place them in an airtight container before freezing. They keep well for up to 2 months, and you can enjoy a quick sweet treat whenever the craving hits.
Storing:
Store fudge in an airtight container in the fridge for up to a week.
Extra FAQs
Can I use crunchy peanut butter instead of smooth?
You can, but the texture will be a bit more rustic and chunkier rather than silky smooth, so it depends on your preference.
Is it possible to make this fudge vegan?
Yes, use maple syrup or agave instead of honey, and ensure your peanut butter is vegan-friendly with no added dairy.
Can I store this fudge in the refrigerator instead of the freezer?
Yes, the texture will just be a bit softer and will melt faster when taken out of the fridge.
Can I add nuts or dried fruit?
Absolutely, chopped nuts or dried fruit make great texture additions and can add a nice pop of flavor.
Will this fudge melt quickly on a hot day?
Because of the coconut oil, it can get soft in warm temperatures, so keep it chilled until ready to serve.

The Best 4-Ingredient Healthy Peanut Butter Fudge
Ingredients
- 1 ¼ cups salted creamy peanut butter (165 grams)
- 4 tablespoons coconut oil
- 4 tablespoons maple syrup
- 1 teaspoon vanilla
- flaky salt for topping optional
Instructions
- Line an 8×8 glass pan with parchment or grease.
- Melt peanut butter, coconut oil, and maple syrup over low heat and stir until combined.
- Remove from the heat and add vanilla.
- Pour into prepared pan and freeze for 30 minutes or until firm.
- Top with flaky salt and cut into squares.
- Store in the freezer for a more firm fudge or in the fridge for a slightly softer fudge.