
Frosted Banana Bars Made with Freshly Milled Flour
This post may contain affiliate links. Please read our Disclosure Policy.
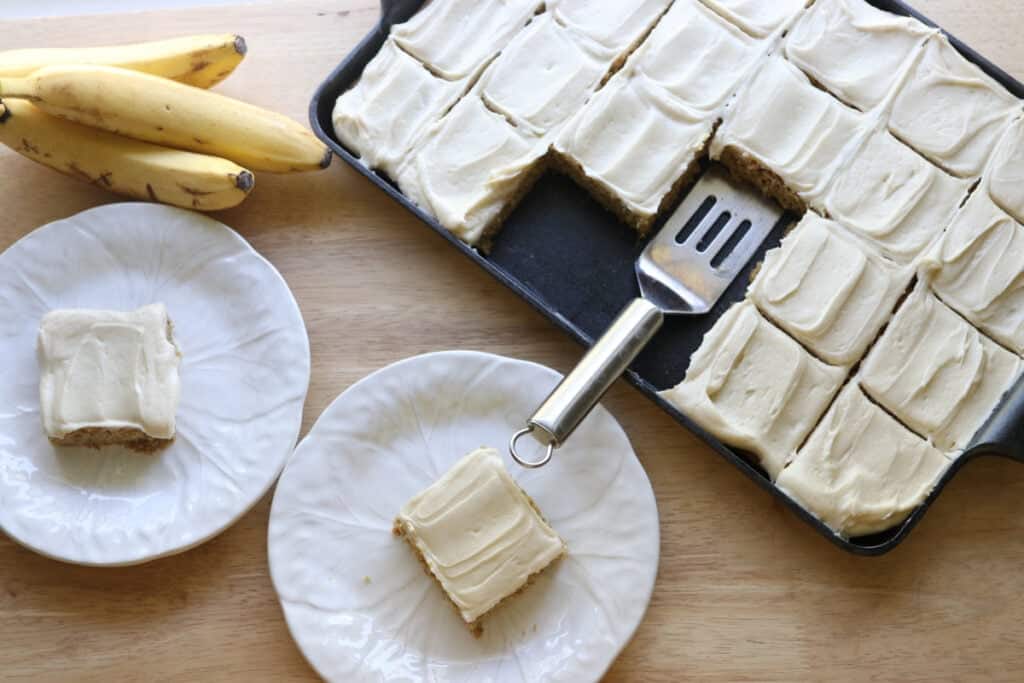
If you’ve been milling flour at home and wondering what actually showcases that nutty, just-ground flavor, this is the perfect recipe. Frosted banana bars sound simple, maybe even boring, but when you make them with fresh milled flour the entire game changes. The crumb stays impossibly tender, the banana flavor deepens instead of disappearing, and you get this toasted-grain backbone that makes every bite feel more substantial without being heavy. Plus, these are perfect to make when you’re wanting to use up those overripe bananas on the counter. These bars bake up in a single sheet pan, get topped with tangy cream cheese icing, and disappear faster than you can explain why fresh flour matters. They’re the kind of thing you bring to a potluck and people ask for the recipe twice before they finish their first square.
What Makes This Recipe Great
When you mill whole grain flour right before baking, the oils in the grain are intact and volatile, which means flavor. Store-bought whole wheat flour has been sitting in a bag oxidizing for weeks or months, those oils turning stale and slightly bitter. Fresh flour tastes sweet, almost creamy, with a toasted quality that plays beautifully against the sweetness of the bananas. You’re not fighting the “healthy” taste here, you’re building layers.
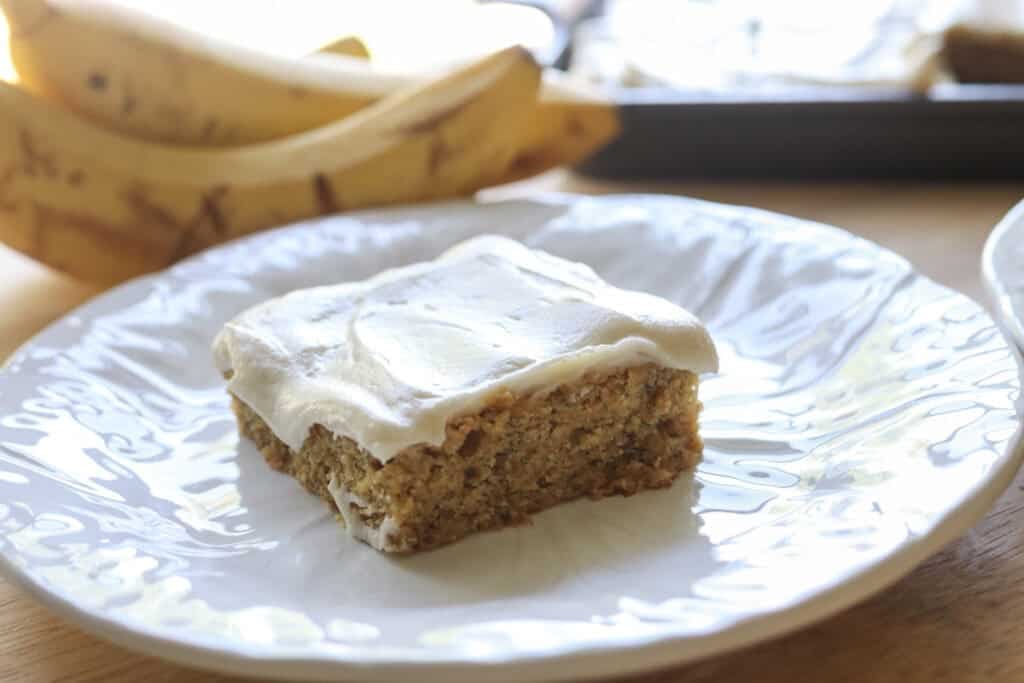
The other thing fresh flour does is hydrate differently. Because it hasn’t been sitting around losing moisture, it absorbs liquid more slowly and stays tender longer. These bars don’t dry out the way whole wheat treats usually do by day two. They stay soft, almost cake-like, with just enough structure to hold the frosting without turning into mush.
And finally, these bars are ridiculously forgiving. Bananas vary in size, your flour grind might be coarser or finer depending on your mill, and the bars still turn out. You’re not making croissants here. You’re making a sheet pan miracle that tastes like you care, even when you’re just using up brown bananas on a Tuesday night.
Tips for Success
- Let your bananas get truly ugly. Those bananas sitting on your counter turning brown and spotty? This is my favorite way to use them up. For best results, wait until they’re soft, heavily speckled, almost black. Under-ripe bananas don’t have enough sugar or moisture, and your bars will taste flat and dry. The darker the banana, the deeper the sweetness and the better the texture.
- Mill your flour right before you start. Fresh flour loses its magic within hours, not days. If you mill it in the morning and bake at night, you’ll still get better results than store-bought, but if you can mill it and use it within 30 minutes, the flavor payoff is massive. You’ll smell the difference before you even mix the batter.
- Don’t overmix the batter. Fresh whole grain flour develops gluten fast because nothing has been stripped away. Once you add the flour to your wet ingredients, stir just until you don’t see dry streaks. Overmixing makes the bars dense and tough instead of tender. Think muffin technique, not cookie dough.
- Use room-temperature eggs and butter. Cold eggs and cold butter don’t emulsify well, which means your batter won’t come together smoothly. Pull your eggs and butter out 30 minutes before you start. If you forget, run the eggs under warm water for a minute or microwave the butter in short bursts until it’s soft but not melted.
- Spread the batter evenly. It sounds obvious, but uneven batter means uneven baking. Use an offset spatula or the back of a spoon to push the batter all the way to the corners and smooth the top. If one side is thicker, it’ll stay gummy while the thinner side overbakes.
Overview of Ingredients
Freshly Milled Flour– This is the star. Milling your own flour brings moisture, flavor, and a softer texture that flour from the grocery store can’t match. Soft white wheat berries mill into a lighter-colored, milder-flavored flour that works beautifully in these bars. If your flour is coarser, the bars might be slightly denser. If it’s finer, they’ll be more cake-like. So, make sure the flour is as fine as you can get it.
Ripe Bananas – Bananas provide natural sweetness, moisture, and structure. They also act as a binder, which is why you can’t just leave them out. Use bananas that are heavily speckled or even black. The riper they are, the sweeter and more flavorful your bars.
Granulated Sugar – Adds sweetness and helps keep the bars moist by attracting water.
Eggs – Provide structure, moisture, and richness. They help the bars hold together without turning gummy. Make sure they’re room temperature so they blend smoothly.
Butter – Adds richness and flavor while keeping the bars tender. You can swap in coconut oil for a dairy-free version, but the flavor will shift slightly.
Vanilla Extract – Enhances all the other flavors without tasting distinctly like vanilla. Don’t skip it.
Baking Soda– Reacts with the acidity in the bananas to create lift and a soft crumb. Too much and the bars taste soapy. Too little and they’ll be dense.
Salt – Balances sweetness and amplifies the banana and grain flavors. If you use salted butter, reduce this to 1/4 teaspoon.
Cream Cheese – The base of this creamy frosting. It needs to be truly soft, not just slightly cool, or your frosting will be lumpy. Let it sit out for at least an hour or microwave it in 10-second bursts, checking constantly.
Powdered Sugar – Sweetens and thickens the tangy cream cheese frosting. Sift it if it’s lumpy, or your frosting will have weird gritty bits.
Butter for Frosting – Adds richness and makes the frosting spreadable without being runny. Again, room temperature is key.
For more fresh milled recipes, try these Lemon Poppy Seed Rolls or this Almond Croissant Cake!
Helpful Tools & Supplies
Whether you’re just dipping your toes into the world of fresh milled flour or you’re a seasoned home baker, I’ve taken the guesswork out of what you truly need. All of these tools and resources are available in my shop, designed to help your journey be smooth and nourishing:
Grain Mills
- NutriMill Classic Grain Mill – My go-to for fine, consistent milling; perfect for sandwich breads and everyday baking.
- NutriMill Harvest Grain Mill – Stone-ground elegance: this model delivers whole-grain flavor with a beautiful appearance.
Mixers
- Ankarsrum Mixer – A powerhouse kitchen companion with multiple speeds and attachments—ideal for kneading bread dough effortlessly.
Baking & Bread Tools
- Bread Bow Knife – Artisan-made with a high-carbon steel blade and cherry wood handle—this knife slices loaves with ease.
- Sourdough Essentials Kit With Starter – Complete starter kit that includes dehydrated sourdough starter, banneton baskets, a dough whisk, scoring lame, and more.
Cookbooks & eBook Bundles
- Everyday Whole Grains Vol. 1 & 2 (printed & digital) – Packed with 70+ recipes built around fresh milled flour, from breads to snacks and desserts.
- The Fresh Breads Bundle – A comprehensive set including eBooks like The Perfect Loaf, the Cookie Jar, bulk baking guides, and a sourdough mini‑course—all centered on fresh milled flour.
- Freshly Milled Made Simple Guide – A video-based guide that walks you through milling and baking basics, making the process feel easy and approachable.
Specialty Items
- Dehydrated Sourdough Starter – Just add water and flour to rehydrate this starter—perfect for bakers without an active sourdough culture.
- I Knead Fresh Flour Mug – A charming, handmade 12 oz ceramic mug—great for coffee breaks during dough rising!
Why These Are Worth It
Every tool in this collection has been personally vetted to support you in baking with fresh milled flour. From the grain mills that make your flour, to mixers that knead dough, to resources that teach you every step—it’s all here to make sure your homemade bread journey is joyful, nourishing, and successful.
➡️ Explore all of these items and more in the Generation Acres Farm Shop — your one-stop spot for fresh milled flour baking essentials.
Equipment
9×13-inch baking pan – Standard sheet pan size. Metal works best because it conducts heat evenly. Glass pans work but may require a slightly lower oven temperature to prevent over-browning on the edges.
Mixing bowls – One large, one medium. Nothing fancy.
Whisk and spatula – For mixing. A sturdy silicone spatula is your best friend when folding in flour.
Electric mixer – Helpful for the frosting, but you can make it by hand with a wooden spoon and some arm strength.
Offset spatula – Makes spreading the frosting smooth and even. If you don’t have one, the back of a spoon works fine.
How to Know It’s Done
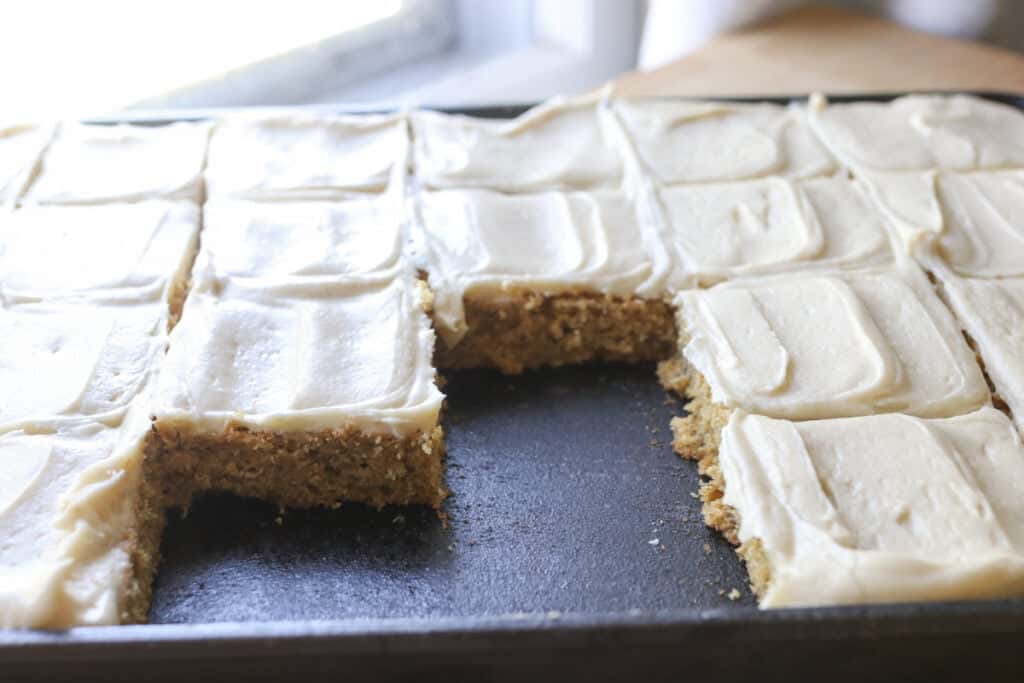
Start checking around the 15-minute mark, even if your recipe says 20 minutes. Fresh flour can behave unpredictably depending on grind size and moisture content. The bars are done when the edges start pulling away from the sides of the pan and the top looks set, not wet or shiny. Press gently in the center with your finger. It should spring back slowly, leaving just a faint impression. If your finger sinks in and the batter looks wet, give it another 3 to 5 minutes.
The smell is another giveaway. When the bars are almost done, your kitchen will smell deeply of toasted grain and caramelized banana, sweet but not cloying. If you’re getting a burnt smell, check immediately. The edges might be overdoing it while the center catches up.
A toothpick inserted into the center should come out with just a few moist crumbs clinging to it, not wet batter. But don’t overbake trying to get a completely clean toothpick. These bars continue cooking slightly as they cool in the pan, and overbaked bars turn dry and crumbly instead of tender.
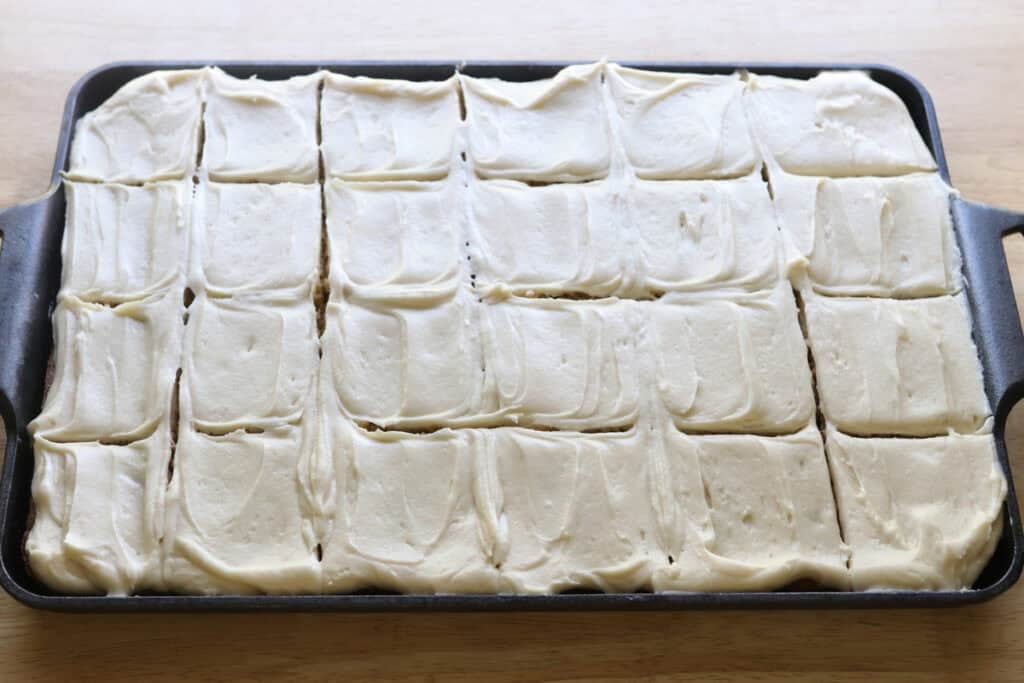
Let them cool completely in the pan before frosting. If you frost warm bars, the frosting will melt and slide off, and you’ll end up with a gloppy mess instead of a clean, spreadable layer.
How to Make Frosted Banana Bars with Freshly Milled Flour
Ingredients
Batter:
- ½ cup softened butter (115 grams)
- 1 ¼ cups sugar (250 grams)
- 3 eggs
- 3 very ripe, mashed bananas (318 grams)
- 1 tablespoon vanilla
- 2 ½ cups freshly milled soft white wheat flour, finely milled (288 grams)
- 1 teaspoon baking soda
- ½ teaspoon salt
Frosting:
- 8 ounces softened cream cheese (226 grams)
- ¼ cup softened butter (58 grams)
- 2 ⅔ cups powdered sugar (266 grams)
- 2 teaspoons vanilla
- 2-3 tablespoons heavy cream
Direction:
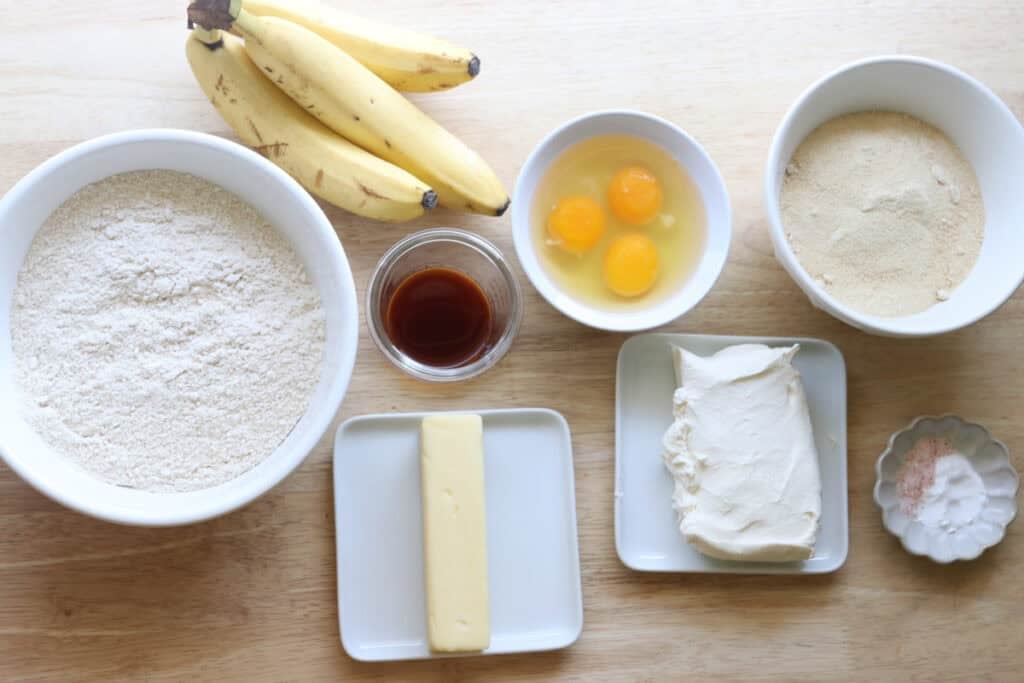
- Preheat the oven to 350 degrees F. and thoroughly grease a 15×10 inch baking sheet or pan.
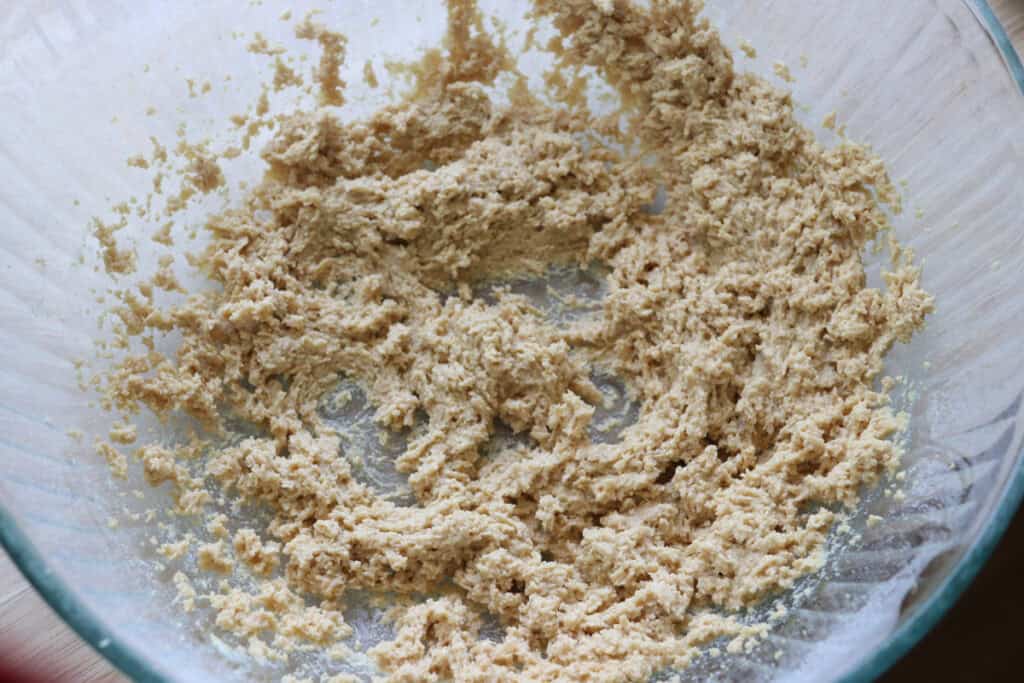
- In the bowl of a stand mixer, cream the butter and sugar until light and fluffy.
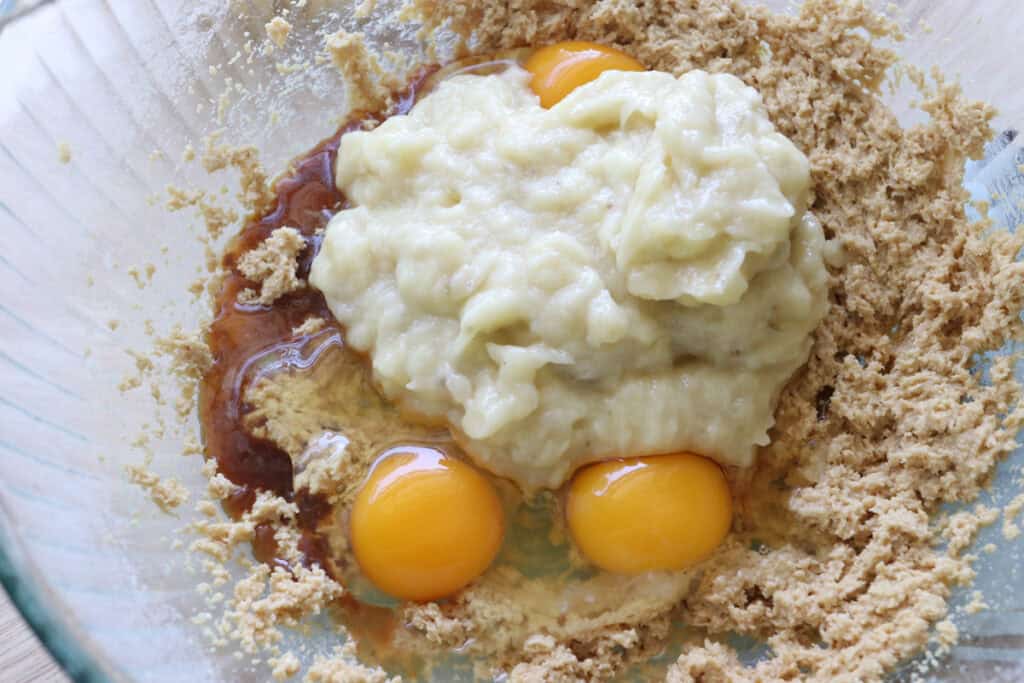
- Add the eggs, banana, and vanilla into the mixing bowl and mix.
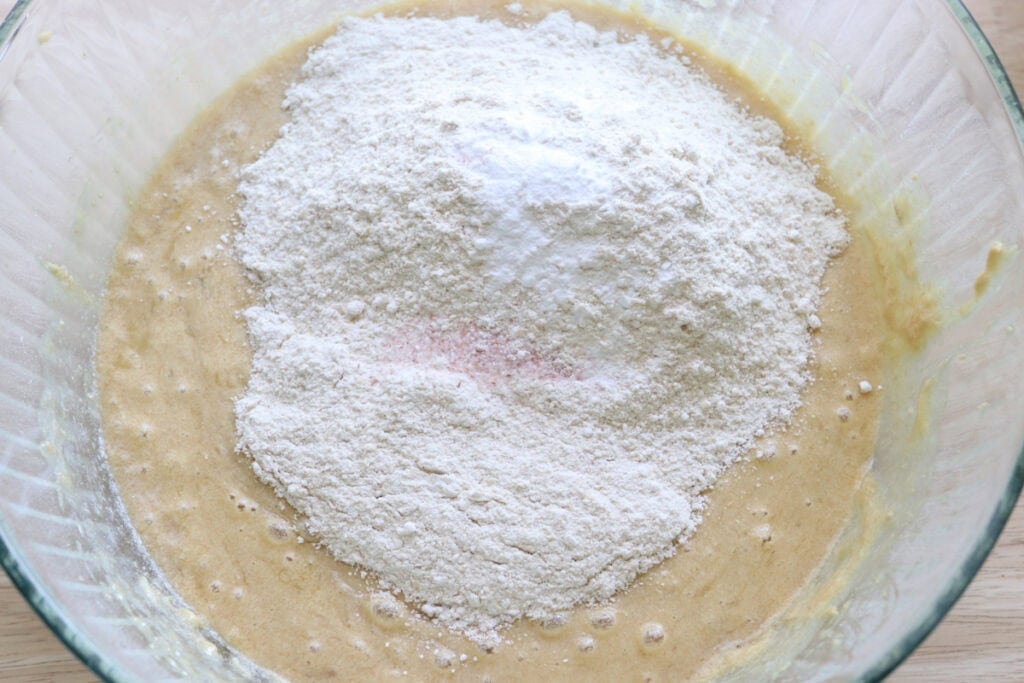
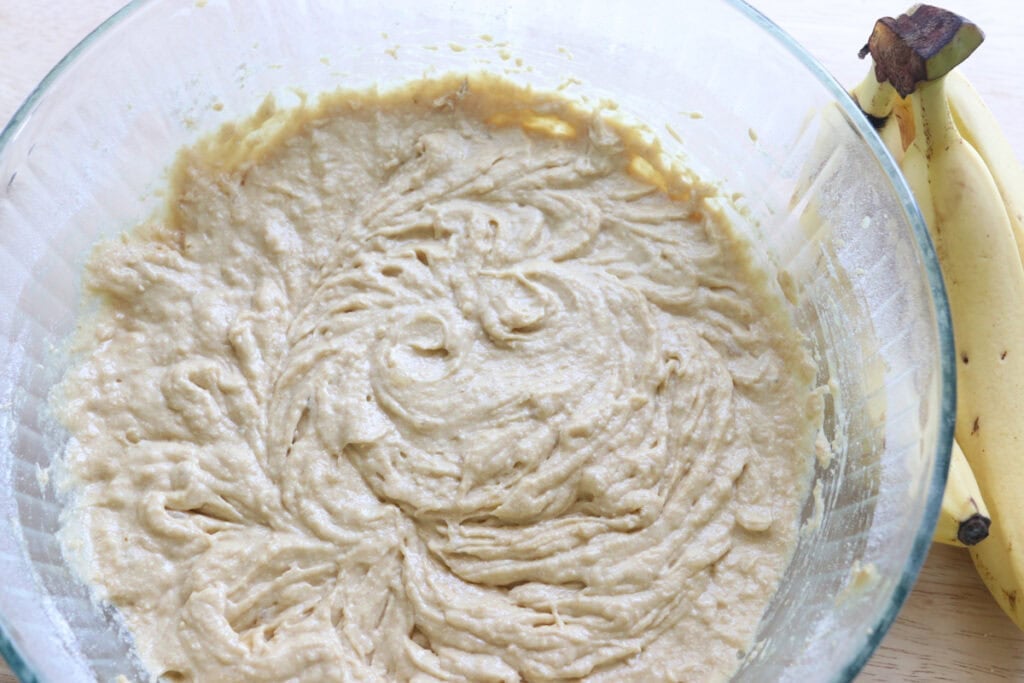
- Add the flour, baking soda, and salt and mix until just combined.
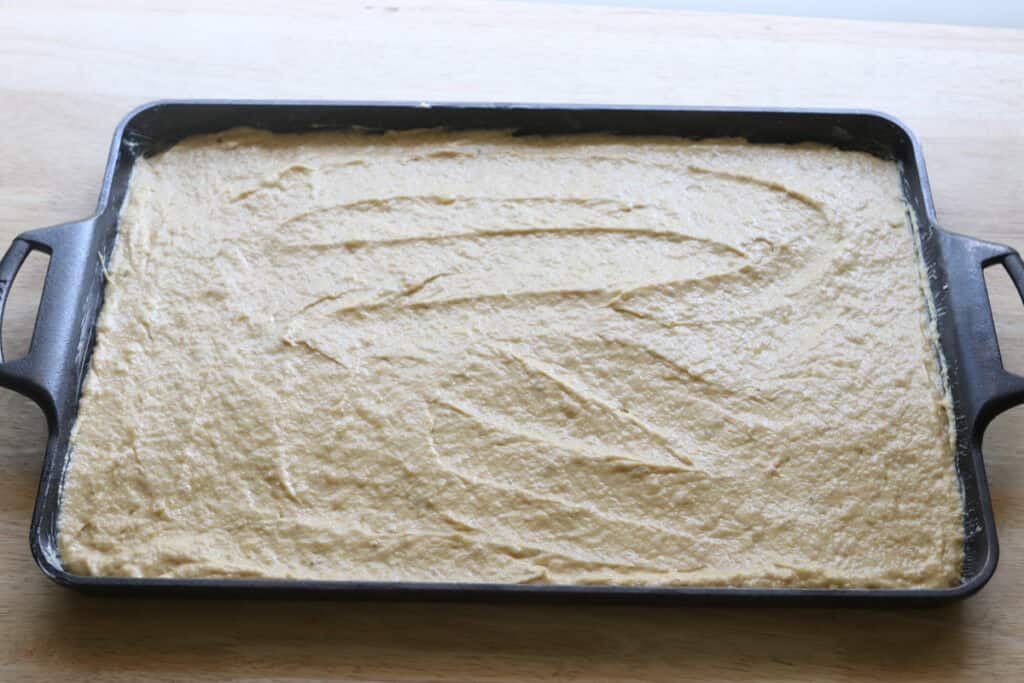
- Spread the batter into the prepared pan.
- Bake for 20-25 minutes, until golden brown and a toothpick inserted in the middle comes out clean.
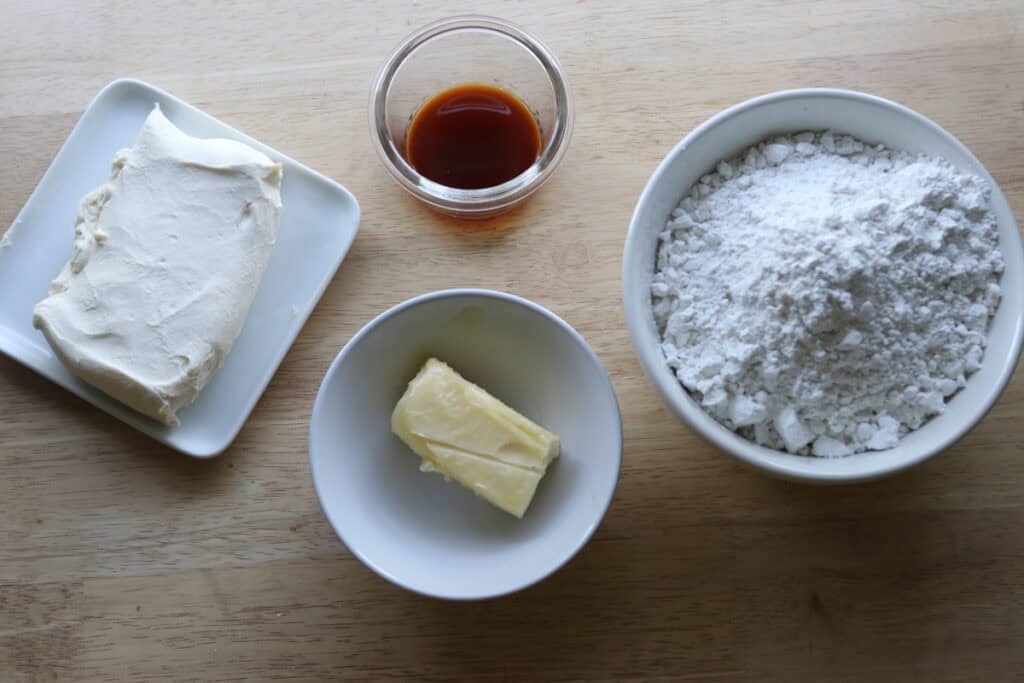
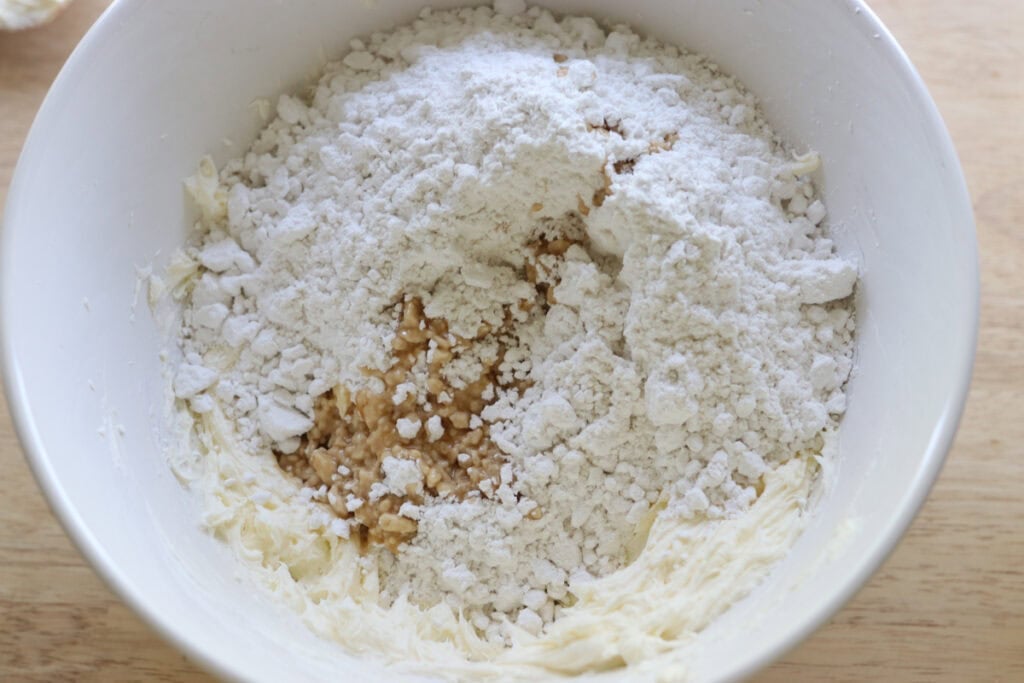
- For the frosting, beat the cream cheese and butter until smooth. Add the remaining ingredients and beat until smooth.
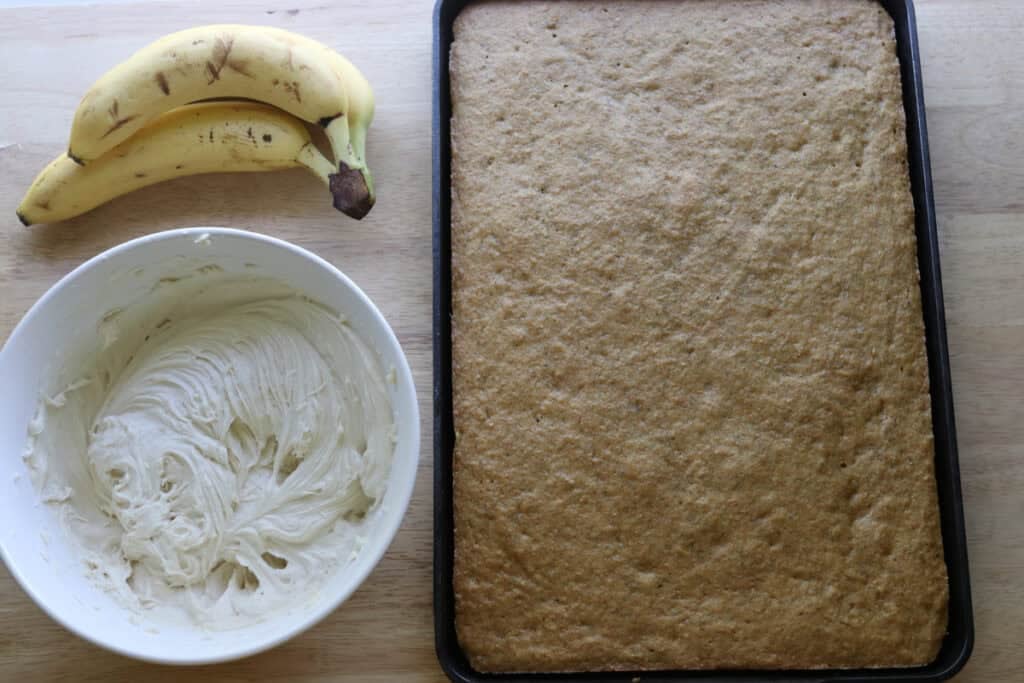
- Frost the banana bars once cooled.
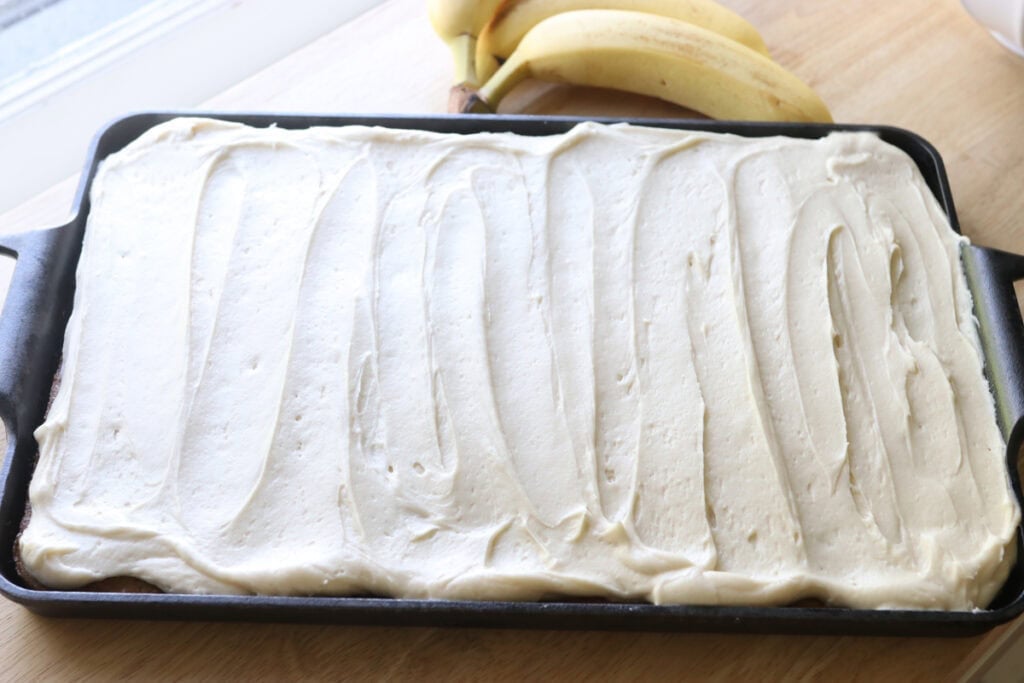
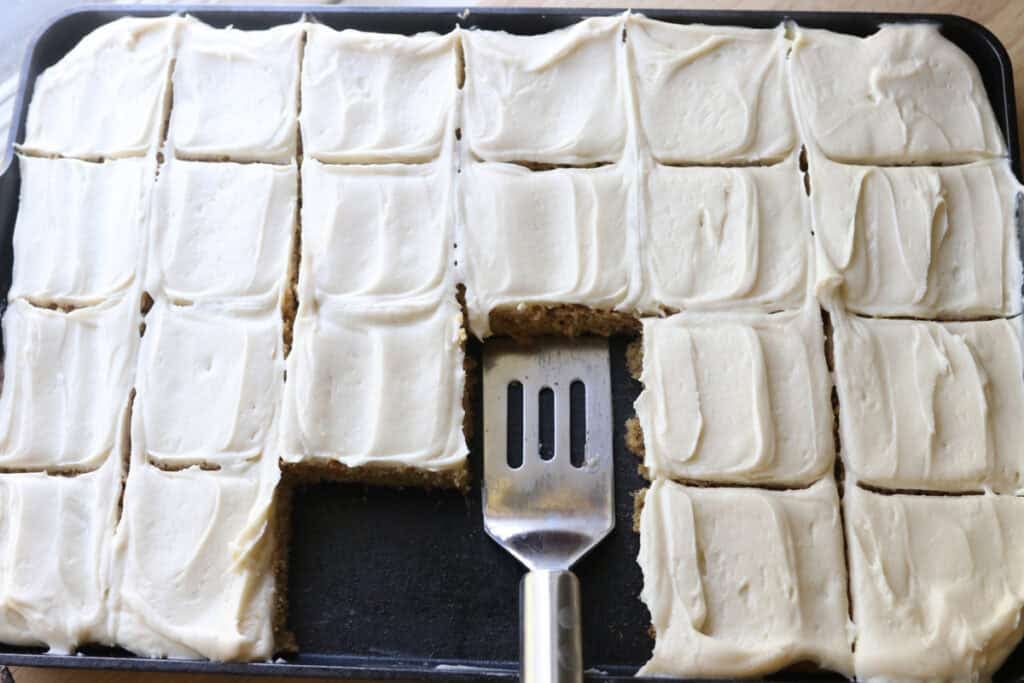
- Store in the fridge.
Recipe Variations
Swap the bananas for applesauce. Use 1.5 cups of unsweetened applesauce in place of the mashed bananas. The flavor shifts from banana-forward to more subtly sweet, and the bars take on a spice-cake vibe if you add cinnamon and nutmeg.
Go nuts with mix-ins. Fold in 1/2 cup of chopped walnuts, pecans, or even dark chocolate chips right before baking. The nuts add crunch and richness, while chocolate makes the bars feel more indulgent. Don’t add more than 3/4 cup total or the batter won’t hold together.
Make it dairy-free. Swap the butter in the bars for melted coconut oil and skip the cream cheese frosting. Instead, make a simple glaze with powdered sugar, a splash of plant-based milk, and a little vanilla. It won’t be as rich, but it still tastes great.
Turn them into muffins. Divide the batter into a lined muffin tin and bake at 350 degrees for 18 to 22 minutes. You’ll get about 16 muffins. Skip the frosting or serve it on the side as a dip.
Add warm spices. Stir in 1 teaspoon of cinnamon, 1/4 teaspoon of nutmeg, and a pinch of cardamom for a spiced version that feels more fall-appropriate. The fresh flour plays beautifully with warm spices.
Use different grains. Try milling spelt berries for a lighter, slightly sweeter flavor. Einkorn works too, though it’s more delicate and the bars will be more tender and crumbly.
Storage Tips
These bars keep well, which makes them a great homemade snack for meal prep or a delicious dessert for bringing to gatherings a day ahead.
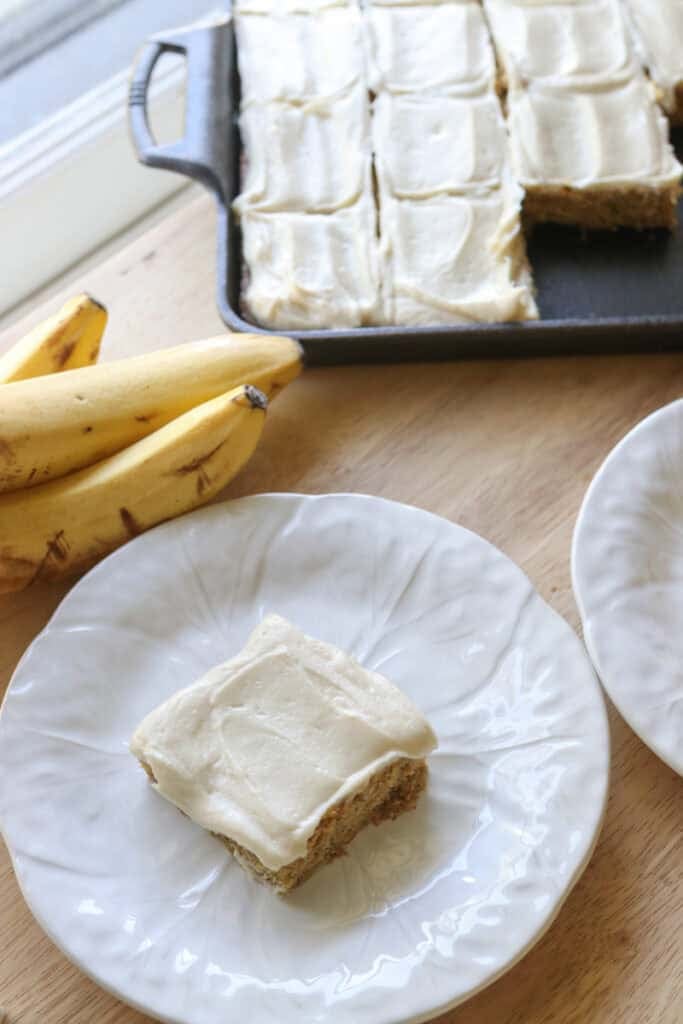
Store the frosted bars in an airtight container in the fridge for up to 5 days. Let them come to room temperature before serving, or the frosting will be firm and the bars will taste muted. Pull them out 20 minutes before you plan to eat.
For longer storage, you can freeze the bars with or without frosting. If freezing frosted bars, place them in a single layer on a baking sheet and freeze until solid, then wrap individually in plastic wrap and store in a freezer bag for up to 3 months. Thaw in the fridge overnight or at room temperature for a few hours.
If you freeze the bars unfrosted, wrap them tightly in plastic wrap and foil. Thaw completely, then make the frosting fresh. The texture holds up better this way, and the frosting tastes brighter.
Reheating isn’t necessary, but if you want to serve them slightly warm, microwave individual squares for 10 to 15 seconds. The frosting will soften, and the bars will taste like they just came out of the oven.
Troubleshooting Common Problems with This Recipe
The bars turned out dense and gummy. This usually means underbaking or too much banana. If the center looks wet even after the recommended baking time, your oven might be running cool. Use an oven thermometer to check. If you added extra banana because yours were small, pull back next time. Too much moisture and not enough structure makes the bars collapse into themselves.
The bars are dry and crumbly. Overbaking is the main culprit, but under-ripe bananas or too little fat can also cause this. Check your bars a few minutes early next time. If your bananas weren’t ripe enough, add an extra tablespoon of melted butter or a splash of milk to the batter for insurance.
The frosting is too runny. Your cream cheese or butter was too warm, or you didn’t add enough powdered sugar. Chill the frosting in the fridge for 15 minutes, then try spreading it again. If it’s still loose, beat in another 1/4 cup of powdered sugar.
The frosting is lumpy. The cream cheese wasn’t soft enough when you started. You can’t fix lumps by mixing harder, you’ll just make it worse. Start over with properly softened cream cheese, or push the frosting through a fine-mesh sieve to remove lumps before spreading.
The bars stuck to the pan. You didn’t grease the pan well enough. Next time, line the pan with parchment and leave an overhang on two sides so you can lift the whole block out before slicing. If they’re already stuck, run a thin knife around the edges and use a spatula to pry them out gently.
The top cracked while baking. This happens when the oven is too hot or the batter was overmixed. Cracks are mostly cosmetic and won’t affect flavor. If it bothers you, reduce your oven temperature by 25 degrees next time and mix the batter more gently.
The edges overbaked before the center was done. Your pan might be too thin, or your oven has hot spots. Rotate the pan halfway through baking, and consider lowering the oven temperature by 25 degrees while extending the baking time slightly. A light-colored metal pan distributes heat more evenly than dark or glass pans.
Extra FAQs
Can I use store-bought whole wheat flour instead of freshly milled?
You can, but the flavor and texture won’t be the same. Store-bought whole wheat flour is stale by comparison, so the bars will taste more bitter and less nuanced. If that’s your only option, look for the freshest bag you can find and store it in the fridge or freezer. You might also want to reduce the flour slightly or add a tablespoon of extra butter since store-bought flour tends to be drier.
What’s the best type of wheat berry to mill for these bars?
Soft white wheat is the most beginner-friendly and produces a tender crumb. It’s mild, slightly sweet, and doesn’t have the strong whole wheat flavor that some people find off-putting.
Do I have to frost these bars?
No, but the cream cheese frosting is what makes them feel special. If you skip it, the bars are still good but more like banana bread in bar form. You could dust them with powdered sugar, drizzle them with a simple glaze, or just eat them plain with coffee.
How do I know if my bananas are ripe enough?
Look for bananas that are heavily speckled with brown spots, or even fully brown or black. The peel should feel soft when you squeeze it gently. If your bananas are still yellow or only lightly speckled, wait a few more days or roast them in a 300-degree oven for 15 minutes to speed things up.
Can I double this recipe?
Absolutely. Use two sheet pans or one large sheet pan and adjust the baking time. A half-sheet pan will need closer to 35 to 40 minutes. Just keep an eye on the edges and check for doneness using the same visual and sensory cues.
Why did my frosting turn out grainy?
The powdered sugar wasn’t sifted, or the cream cheese wasn’t soft enough. Always sift powdered sugar if it’s been sitting in the pantry for a while. Lumps won’t dissolve into the frosting no matter how much you mix. And make sure your cream cheese is truly room temperature, not cold.
How do I prevent the bars from sticking to the knife when I cut them?
Make sure the bars are completely cool before slicing. Wipe your knife clean between cuts, or run it under hot water and dry it quickly before each slice. A sharp knife also makes cleaner cuts than a dull one.
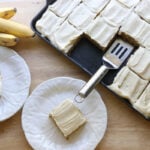
Frosted Banana Bars Made with Freshly Milled Flour
Ingredients
Batter:
- ½ cup softened butter 115 grams
- 1 ¼ cups sugar 250 grams
- 3 eggs
- 3 very ripe mashed bananas (318 grams)
- 1 tablespoon vanilla
- 2 ½ cups freshly milled soft white wheat flour finely milled (288 grams)
- 1 teaspoon baking soda
- ½ teaspoon salt
Frosting:
- 8 ounces softened cream cheese 226 grams
- ¼ cup softened butter 58 grams
- 2 ⅔ cups powdered sugar 266 grams
- 2 teaspoons vanilla
- 2-3 tablespoons heavy cream
Instructions
- Preheat the oven to 350 degrees F. and thoroughly grease a 15×10 inch baking sheet or pan.
- In the bowl of a stand mixer, cream the butter and sugar until light and fluffy.
- Add the eggs, banana, and vanilla into the mixing bowl and mix.
- Add the flour, baking soda, and salt and mix until just combined.
- Spread the batter into the prepared pan.
- Bake for 20-25 minutes, until golden brown and a toothpick inserted in the middle comes out clean.
- For the frosting, beat the cream cheese and butter until smooth. Add the remaining ingredients and beat until smooth.
- Frost the banana bars once cooled.
- Store in the fridge.

You mentioned that the crumb stays tender and that the bars remain soft even after a couple of days, which is a great point about the moisture retention of fresh milled flour. I’d love to know if you have a specific recommendation for the optimal grind size to achieve that perfect balance between tenderness and structure for these banana bars, especially since variations can lead to different textures.