Braided Challah Bread Made with Freshly Milled Flour
This post may contain affiliate links. Please read our Disclosure Policy.
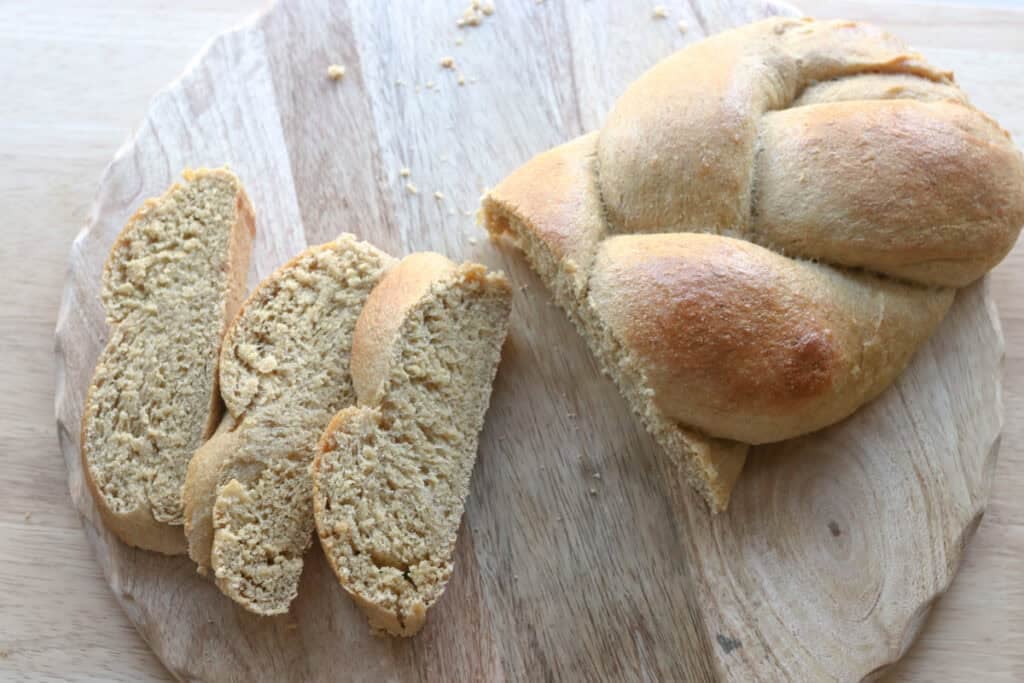
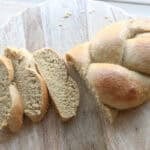
There’s something deeply satisfying about baking bread from scratch, especially when it’s braided challah made with freshly milled flour. Imagine the enchanting aroma filling your kitchen, the soft yet sturdy texture that’s perfect for everything from toast to sandwiches, and the beautiful golden braids that make every loaf feel like a little celebration. Using freshly milled flour adds a lovely, wholesome depth to this classic bread that you might not expect if you’ve only worked with store-bought flour. Whether you’re a seasoned baker or this is your first time venturing into homemade bread, this recipe offers a delightful way to connect with traditions and the simple joy of kneading dough.

What Makes This Recipe Great
Freshly milled flour for unparalleled flavor.
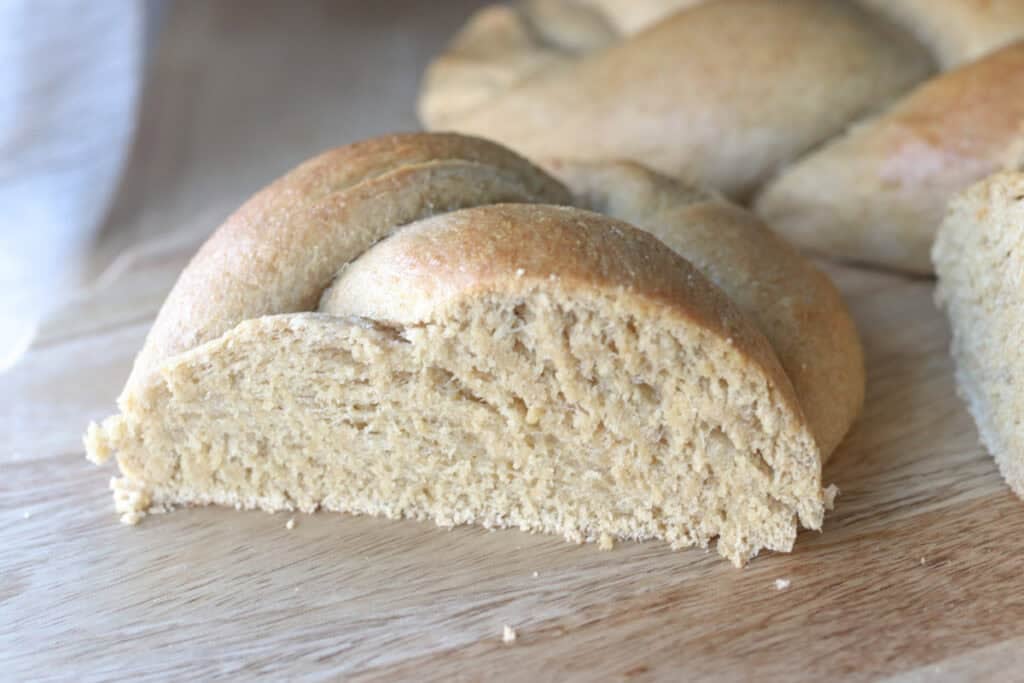
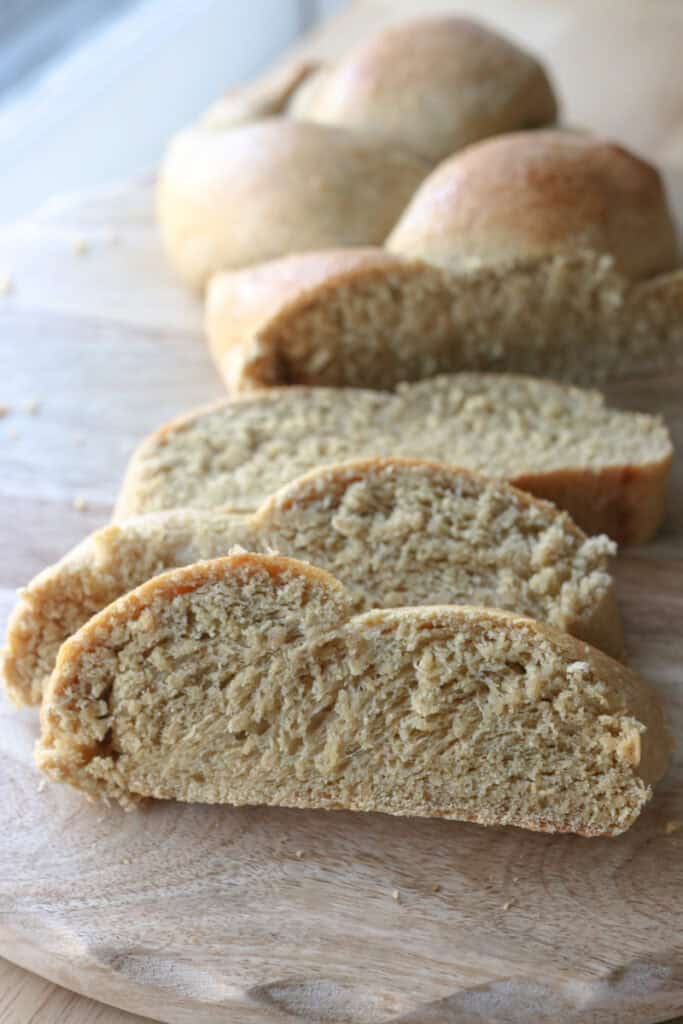
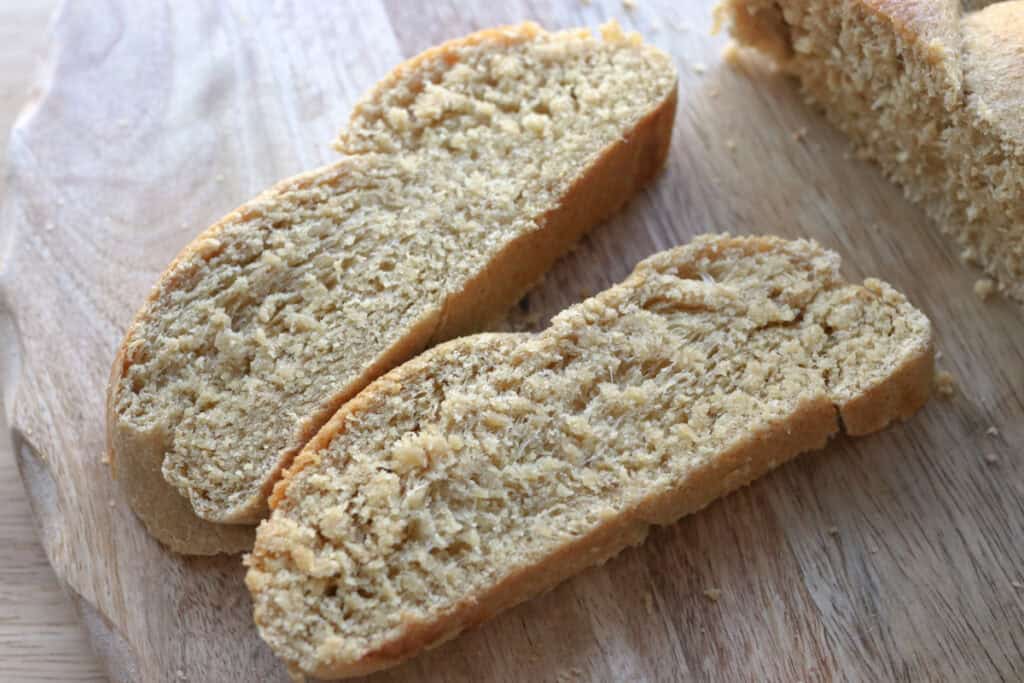
Using freshly milled flour brings out a nutty, rich taste that commercial flours just can’t match. It also enhances the texture, giving the challah a heartier yet tender crumb that’s simply irresistible.
Beautiful, traditional braid.
The visual appeal of a braided challah is stunning, and it’s easier to master than you might think. The braiding not only looks special but also helps the bread bake evenly and maintain its lovely shape.
Soft, slightly sweet texture.
The slight sweetness of the dough balances perfectly with the egg-enriched goodness, creating a bread that’s both versatile and comforting. It works wonderfully for everything from breakfast with jam to dipping in savory dishes.
For more freshly milled breads, try these flaky, buttery croissants or this non-sourdough artisan loaf!
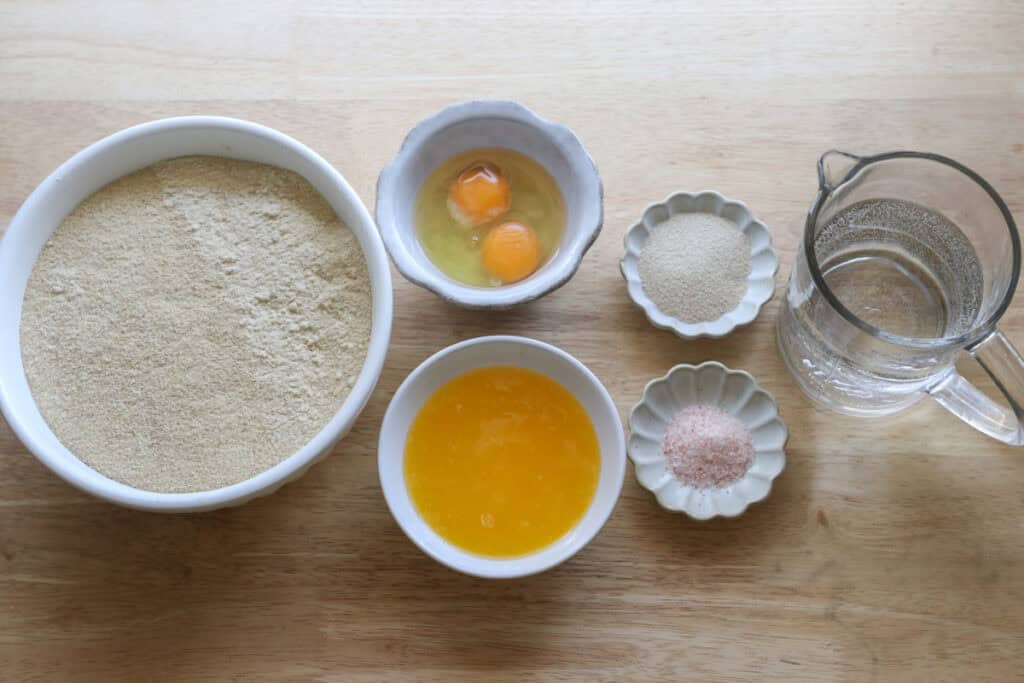
Overview of Ingredients
Freshly Milled Flour
Freshly milled flour is the star of this recipe, providing deep flavor and nutrition. You can substitute with high-quality all-purpose or bread flour, but the fresh milled will always add that extra charm and taste dimension.
Eggs
Eggs enrich the dough, giving challah its characteristic golden color and tender texture.
Honey
Honey adds just the right amount of natural sweetness and helps keep the bread moist. You can swap it with maple syrup or agave nectar for a different sweet note if honey isn’t your thing.
Butter
Butter keeps the crumb soft and tender. Olive oil works fine too, lending a subtle fruity note that complements the bread beautifully.
Tips for Success
#1 Don’t rush the first rise
Be patient with the dough’s first rise; it will double in size and develop better flavor and texture. Try to find a cozy, draft-free spot in your kitchen — sometimes my oven (turned off) works great for this.
#2 Master the braid with relaxed hands
When braiding, keep your hands relaxed and don’t pull the strands too tight. It’s easy to get a bit tense and overdo it, but a gentle touch helps keep the dough airy and the braid looking elegant.
#3 Brush with egg wash
Brushing the challah with an egg wash before baking creates a glossy, golden crust that’s hard to resist. If you want a pop of sesame or poppy seeds, sprinkle them on right after the egg wash for best adhesion.
#4 Let it cool completely before slicing
Resist the urge to slice into your freshly baked challah while it’s still warm. Cooling allows the crumb to set, making slicing cleaner and preserving that beautiful texture you worked so hard to create.
Helpful Tools & Supplies
Whether you’re just dipping your toes into the world of fresh milled flour or you’re a seasoned home baker, I’ve taken the guesswork out of what you truly need. All of these tools and resources are available in my shop, designed to help your journey be smooth and nourishing:
Grain Mills
- NutriMill Classic Grain Mill – My go-to for fine, consistent milling; perfect for sandwich breads and everyday baking.
- NutriMill Harvest Grain Mill – Stone-ground elegance: this model delivers whole-grain flavor with a beautiful appearance.
Mixers
- Ankarsrum Mixer – A powerhouse kitchen companion with multiple speeds and attachments—ideal for kneading bread dough effortlessly.
Baking & Bread Tools
- Bread Bow Knife – Artisan-made with a high-carbon steel blade and cherry wood handle—this knife slices loaves with ease.
- Sourdough Essentials Kit With Starter – Complete starter kit that includes dehydrated sourdough starter, banneton baskets, a dough whisk, scoring lame, and more.
Cookbooks & eBook Bundles
- Everyday Whole Grains Vol. 1 & 2 (printed & digital) – Packed with 70+ recipes built around fresh milled flour, from breads to snacks and desserts.
- The Fresh Breads Bundle – A comprehensive set including eBooks like The Perfect Loaf, the Cookie Jar, bulk baking guides, and a sourdough mini‑course—all centered on fresh milled flour.
- Freshly Milled Made Simple Guide – A video-based guide that walks you through milling and baking basics, making the process feel easy and approachable.
Specialty Items
- Dehydrated Sourdough Starter – Just add water and flour to rehydrate this starter—perfect for bakers without an active sourdough culture.
- I Knead Fresh Flour Mug – A charming, handmade 12 oz ceramic mug—great for coffee breaks during dough rising!
Why These Are Worth It
Every tool in this collection has been personally vetted to support you in baking with fresh milled flour. From the grain mills that make your flour, to mixers that knead dough, to resources that teach you every step—it’s all here to make sure your homemade bread journey is joyful, nourishing, and successful.
➡️ Explore all of these items and more in the Generation Acres Farm Shop — your one-stop spot for fresh milled flour baking essentials
How to Make Freshly Milled Braided Challah
Ingredients:
- 1 ½ cups warm water (330 grams)
- ⅓ cup honey (90 grams)
- ½ cup melted butter (115 grams)
- 2 eggs
- 1 ½ teaspoons salt
- 6 cups freshly milled hard white wheat flour, finely milled (780 grams)
- 1 ½ tablespoons instant yeast
- egg for egg wash
Directions:
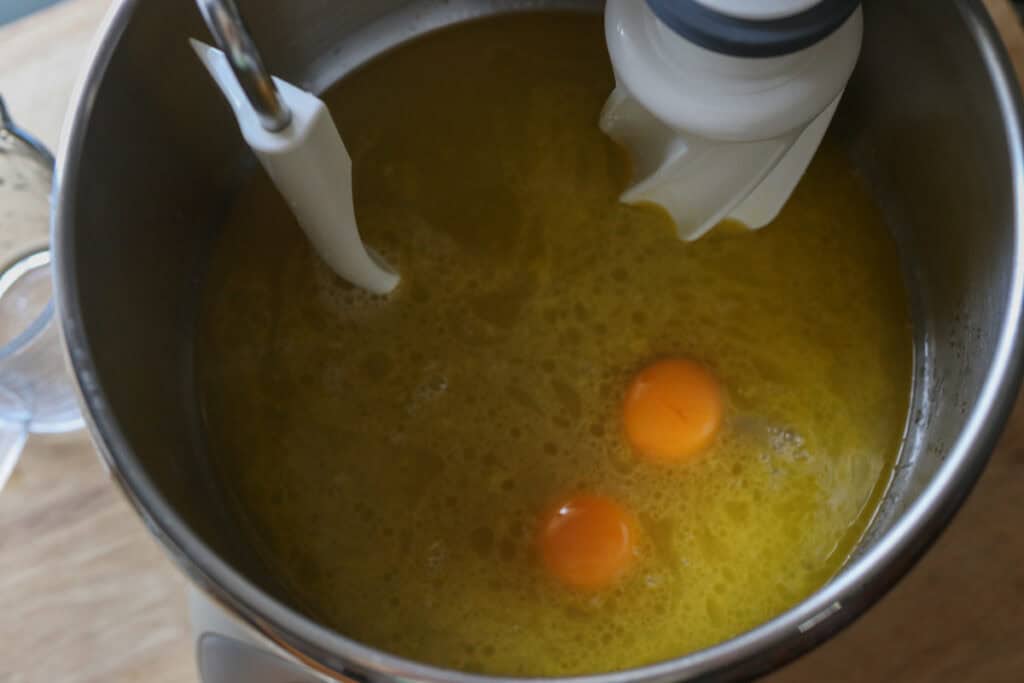
- In the bowl of a stand mixer, combine the water, honey, butter, eggs, and salt.
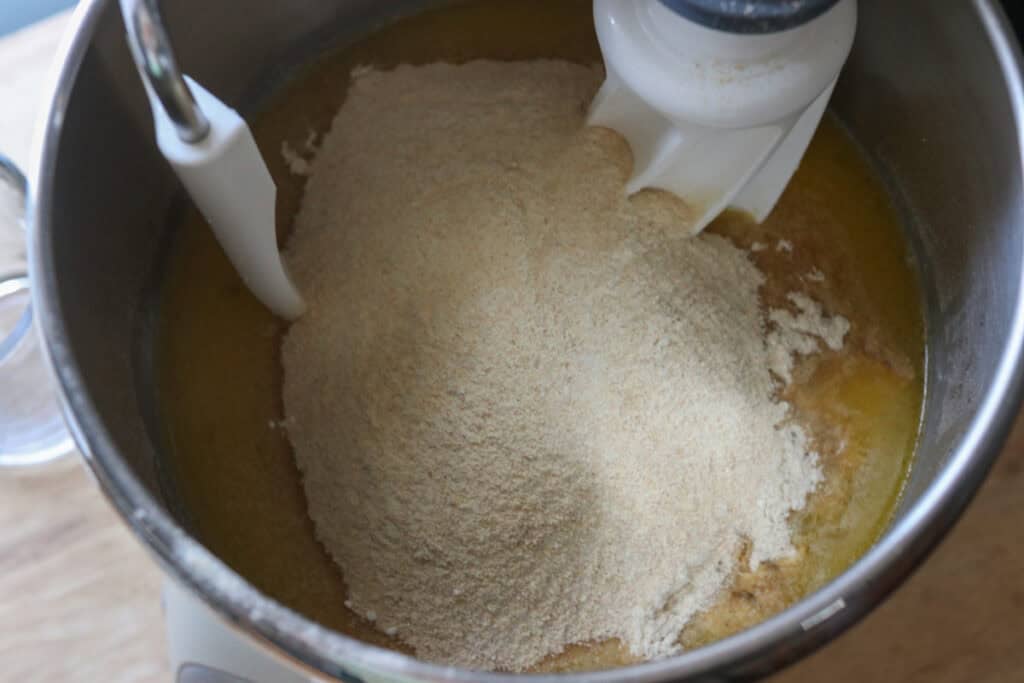
- Add 4 ½ cups flour and combine. Let it rest for 15 minutes.
- Add the yeast and remaining flour, if needed. Add a half cup at a time, watching to see when it starts to pull away from the sides of the bowl. Do not add anymore flour once it starts doing this.
- Knead until the dough is smooth and you reach windowpane. The dough should be somewhat sticky.
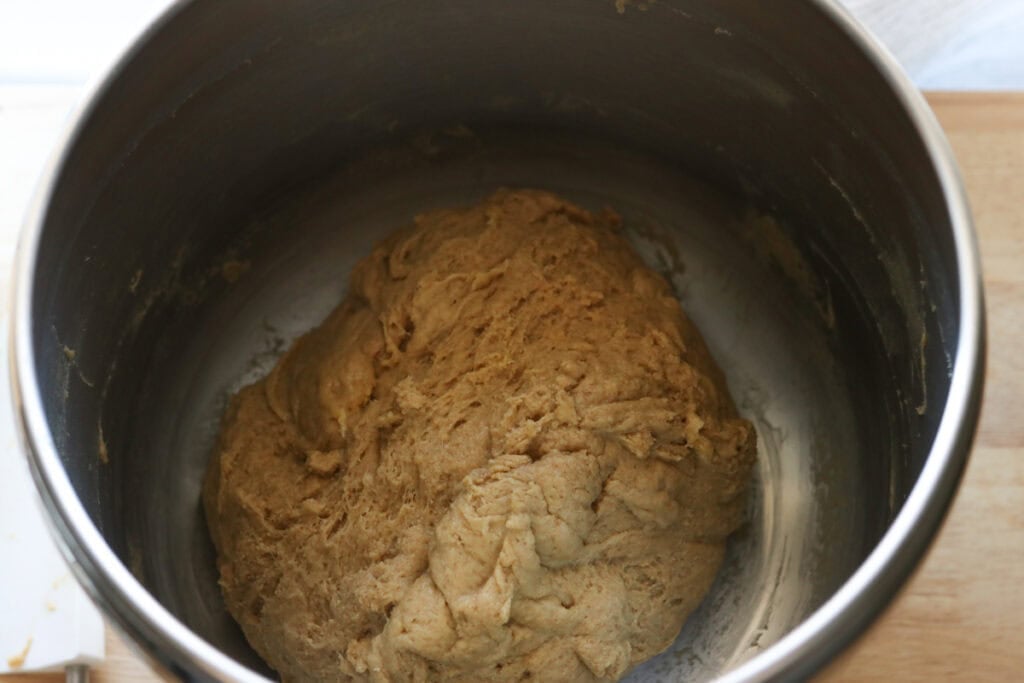
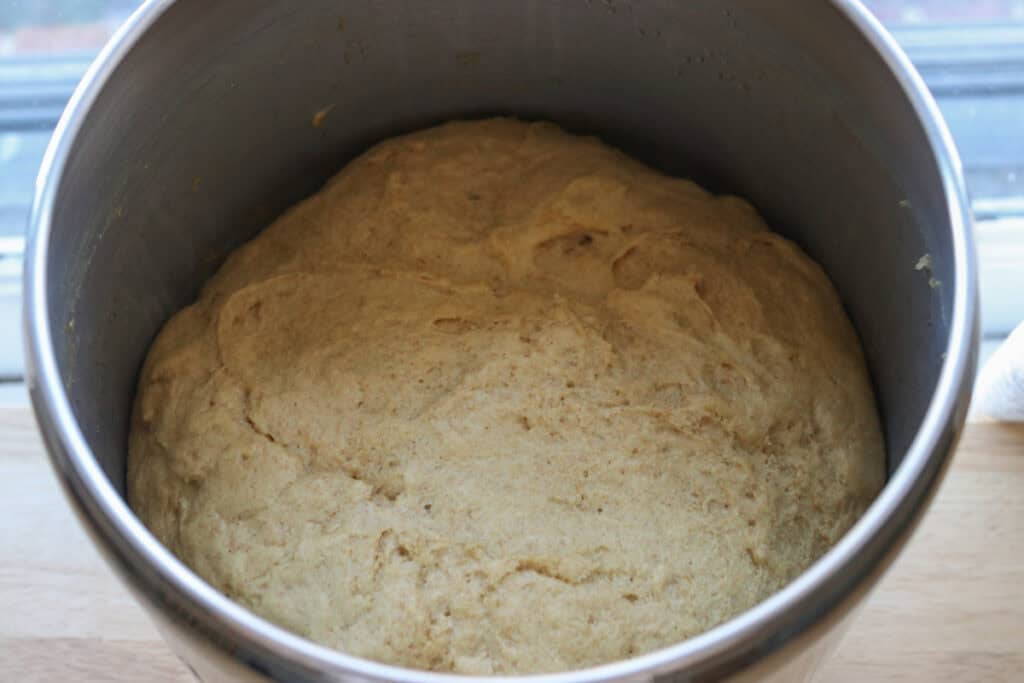
- Place in a bowl and cover to rise in a warm spot until doubled, about 35-45 minutes.
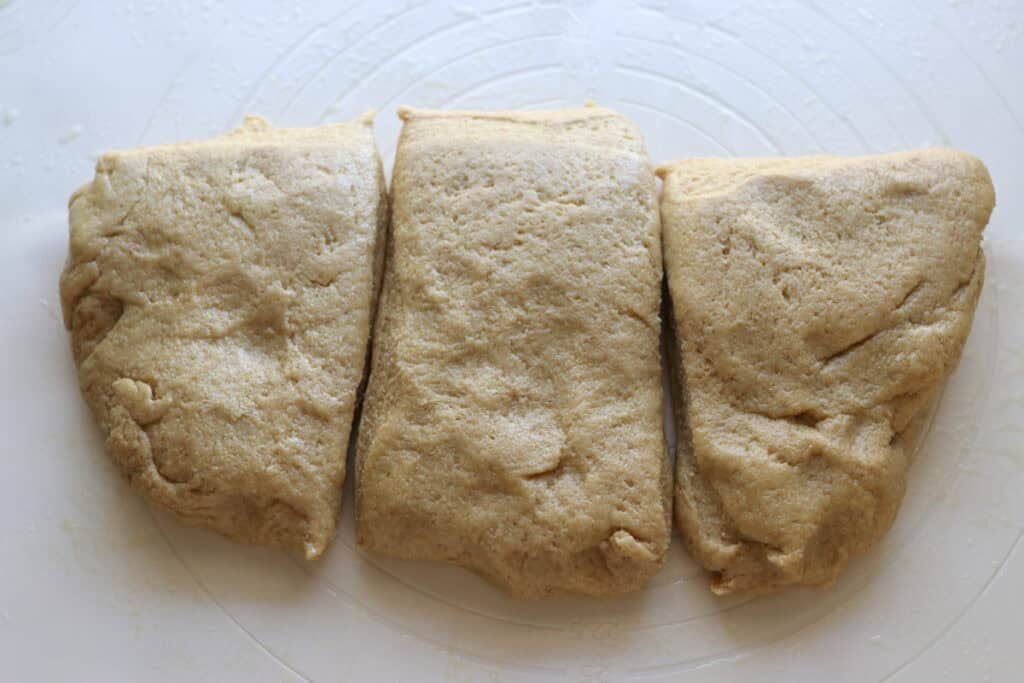
- Once risen, turn out on an oiled surface. Divide the dough in half, then divide each half into 3 pieces.
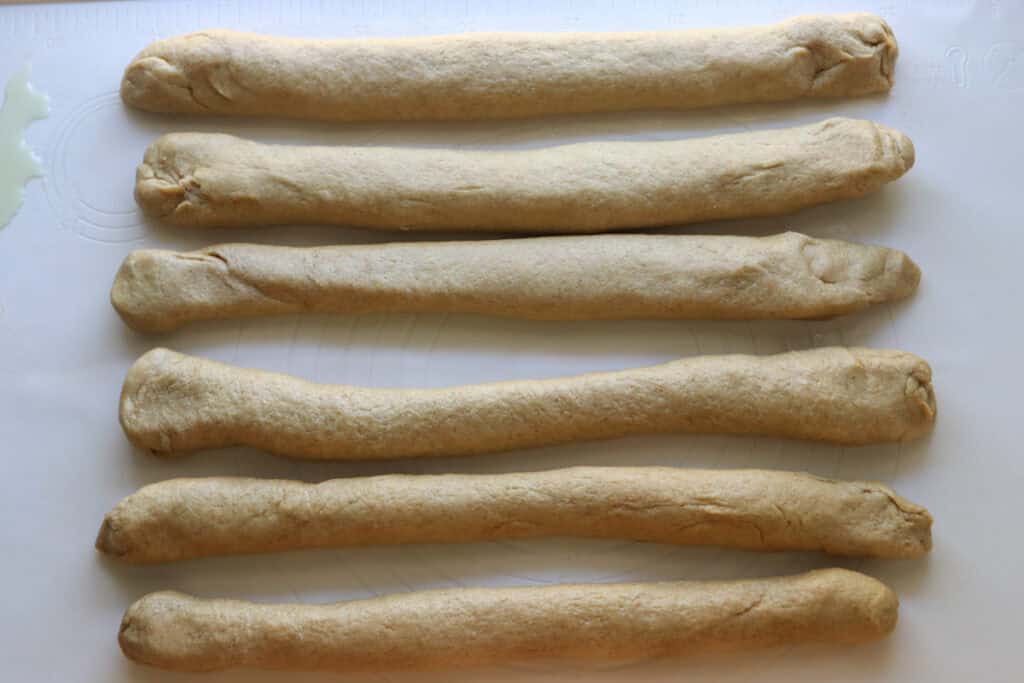
- Roll the 3 pieces into logs about 15 inches long.
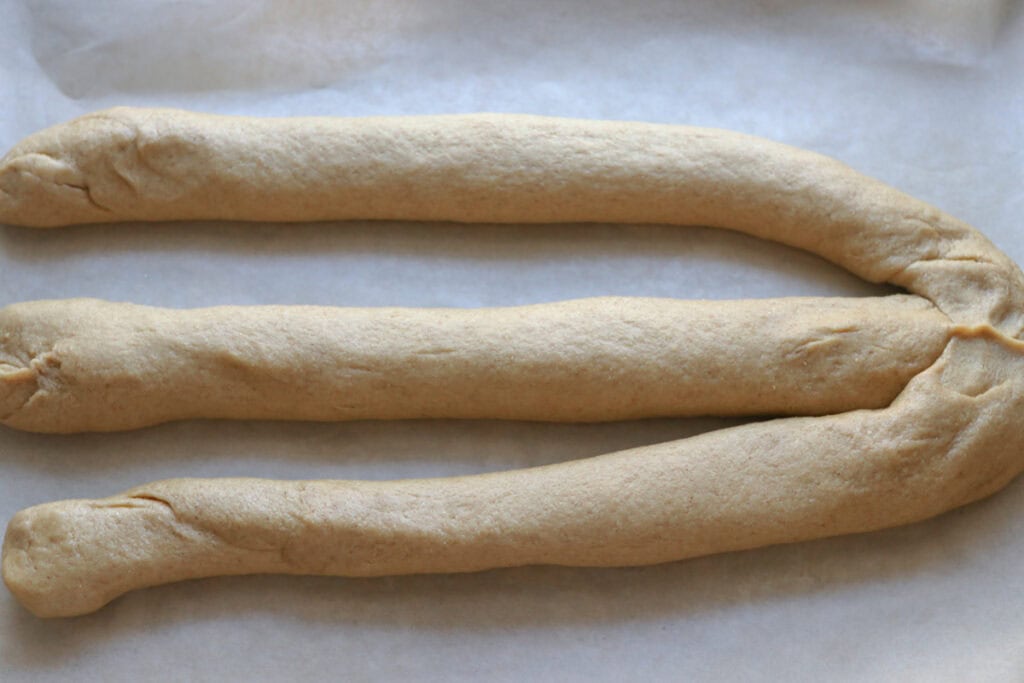
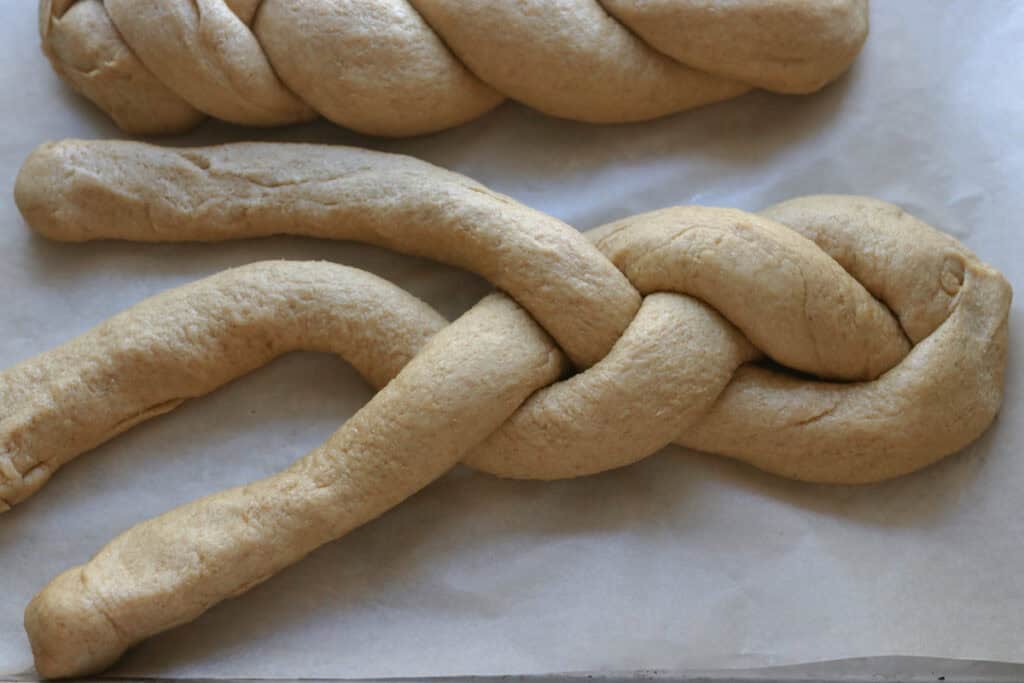
- Line a baking sheet with parchment paper and place the pieces of dough on it. Attach the three strands together at one end, then braid the log and pinch the 3 ends together. Repeat with the other half of the dough to make 2 braided loaves.
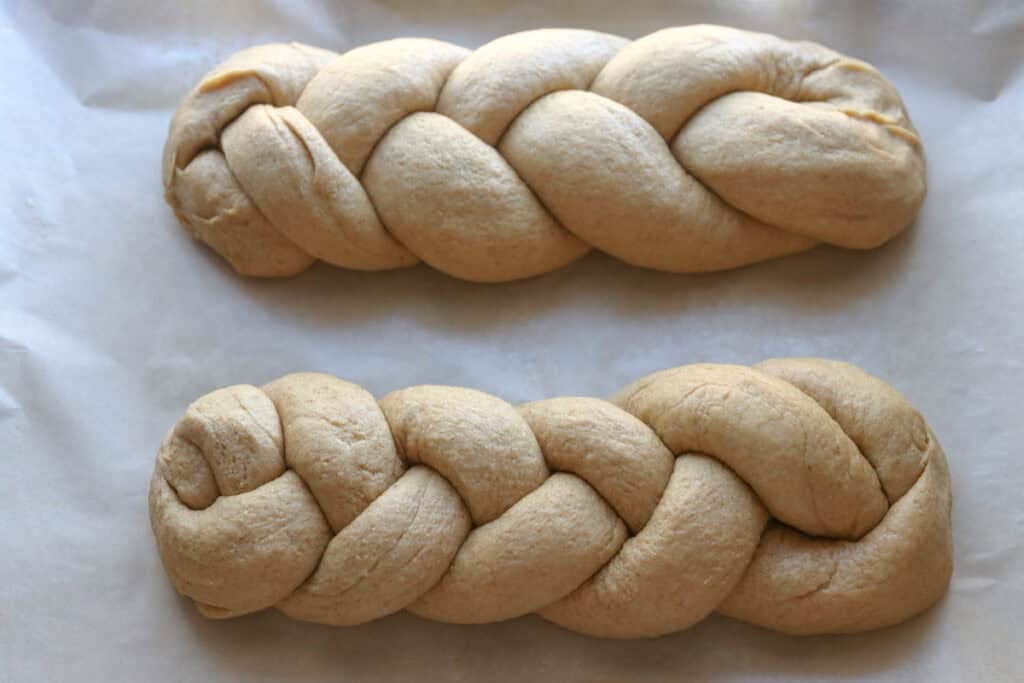
- Cover and allow to rise until puffy, 45 minutes to an hour.
- Preheat the oven to 350 degrees F.
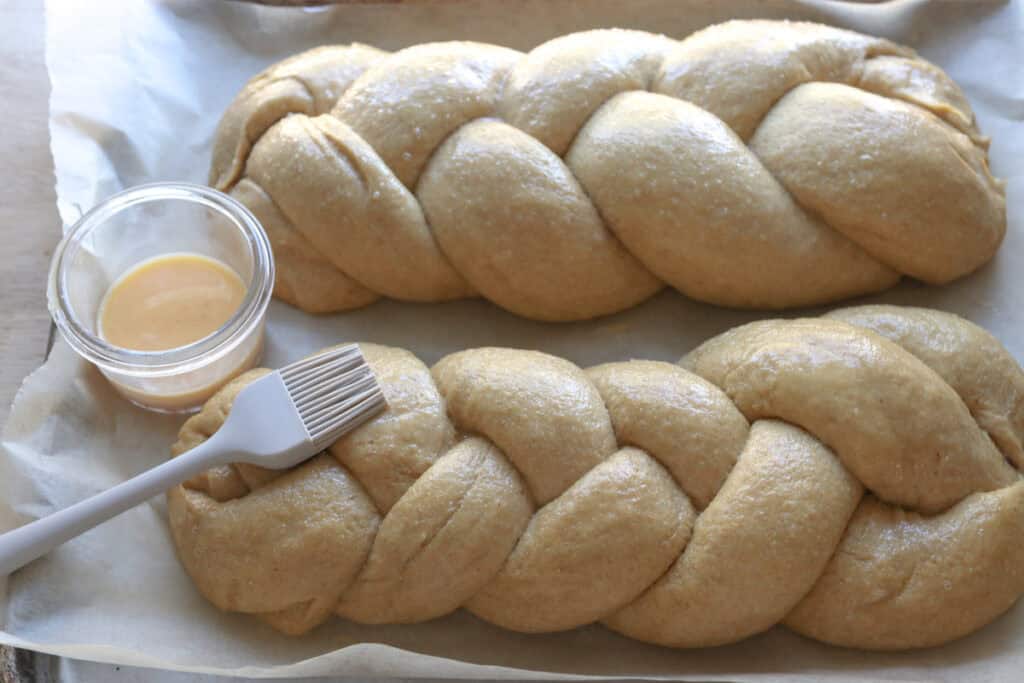
- Once risen, whisk an egg with a teaspoon of water and brush over each loaf.
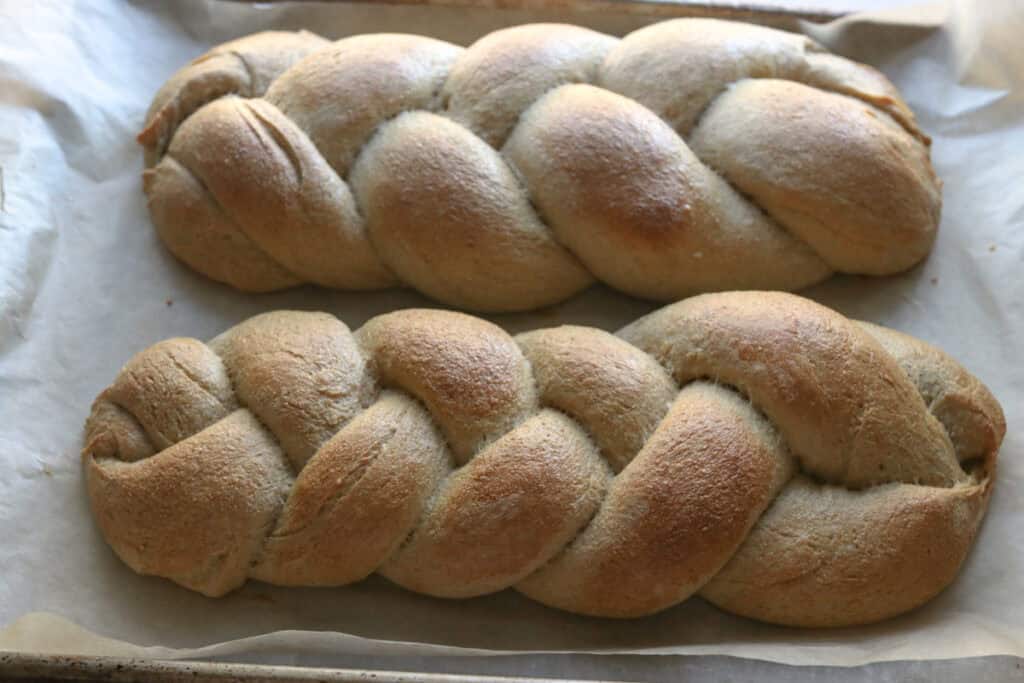
- Bake for 26-32 minutes, until they are browned and reach an internal temperature of 190 degrees F.
Equipment:
Large Mixing Bowl
Stand Mixer with Dough Hook (optional)
Kitchen Scale (for best results)
Rolling Pin (optional, for braiding ease)
Baking Sheet or Loaf Pan
Pastry Brush
Recipe Variations
Sweet Raisin Challah:
Add a half cup of raisins or dried cranberries to the dough for a delightful sweet surprise.
Savory Herb Infusion:
Mix in some finely chopped rosemary or thyme for an aromatic, savory variation that pairs wonderfully with dips and cheeses.
Mini Challahs:
Divide the dough into smaller portions and braid mini loaves for individual servings or gifts.
Gluten-Free Adaptation:
Try a gluten-free flour blend designed for yeast breads, keeping in mind texture will be different but still delicious.
Troubleshooting Common Problems with this Recipe
Dough Doesn’t Rise
If your dough isn’t rising, it could be that the yeast is inactive. Double-check the freshness of your yeast. Also, make sure your kitchen isn’t too cold — a warm environment helps yeast thrive.
Braiding Looks Messy or Falls Apart
If the strands are springing back when you braid, your dough might be too cold or not relaxed enough. Let it rest at room temperature for 10 minutes to relax the gluten before attempting to braid again.
Challah Turns Out Dense
Dense bread can result from overworking the dough, or not enough rising time. Handle the dough gently and allow it plenty of time to rise until doubled; rushing either step may lead to a compact crumb.
Crust Too Hard or Thick
A very firm crust can happen when the oven is too hot or the bread bakes too long. Watch closely near the end of baking and tent with foil if the crust starts browning too quickly.
Bread Tastes Yeasty or Bitter
Too much yeast or over-proofing can cause off flavors. Stick to recipe measurements carefully and don’t let the dough rise too long; it should roughly double but not explode.
Freezing & Storing Leftovers
Freezing:
Once your challah has completely cooled, slice if you like, then wrap it tightly in plastic wrap and place it in a freezer bag. Freeze for up to 3 months. When ready to enjoy, thaw at room temperature and warm briefly in the oven for that fresh-baked feel.
Storing:
Store challah in an airtight container or bread bag at room temperature for up to 3 days. To keep it fresh longer, refrigerate, but bring back to room temperature or toast before eating to revive softness.
Extra FAQs
Can I substitute fresh milled flour with store bought flour?
Yes, regular bread flour or all-purpose flour will work fine, though the flavor won’t be quite as rich or nutty as with freshly milled flour.
What is the best way to reheat sliced challah?
Toast slices lightly or warm in the oven wrapped in foil to restore softness without drying it out.
Braided Challah Bread Made with Freshly Milled Flour
Ingredients
- 1 ½ cups warm water 330 grams
- ⅓ cup honey 90 grams
- ½ cup melted butter 115 grams
- 2 eggs
- 1 ½ teaspoons salt
- 6 cups freshly milled hard white wheat flour finely milled (780 grams)
- 1 ½ tablespoons instant yeast
- egg for egg wash
Instructions
- In the bowl of a stand mixer, combine the water, honey, butter, eggs, and salt.
- Add 4 ½ cups flour and combine. Let it rest for 15 minutes.
- Add the yeast and remaining flour, if needed. Add a half cup at a time, watching to see when it starts to pull away from the sides of the bowl. Do not add anymore flour once it starts doing this.
- Knead until the dough is smooth and you reach windowpane. The dough should be somewhat sticky.
- Place in a bowl and cover to rise in a warm spot until doubled, about 35-45 minutes.
- Once risen, turn out on an oiled surface. Divide the dough in half, then divide each half into 3 pieces.
- Roll the 3 pieces into logs about 15 inches long.
- Line a baking sheet with parchment paper and place the pieces of dough on it. Attach the three strands together at one end, then braid the log and pinch the 3 ends together. Repeat with the other half of the dough to make 2 braided loaves.
- Cover and allow to rise until puffy, 45 minutes to an hour.
- Preheat the oven to 350 degrees F.
- Once risen, whisk an egg with a teaspoon of water and brush over each loaf.
- Bake for 26-32 minutes, until they are browned and reach an internal temperature of 190 degrees F.