Healthy Apple Hand Pies with Fresh Milled Flour
This post may contain affiliate links. Please read our Disclosure Policy.
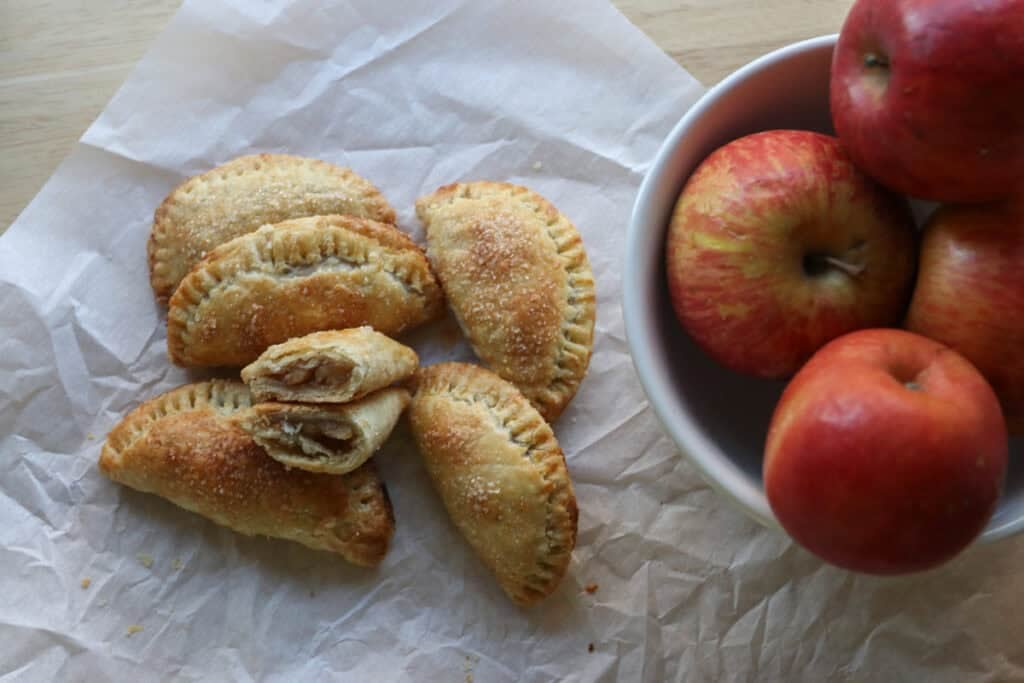
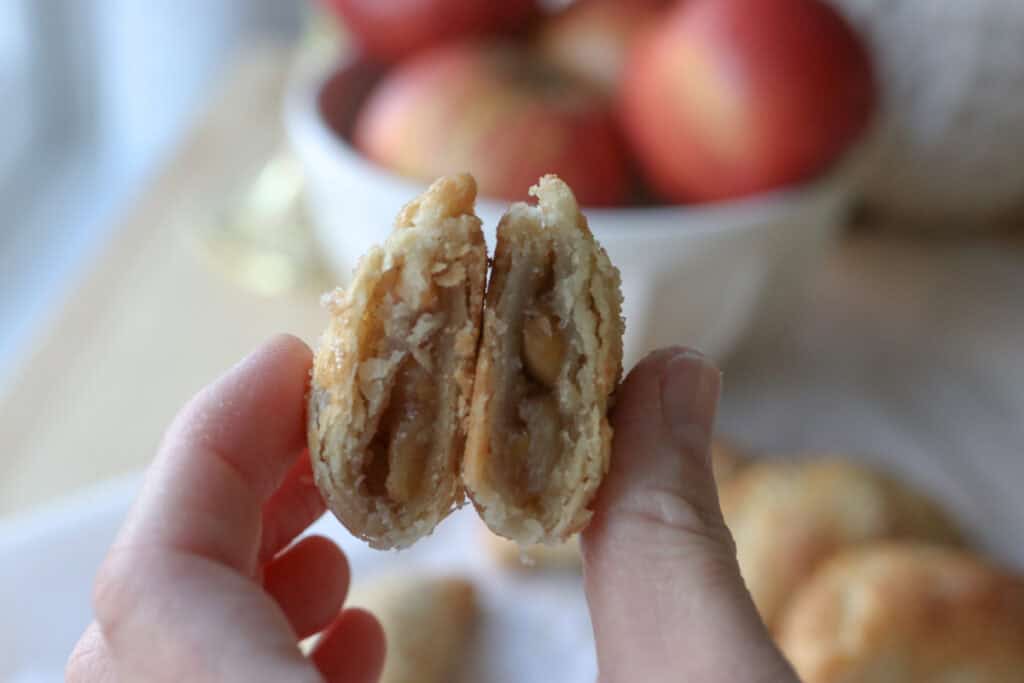
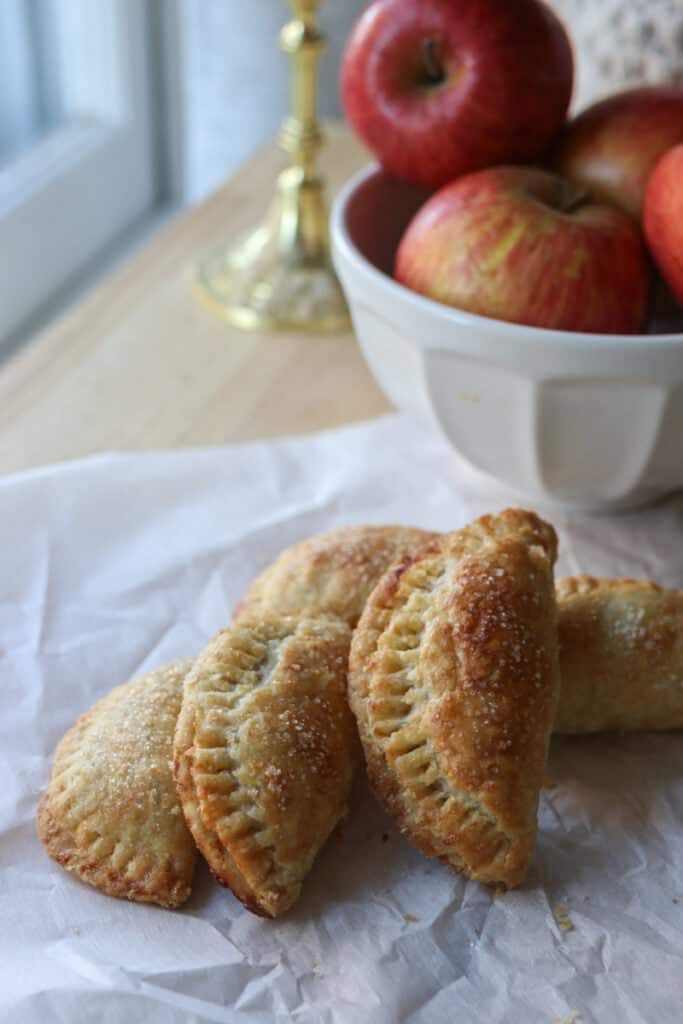
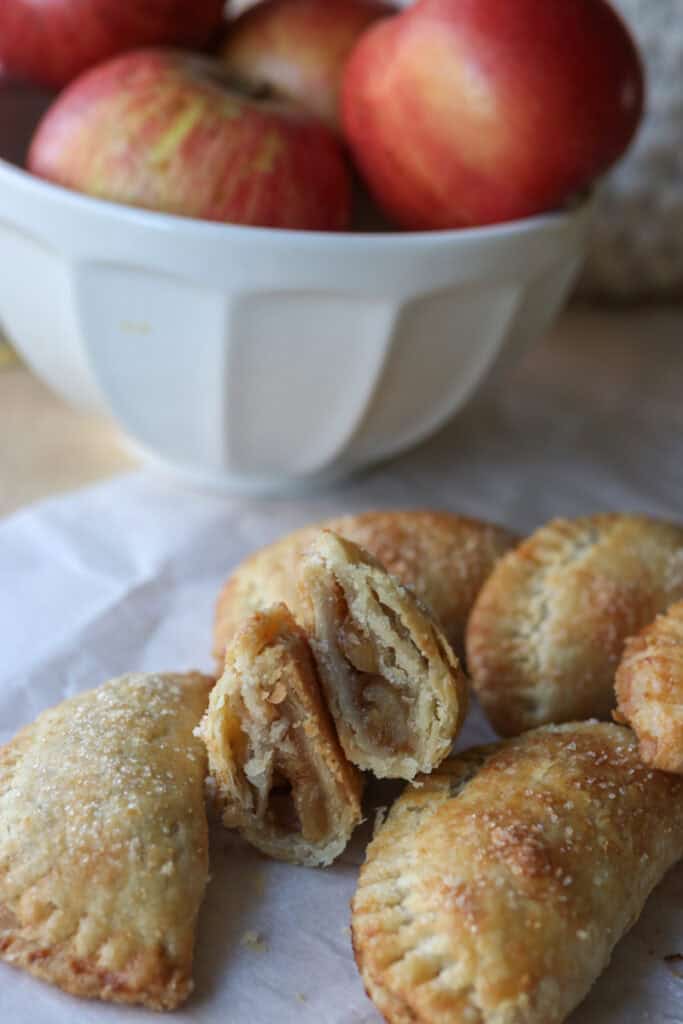
There’s something undeniably cozy about biting into a warm apple hand pie, isn’t there? Now imagine those comforting flavors, but with a healthy twist and made from scratch using freshly milled flour. This recipe brings together wholesome ingredients with a delightful, flaky texture that feels indulgent without the guilt. Whether you’re a seasoned baker or just love a simple, satisfying treat, these easy apple hand pies might just become your new favorite dessert. They capture the essence of homemade comfort with a nourishing edge, making them perfect for Thanksgiving dinner or just to have as a special treat. So next time you’re craving something sweet yet healthy, these hand pies might just do the trick with their charming rustic appeal and delightful flavors.
What Makes This Recipe Great
Naturally wholesome and fresh.
Using freshly milled flour adds a wonderful depth of flavor and nutrition that you just can’t get from store-bought flour. It gives these pies the perfect flaky pie crust that makes them extra indulgent. Use this recipe for our perfect pie crust!
Balanced sweet and spice.
The combination of fresh apple flavor with just the right hint of cinnamon and nutmeg offers a cozy, inviting aroma and taste without overwhelming your palate with too much sugar.
Easy handheld treat.
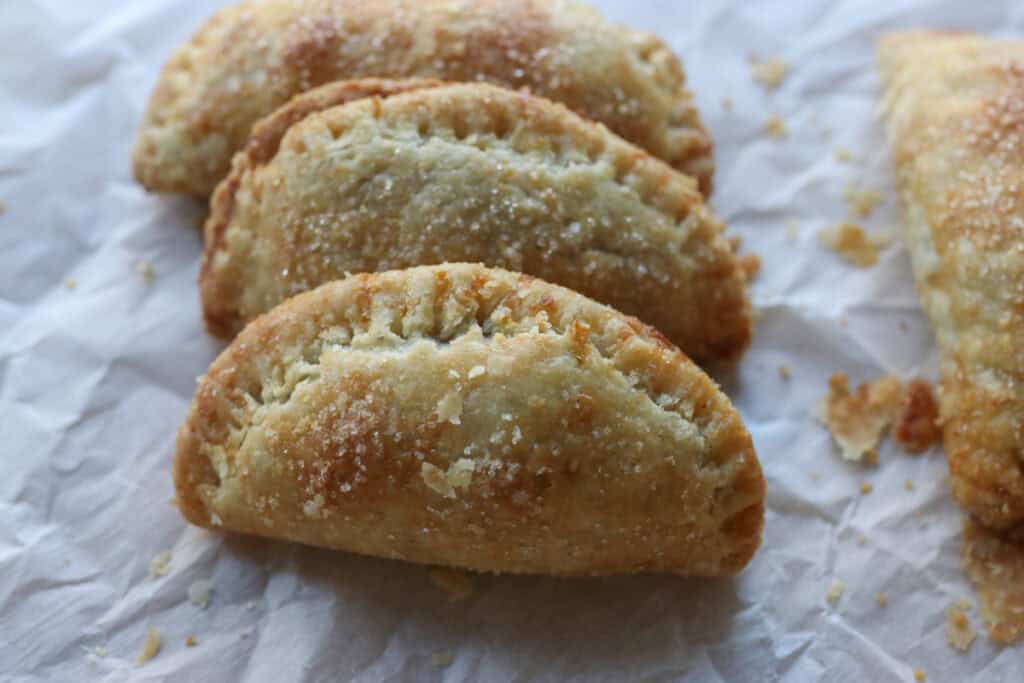
These mini hand pies are perfect for on-the-go snacking or packing in lunchboxes. Their portable size and tender, flaky crust make them a practical yet special homemade delight.
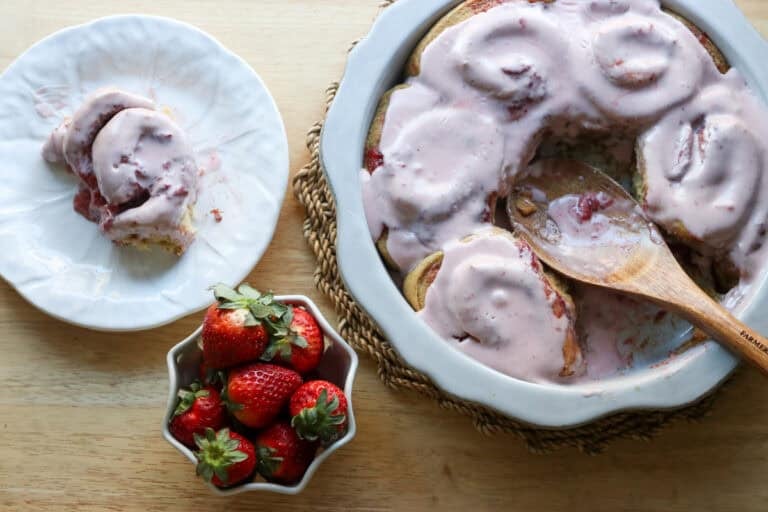
For more fall recipes, be sure to try these incredible fresh milled apple cinnamon rolls or these fresh milled apple cider donuts!
Overview of Ingredients
Freshly Milled Flour
Freshly milled flour adds a nutty flavor and retains more nutrients than processed varieties. If you don’t have a grain mill, whole wheat flour can be a good alternative, though they won’t be as nourishing.
Apples
The recipe calls for apples like fuji or honeycrisp to give the pies a gently sweetness. You can substitute with Granny Smith apples if you prefer a slightly less sweet filling.
Cinnamon and Nutmeg
These warming spices bring out the apple’s natural flavors beautifully. If you’re not a fan of nutmeg, you can simply omit it or try a pinch of allspice instead.
Natural Sweetener
Maple syrup or honey is used to sweeten the filling, keeping the pies healthy yet delicious. Brown sugar can be substituted if needed, though it will add a bit more moisture.
Coconut Oil or Butter
Coconut oil lends a subtle tropical note and helps maintain flakiness, but butter works equally well for a classic buttery flavor.
Tips for Success
#1 Keep the dough cold
Cold dough is key to achieving a flaky crust. Chill your dough in the fridge for at least 30 minutes before rolling it out, and if it gets too warm while working, pop it back in the fridge to stay firm.
#2 Don’t overfill the pies
It might be tempting to pack lots of apple filling inside, but overfilling can cause the pies to leak during baking. Aim for just enough filling to cover the bottom half of each dough circle, creating a neat seal when folded.
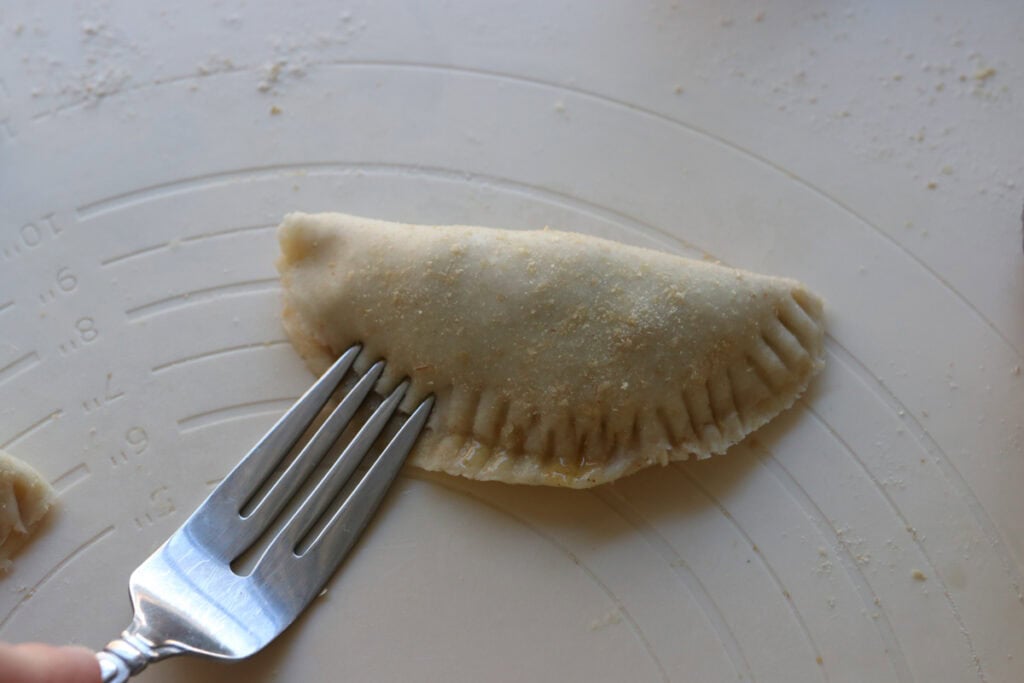
#3 Use a fork to seal edges
Pressing the edges of the pies with a fork not only seals them securely but also adds a charming rustic look. This simple step saves you from any messy apple juice escape routes during baking.
#4 Let the filling cool slightly
Before assembling the pies, let the apple filling cool a bit so it thickens and doesn’t make the dough soggy. It makes handling the dough easier and keeps the crust crisp.
#5 Brush with egg wash or milk
For a golden, inviting crust, brush the pies lightly with beaten egg or a bit of milk before baking. This small step helps achieve that picture-perfect finish.
#6 Bake on parchment paper
Using parchment paper on your baking sheet prevents sticking and helps your pies bake evenly without burning on the bottom.
#7 Use a cooling rack
Once out of the oven, place the pies on a cooling rack to let air circulate around them. It prevents the bottoms from becoming soggy as they cool.
Helpful Tools & Supplies
Whether you’re just dipping your toes into the world of fresh milled flour or you’re a seasoned home baker, I’ve taken the guesswork out of what you truly need. All of these tools and resources are available in my shop, designed to help your journey be smooth and nourishing:
Grain Mills
- NutriMill Classic Grain Mill – My go-to for fine, consistent milling; perfect for sandwich breads and everyday baking.
- NutriMill Harvest Grain Mill – Stone-ground elegance: this model delivers whole-grain flavor with a beautiful appearance.
Mixers
- Ankarsrum Mixer – A powerhouse kitchen companion with multiple speeds and attachments—ideal for kneading bread dough effortlessly.
Baking & Bread Tools
- Bread Bow Knife – Artisan-made with a high-carbon steel blade and cherry wood handle—this knife slices loaves with ease.
- Sourdough Essentials Kit With Starter – Complete starter kit that includes dehydrated sourdough starter, banneton baskets, a dough whisk, scoring lame, and more.
Cookbooks & eBook Bundles
- Everyday Whole Grains Vol. 1 & 2 (printed & digital) – Packed with 70+ recipes built around fresh milled flour, from breads to snacks and desserts.
- The Fresh Breads Bundle – A comprehensive set including eBooks like The Perfect Loaf, the Cookie Jar, bulk baking guides, and a sourdough mini‑course—all centered on fresh milled flour.
- Freshly Milled Made Simple Guide – A video-based guide that walks you through milling and baking basics, making the process feel easy and approachable.
Specialty Items
- Dehydrated Sourdough Starter – Just add water and flour to rehydrate this starter—perfect for bakers without an active sourdough culture.
- I Knead Fresh Flour Mug – A charming, handmade 12 oz ceramic mug—great for coffee breaks during dough rising!
Why These Are Worth It
Every tool in this collection has been personally vetted to support you in baking with fresh milled flour. From the grain mills that make your flour, to mixers that knead dough, to resources that teach you every step—it’s all here to make sure your homemade bread journey is joyful, nourishing, and successful.
➡️ Explore all of these items and more in the Generation Acres Farm Shop — your one-stop spot for fresh milled flour baking essentials.
Equipment:
Mixing bowls
Rolling pin
Parchment-lined baking sheet
Measuring cups and spoons
Fork
Pastry brush
Cooling rack
How to Make Healthy Apple Hand Pies with Fresh Milled Flour
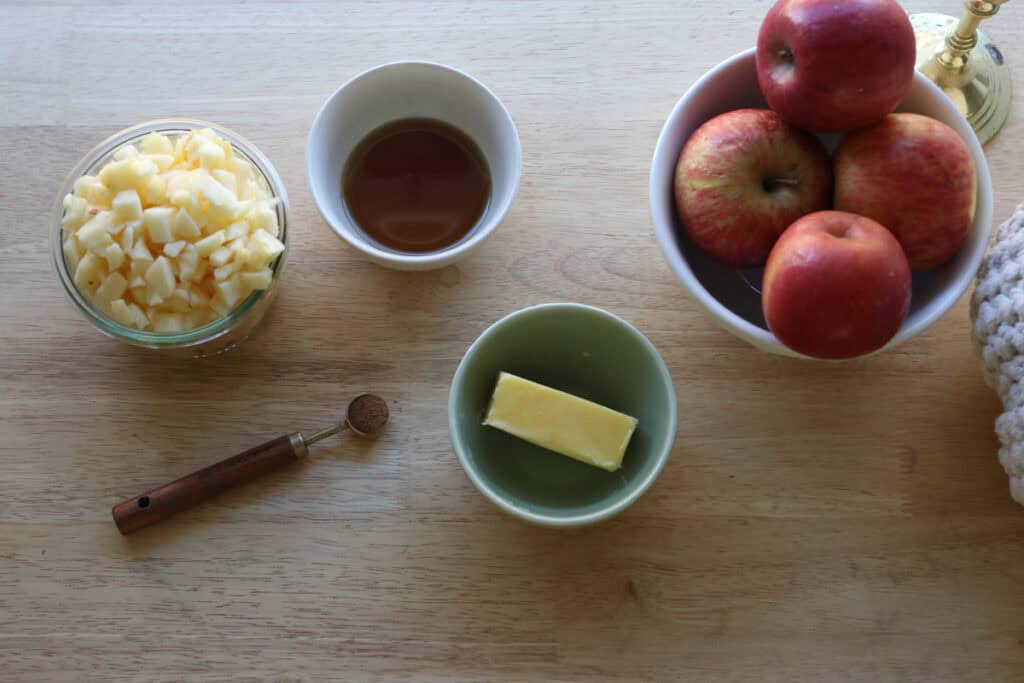
Ingredients:
- 2 store bought pie crusts or use our homemade pie crust recipe
- 4 small apples, fuji, honeycrisp, etc. (296 grams)
- 3 tablespoons butter (43 grams)
- ¾ teaspoon cinnamon
- 2 ½ tablespoons maple syrup
- 1 egg for egg wash
- Coarse sugar for sprinkling, optional
Directions:
- Preheat the oven to 350 degrees F. and line a baking sheet with parchment paper.
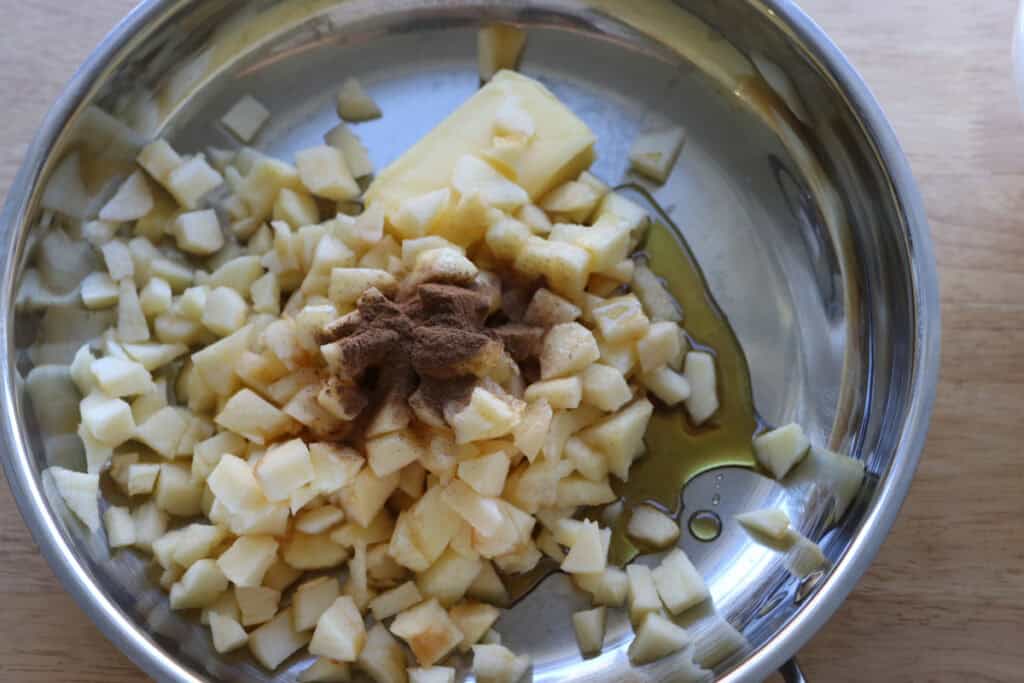
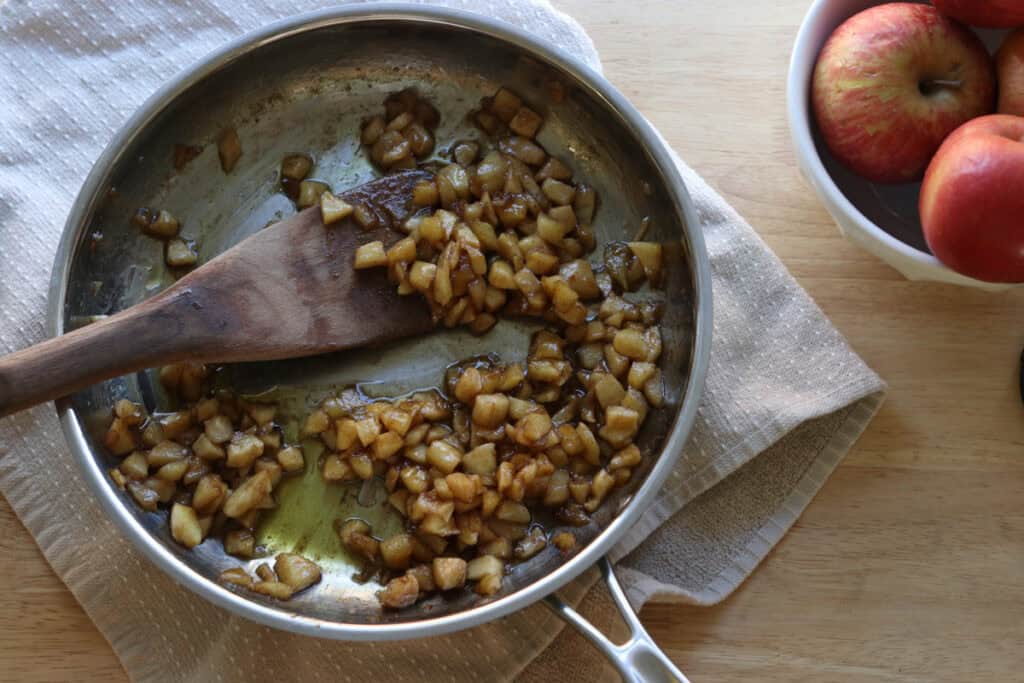
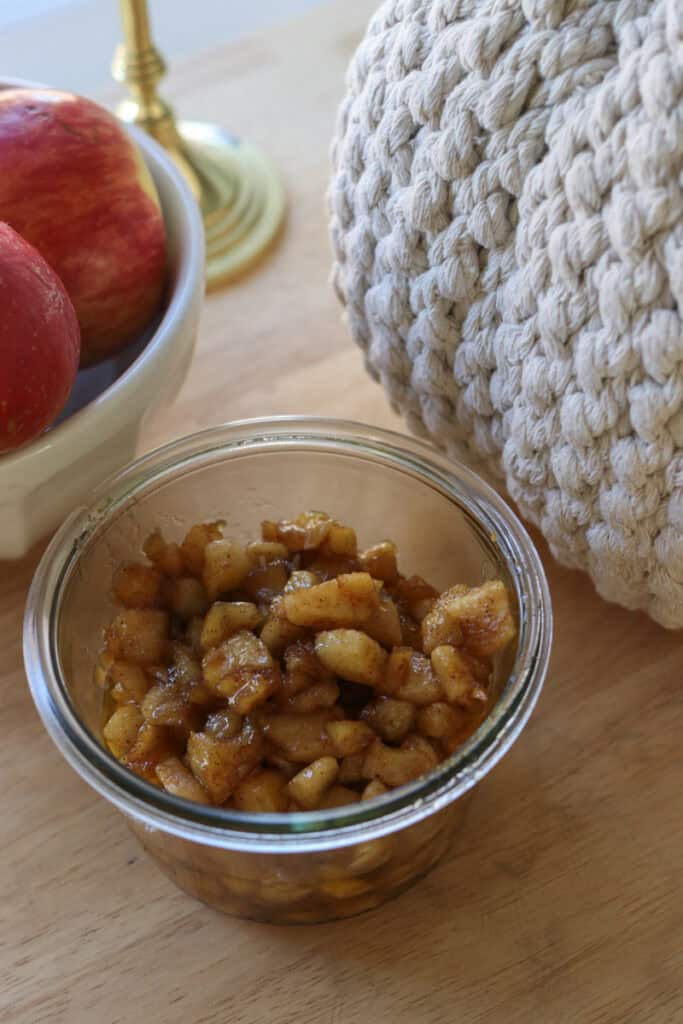
- In a medium saucepan, cook the apples, butter, cinnamon and maple syrup over low-medium heat for 10-15 minutes, until softened.

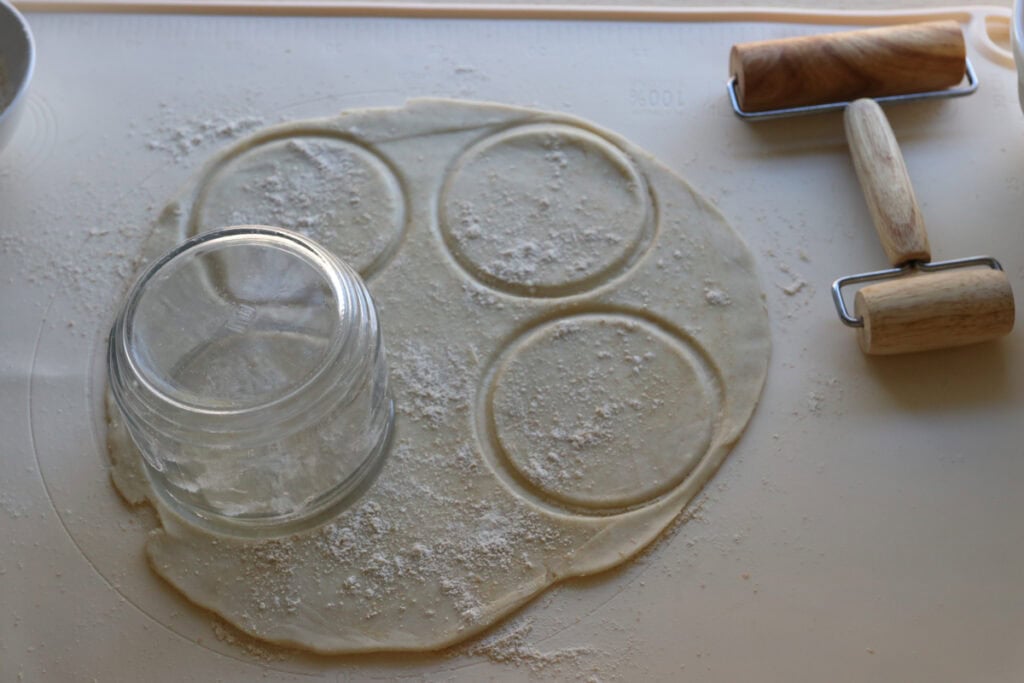
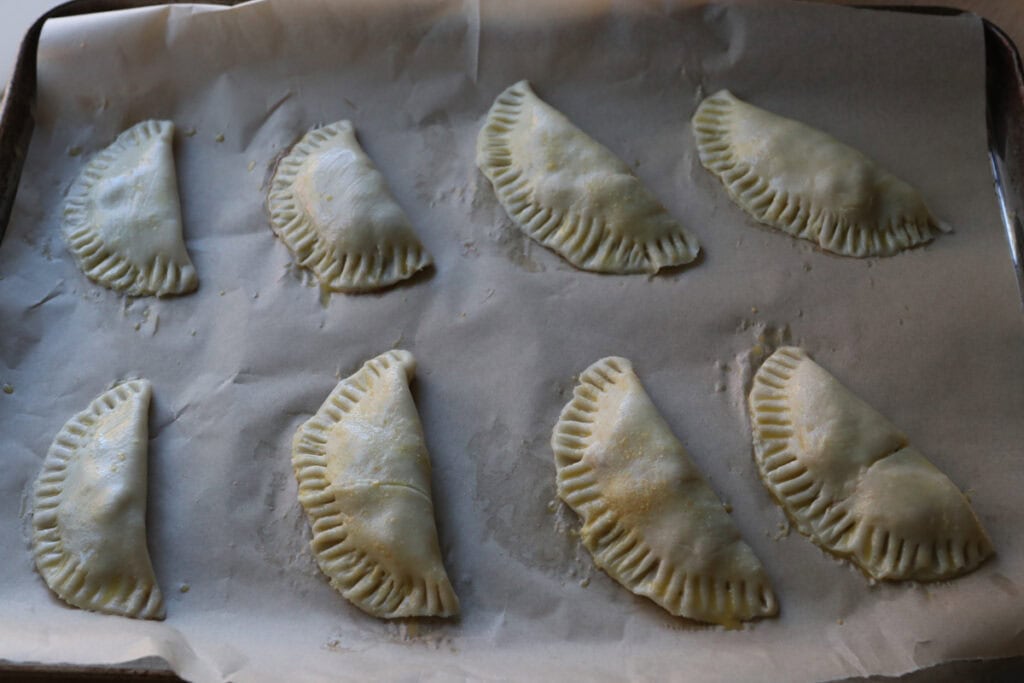
- On a floured work surface, roll out your pie dough ⅛” thin and use a 4 inch biscuit cutter or dish to cut out 18 circles. Fill them with a heaping tablespoon of the apple pie filling, fold in half, and crimp the edges with a fork.

- Place the pies on the baking sheet.
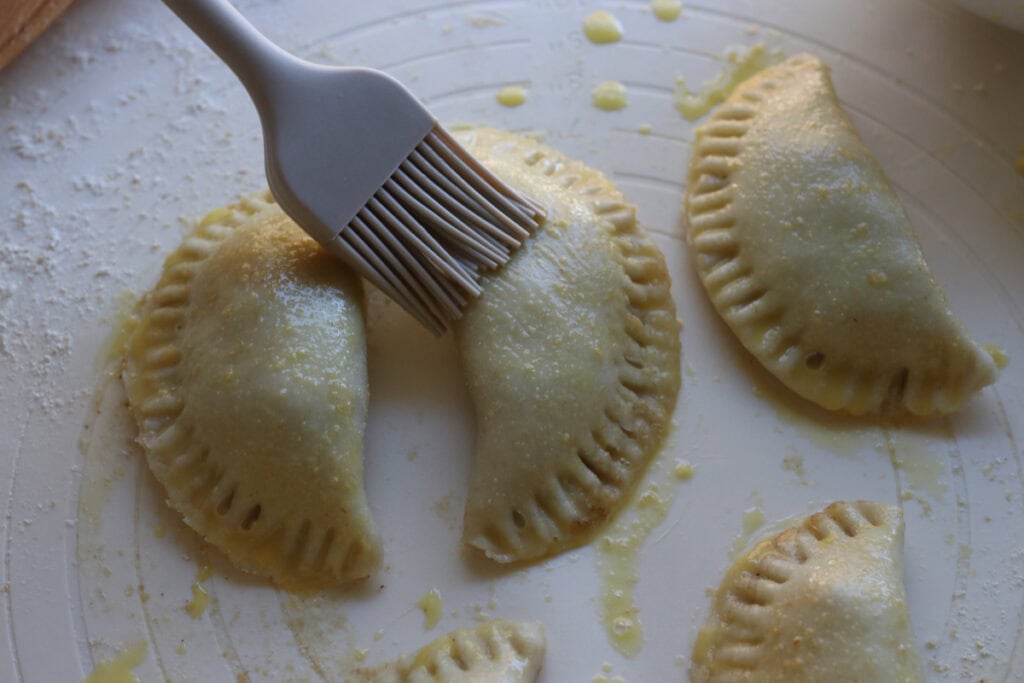
- Whisk the egg with a tablespoon of water and brush over the pies.
- Sprinkle the top of the pies with coarse sugar if desired.
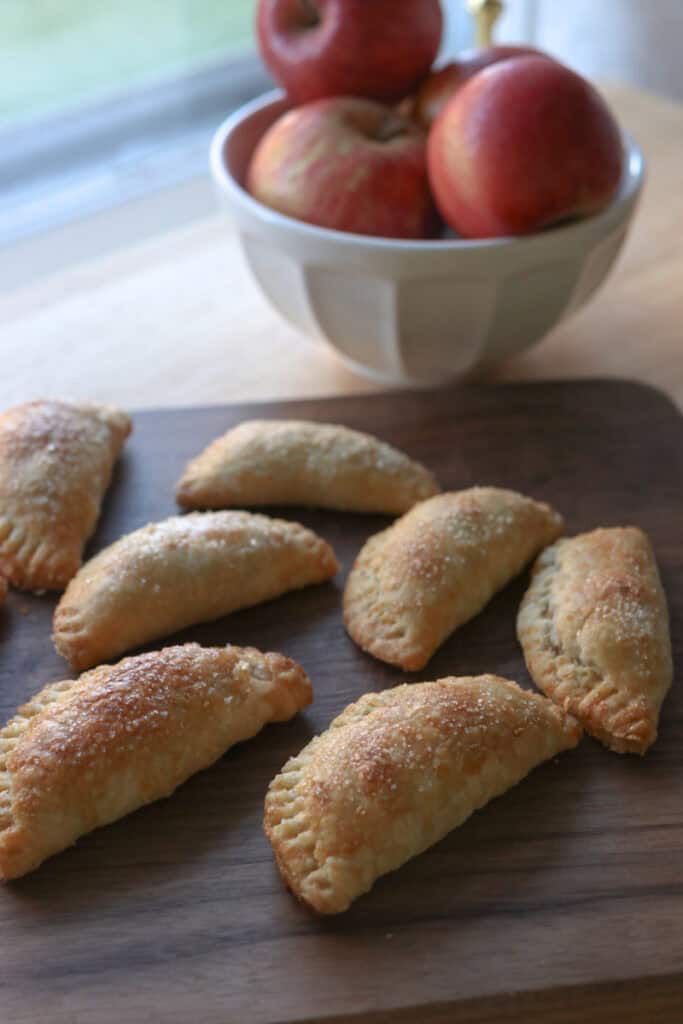
- Bake for 15-20 minutes, until golden brown on top.
Recipe Variations
Add nuts: Toasted walnuts or pecans can add a lovely crunch inside your apple filling.
Swap fruits: Pears or peaches can be great alternatives for a seasonal twist.
Gluten-free crust: Use a blend of gluten-free flours like almond and rice flour for the crust, though texture will vary slightly.
Savory twist: Mix in a pinch of sea salt and rosemary with the crust for an unexpected but delightful flavor layer.
Troubleshooting Common Problems with this Recipe
Soggy Bottoms
If your pies turn out soggy on the bottom, make sure your filling isn’t too watery. Drain any excess liquid from the apple mixture before assembling, and bake on a preheated baking sheet for better heat distribution.
Dough Tears When Folding
If your dough cracks or tears, it might be too dry or overworked. Let it rest a bit longer chilled and roll gently to avoid breaking the dough.
Filling Leaks
Leaking filling usually means the edges weren’t sealed well. Use water or egg wash to moisten edges before pressing, and don’t overfill the pies.
Pale Crust
If your crust is pale, try brushing with an egg wash or milk before baking. Also, ensure your oven is fully preheated for even browning.
Dry Filling
If the filling tastes dry, you might need a touch more sweetener or liquid to balance the tartness. Mixing in a splash of apple juice or maple syrup can help.
Freezing & Storing Leftovers
Freezing:
Wrap each pie individually in parchment paper, then place them in an airtight container or freezer bag. Freeze for up to 2 months. To enjoy, thaw at room temperature and warm in a 350°F oven for about 10 minutes.
Storing:
Store leftover pies in an airtight container at room temperature for up to 2 days or refrigerate for up to 5 days. Reheat gently to bring back flakiness.
How To Reheat
Oven Method
Best for preserving crisp crust. Preheat oven to 350°F (175°C). Place pies on a baking sheet and warm for 10-12 minutes until heated through and the crust is crisp again.
Microwave Method
Good for quick warming but may soften crust. Place a pie on a microwave-safe plate and heat for 30-45 seconds. To help crisp, finish in a toaster oven if you have one.
Toaster Oven Method
Perfect for reheating one or two pies while keeping them flaky. Set toaster oven to 350°F and heat for 7-10 minutes, checking halfway through.
Skillet Method
Heat a non-stick skillet over medium heat, place the pie in the pan, and cover with a lid for a few minutes. This method reheats evenly and can help refresh crispness without drying.

Extra FAQs
Can I use other fruits besides apples?
Absolutely. Pears, cherries, or even mixed berries make delicious fillings with minor adjustments to the sweetness and spices.
How long does the dough keep in the fridge?
You can store the dough wrapped in plastic wrap for up to 3 days. Let it come to a slightly softer temperature before rolling.
Can I make these hand pies gluten-free?
Yes, by using a gluten-free flour blend, though textures may vary.
Are these pies suitable for freezing before baking?
Yes, assemble the pies, freeze them on a baking sheet until solid, then transfer to a container. Bake them straight from frozen, adding a few extra minutes.
What if I don’t have fresh milled flour?
You can use whole wheat or all-purpose flour, though the flavor and nutritional benefits will be different. Fresh milling just adds that lovely freshness.

Healthy Apple Hand Pies with Fresh Milled Flour
Ingredients
- 2 store bought pie crusts or use our homemade pie crust recipe
- 4 small apples fuji, honeycrisp, etc. (296 grams)
- 3 tablespoons butter 43 grams
- ¾ teaspoon cinnamon
- 2 ½ tablespoons maple syrup
- 1 egg for egg wash
- Coarse sugar for sprinkling optional
Instructions
- Preheat the oven to 350 degrees F. and line a baking sheet with parchment paper.
- In a medium saucepan, cook the apples, butter, cinnamon and maple syrup over low-medium heat for 10-15 minutes, until softened.
- On a floured work surface, roll out your pie dough ⅛” thin and use a 4 inch biscuit cutter or dish to cut out 18 circles. Fill them with a heaping tablespoon of the apple pie filling, fold in half, and crimp the edges with a fork.
- Place the pies on the baking sheet.
- Whisk the egg with a tablespoon of water and brush over the pies.
- Sprinkle the top of the pies with coarse sugar if desired.
- Bake for 15-20 minutes, until golden brown on top.