
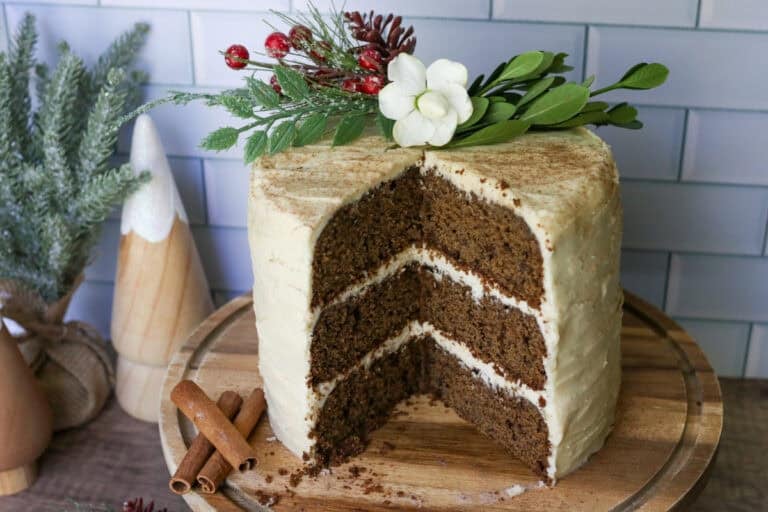
Chocolate Yule Log Cake with Freshly Milled Flour
This post may contain affiliate links. Please read our Disclosure Policy.
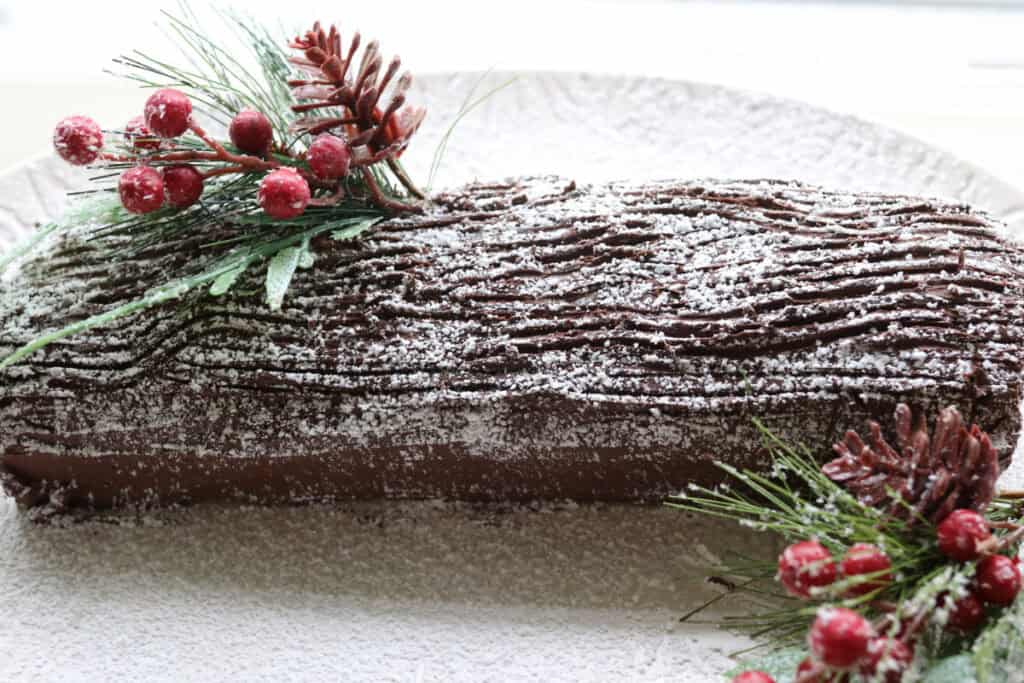
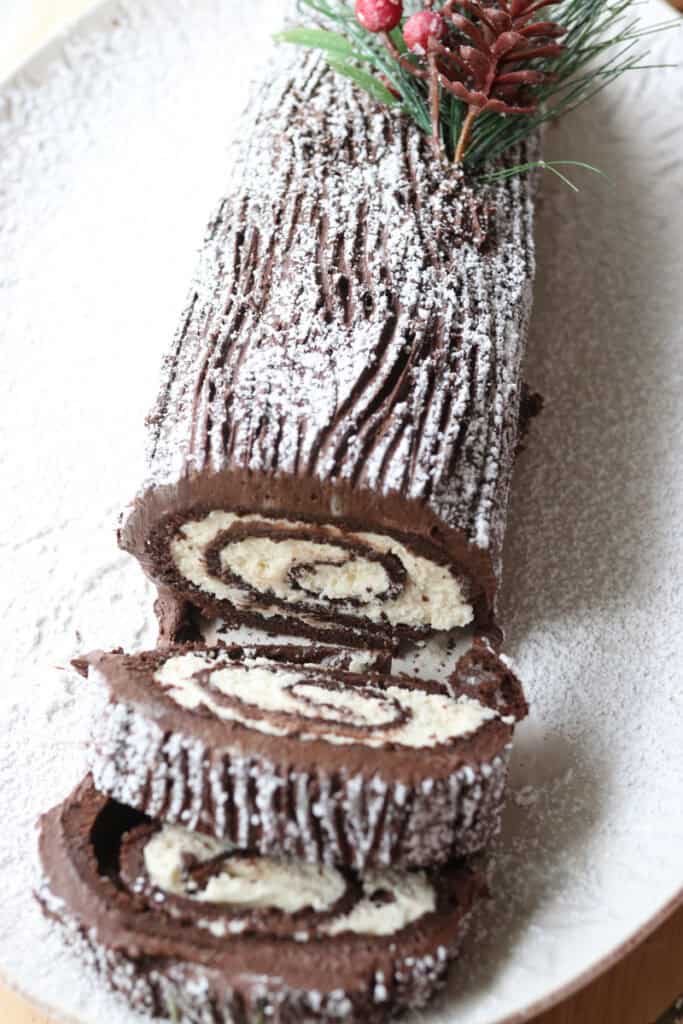
If you’re tempted to dive into festive baking this holiday season, I’ve got something pretty special for you—a chocolate yule log cake made with freshly milled flour. This delicious cake, rich with deep chocolate flavors and a light, airy texture, feels like a cozy celebration in every slice. Milling your own flour might sound like a bit of a kitchen adventure, but it brings a wonderful freshness that transforms the cake from ordinary to unforgettable. Plus, the delicate swirls and whipped cream filling make it a centerpiece that’s as much a feast for the eyes as it is for the taste buds. This chocolate yule log cake with freshly milled flour offers a delightful way to celebrate Christmas time—a little baking adventure that rewards you with rich, fresh flavors and a charming presentation. Let’s unpack this recipe with a spirit of fun and a little culinary curiosity.
What Makes This Recipe Great
Freshly milled flour adds a unique dimension.
Using flour that you mill yourself brings a nutty aroma and a tender crumb to the cake that you just can’t get from store-bought flour. It’s like a little secret upgrade that makes your baking feel extra special.
Classic Yule Log charm with a chocolate twist.
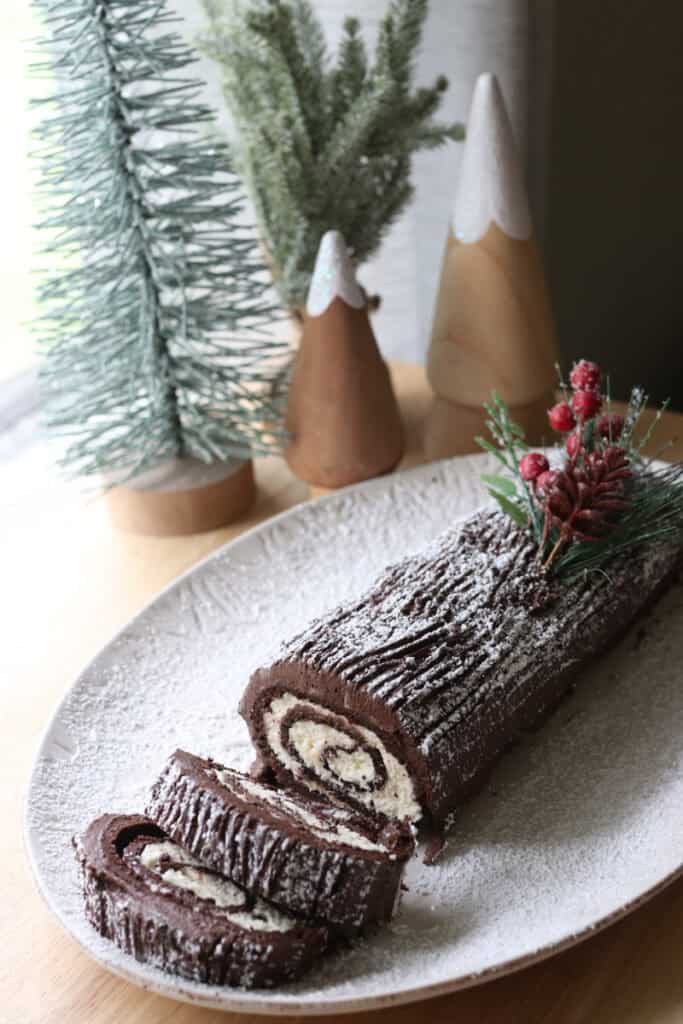
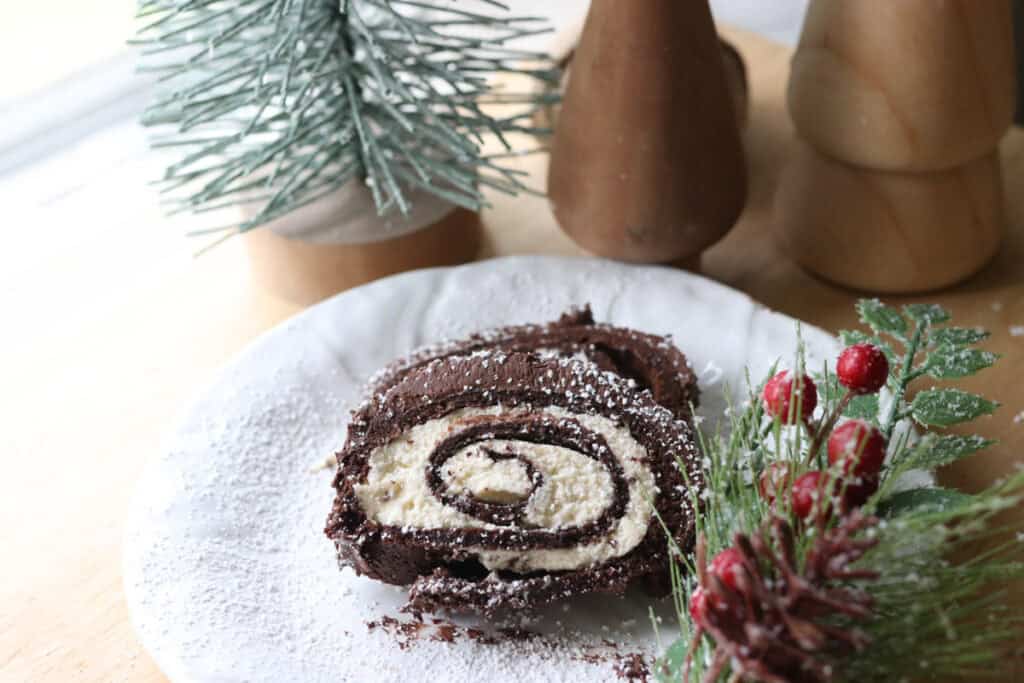
This cake captures the whimsy of a traditional Yule Log but with rich chocolate layers that give it a modern, indulgent makeover. The spiral effect isn’t just pretty—it’s a fun way to showcase all the luscious filling and tender sponge.
A recipe that invites experimentation.
Whether you’re a seasoned baker or just venturing into holiday desserts, the process encourages you to enjoy the textures and flavors with a forgiving approach. Plus, it’s a fantastic chance to explore milling and see how it changes your baking game.
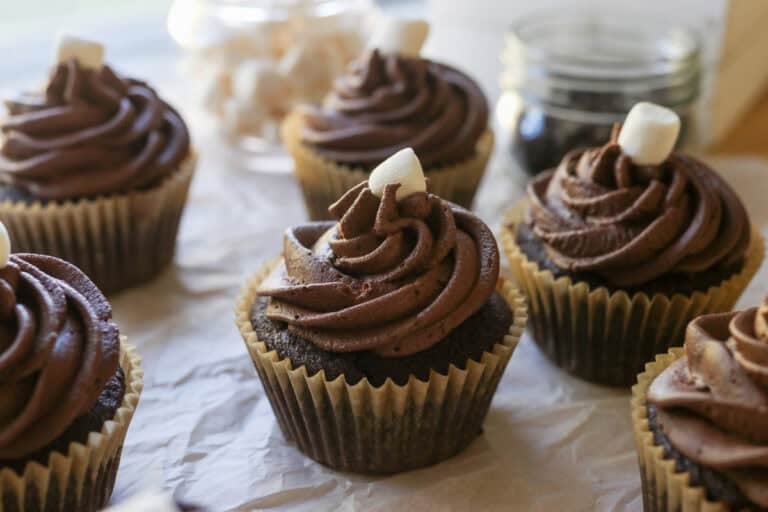
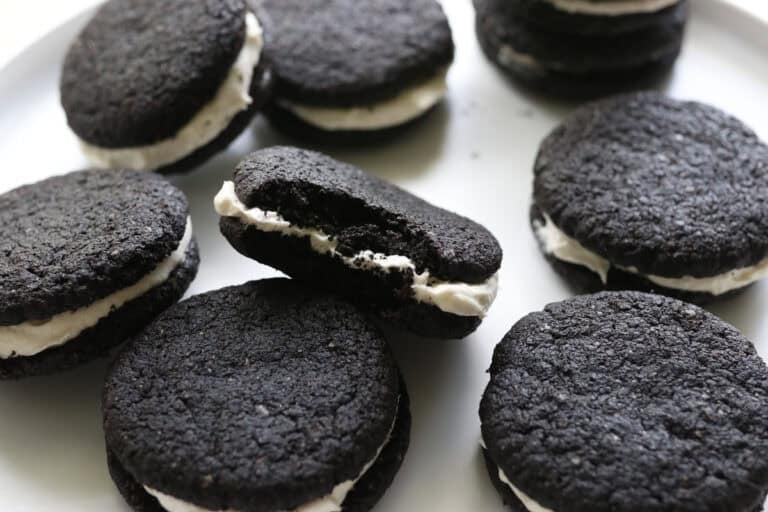
For more fresh milled Christmas time desserts, try these White Chocolate Peppermint Cupcakes or these Healthy Sugar Cookies!
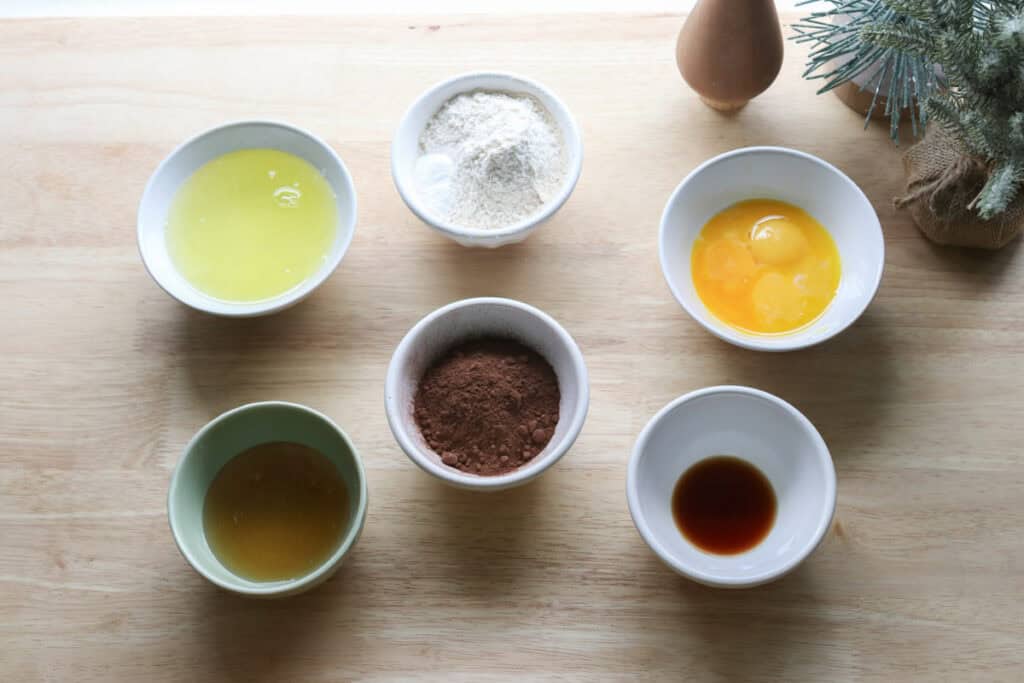
Overview of Ingredients
Freshly Milled Flour
This ingredient offers a fresher, more flavorful base for the cake, contributing to a lighter and more nuanced crumb. If you don’t have a grain mill, you can use all-purpose flour as a backup, though it won’t have the same taste or benefits.
Cocoa Powder
Cocoa powder fuels the chocolate richness in this recipe. Using Dutch-processed cocoa yields a smoother, less acidic flavor, but natural cocoa works well if you prefer a tangier bite. Both bring beautiful color and taste.
Eggs
Eggs give the cake structure and richness, and whipping the whites separately adds airiness to the batter.
Butter
Butter is essential for that tender crumb and velvety mouthfeel in the cake.
Heavy Cream
This is key for the luxurious filling, lending a light yet creamy texture that balances the chocolate sponge. For a lower-fat alternative, whipping cream or mascarpone cheese can work, though the flavor and texture will differ a bit.
Sugar
Sugar not only sweetens but also helps with the cake’s texture and browning. Granulated sugar is standard, but superfine sugar dissolves more quickly if you want an ultra-smooth batter. Brown sugar adds moisture and a subtle caramel hint, though it will change the cake’s flavor slightly.
Tips for Success
#1 Whip egg whites separately
Separating and whipping the egg whites until stiff peaks form adds essential lightness to the sponge. Fold them gently into the batter to maintain the airiness without deflating.
#2 Use a clean tea towel for rolling
Once baked, roll your cake in a clean, slightly damp tea towel while it’s still warm. This trick helps prevent cracks and makes the cake easier to roll later with the filling.
#3 Chill the filling before frosting
Allow the cream filling to chill until it’s firm enough to spread smoothly. This prevents it from sliding out of the roll and keeps your layers neat and tidy.
#4 Use parchment paper while baking
Line your baking sheet with parchment paper to keep the cake from sticking and help with easy transfer when it’s time to roll.
#5 Don’t rush the cooling process
Let your cake cool completely before decorating to avoid melting or sogging up the beautiful chocolate coating.
Helpful Tools & Supplies
Whether you’re just dipping your toes into the world of fresh milled flour or you’re a seasoned home baker, I’ve taken the guesswork out of what you truly need. All of these tools and resources are available in my shop, designed to help your journey be smooth and nourishing:
Grain Mills
- NutriMill Classic Grain Mill – My go-to for fine, consistent milling; perfect for sandwich breads and everyday baking.
- NutriMill Harvest Grain Mill – Stone-ground elegance: this model delivers whole-grain flavor with a beautiful appearance.
Mixers
- Ankarsrum Mixer – A powerhouse kitchen companion with multiple speeds and attachments—ideal for kneading bread dough effortlessly.
Baking & Bread Tools
- Bread Bow Knife – Artisan-made with a high-carbon steel blade and cherry wood handle—this knife slices loaves with ease.
- Sourdough Essentials Kit With Starter – Complete starter kit that includes dehydrated sourdough starter, banneton baskets, a dough whisk, scoring lame, and more.
Cookbooks & eBook Bundles
- Everyday Whole Grains Vol. 1 & 2 (printed & digital) – Packed with 70+ recipes built around fresh milled flour, from breads to snacks and desserts.
- The Fresh Breads Bundle – A comprehensive set including eBooks like The Perfect Loaf, the Cookie Jar, bulk baking guides, and a sourdough mini‑course—all centered on fresh milled flour.
- Freshly Milled Made Simple Guide – A video-based guide that walks you through milling and baking basics, making the process feel easy and approachable.
Specialty Items
- Dehydrated Sourdough Starter – Just add water and flour to rehydrate this starter—perfect for bakers without an active sourdough culture.
- I Knead Fresh Flour Mug – A charming, handmade 12 oz ceramic mug—great for coffee breaks during dough rising!
Why These Are Worth It
Every tool in this collection has been personally vetted to support you in baking with fresh milled flour. From the grain mills that make your flour, to mixers that knead dough, to resources that teach you every step—it’s all here to make sure your homemade bread journey is joyful, nourishing, and successful.
➡️ Explore all of these items and more in the Generation Acres Farm Shop — your one-stop spot for fresh milled flour baking essentials.
Equipment:
Mixing bowls
Electric mixer or hand mixer
Sifter
Baking sheet (jelly roll pan)
Parchment paper
Tea towel
Spatula
How to Make Freshly Milled Chocolate Yule Log Cake
Ingredients:
- 4 egg yolks
- 4 egg whites
- ⅓ cup honey, divided (90 grams)
- 1 teaspoon vanilla
- ½ cup freshly milled soft white wheat flour, finely milled (58 grams)
- ¼ cup unsweetened cocoa powder (30 grams)
- ½ teaspoon baking powder
- ¼ teaspoon salt
Filling:
- 1 cup heavy whipping cream (220 grams)
- 3 tablespoons maple syrup
- 1 teaspoon vanilla
Chocolate Icing:
- ½ cup softened butter (115 grams)
- 1 ½ cups powdered sugar (150 grams)
- ⅓ cup unsweetened cocoa powder (42 grams)
- 1-2 tablespoons milk
Directions:
- Preheat the oven to 350 degrees F. and grease or butter a jelly roll pan or a rimmed baking sheet (I used a 12 x 16 inch pan). Then, line the pan with parchment paper and spray the parchment as well as the sides of the pan.

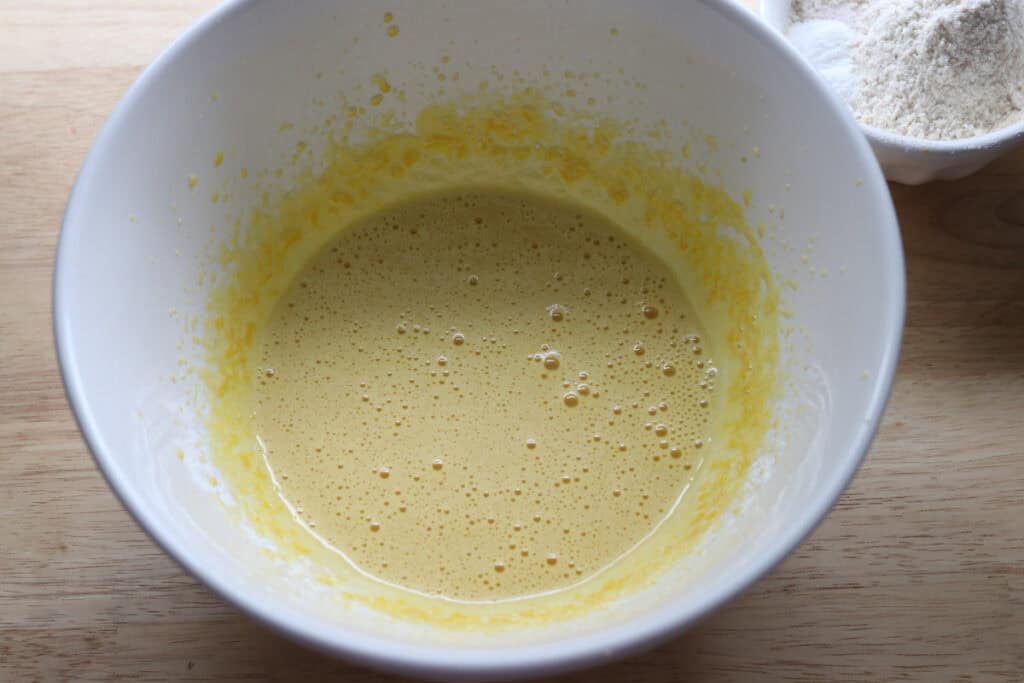
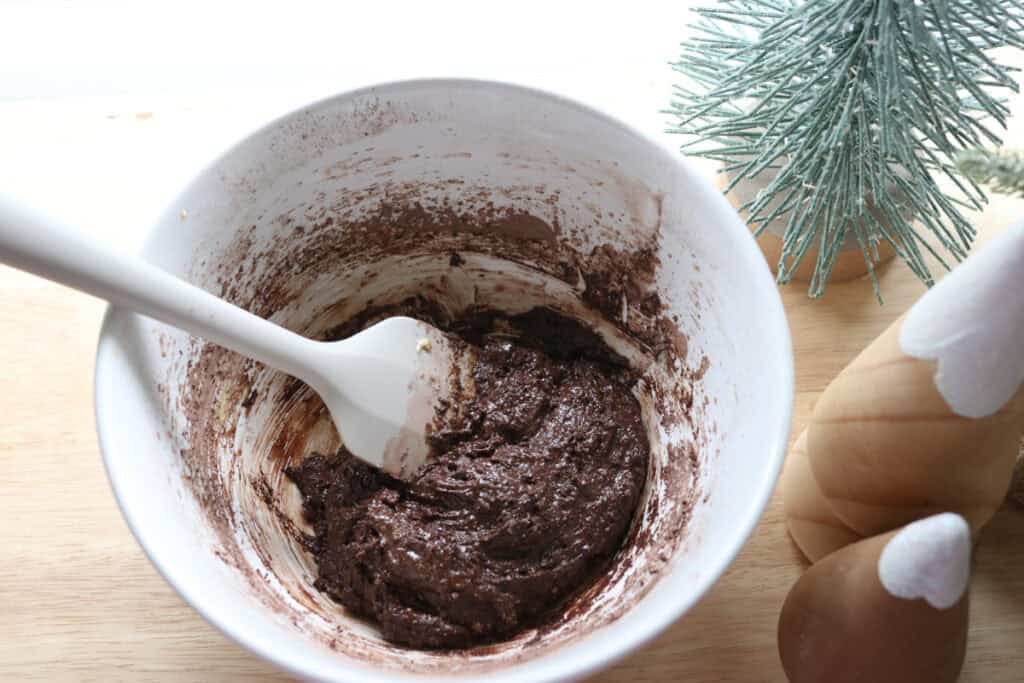
- In a large mixing bowl, whisk the 4 egg yolks, half of the honey, and the vanilla until it becomes lighter in color and a little bit thicker.
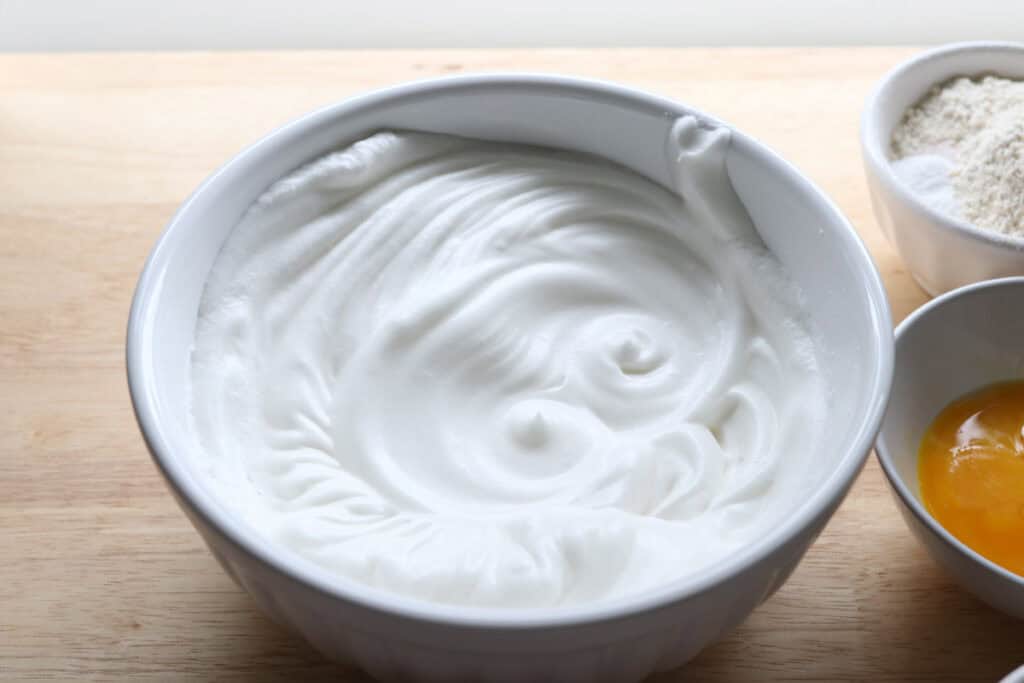
- In a separate bowl, beat the egg whites and the remaining honey on medium-high speed until stiff peaks form.
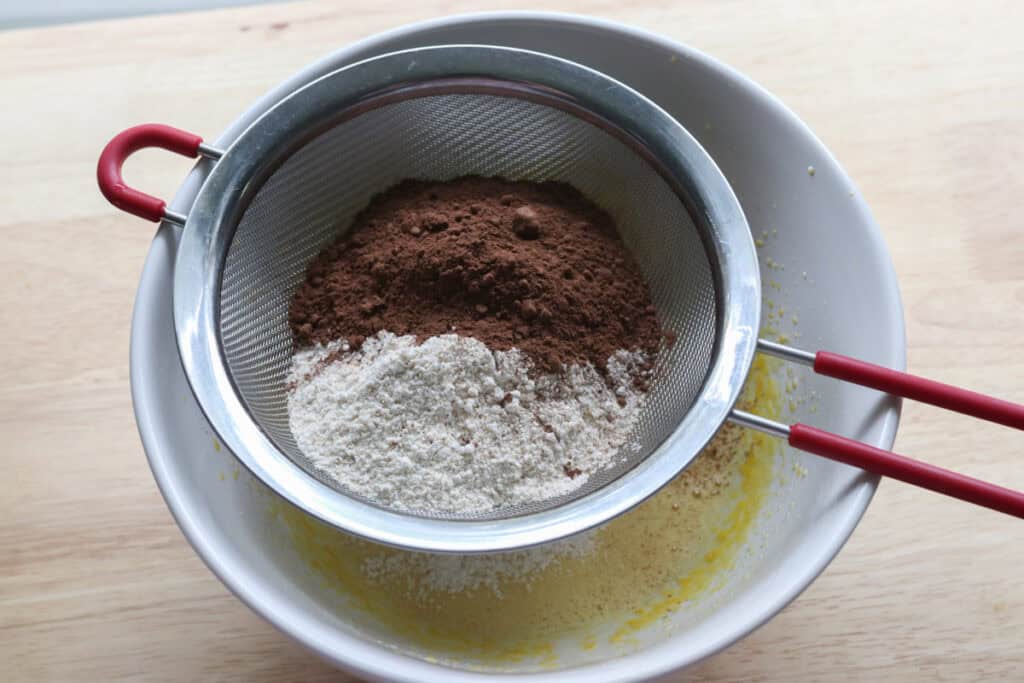
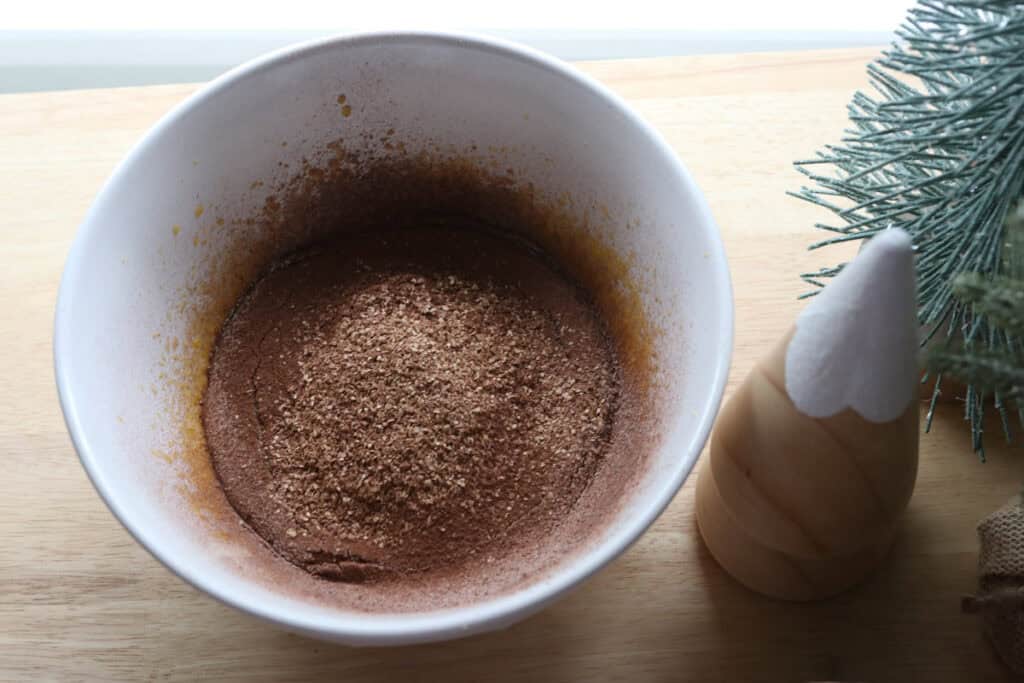
- Sift the flour, cocoa powder, baking powder, and salt over top of the bowl with the yolk mixture. Add the bran from the flour back in. Fold the egg yolks into the flour mixture until completely combined.
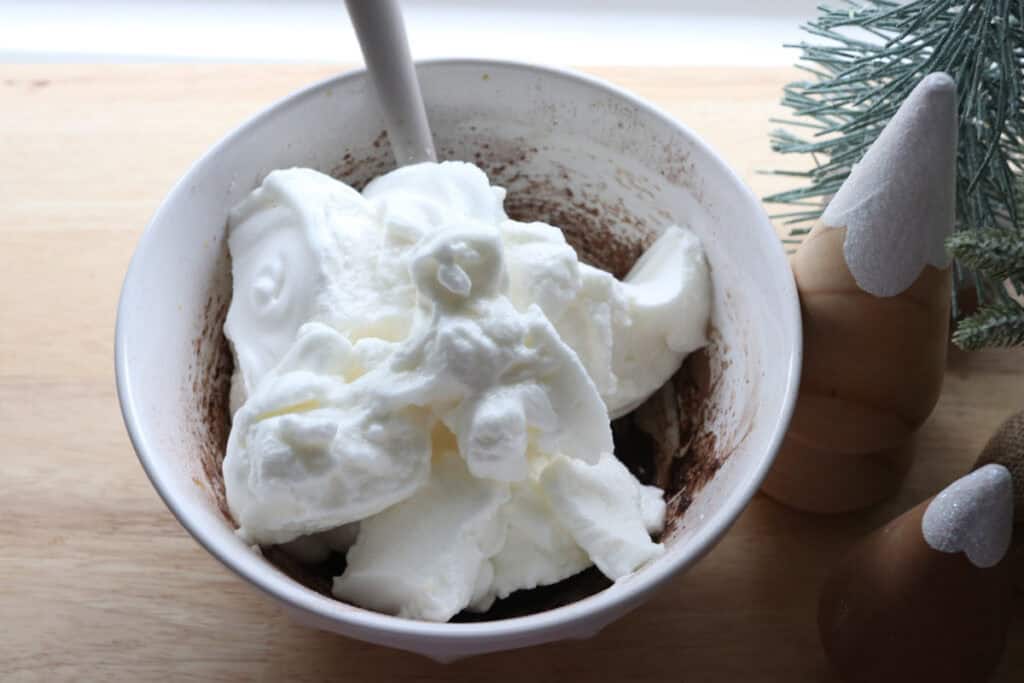
- Then, add the egg whites to the bowl. Use a mixer to beat the egg whites into the batter on low speed, just until combined. You do not want to deflate the egg whites.
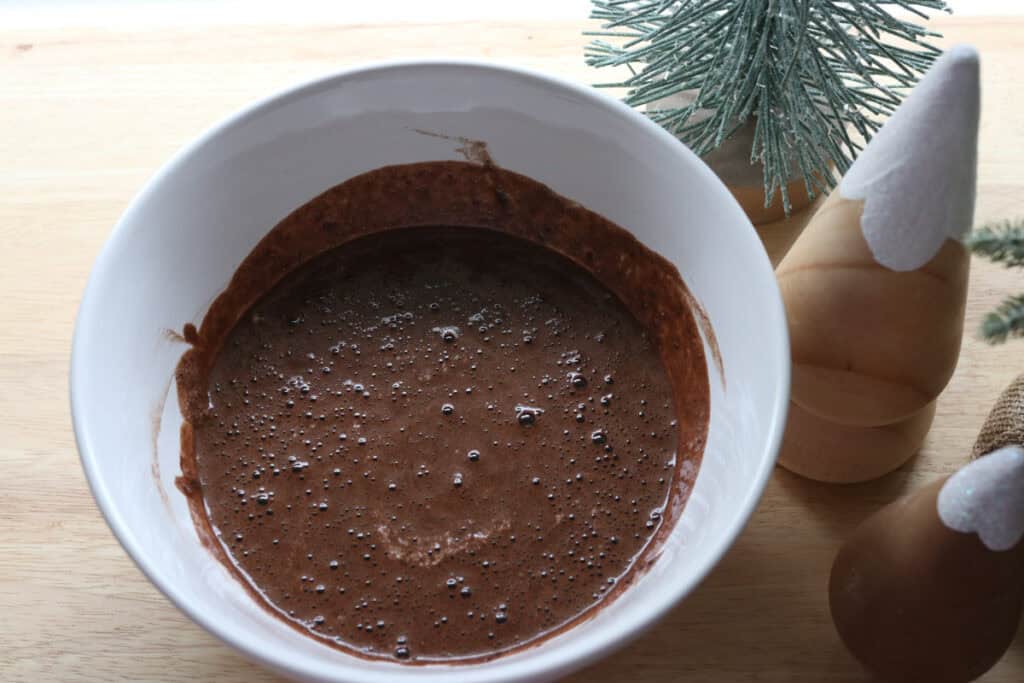
- Evenly spread the cake batter onto the prepared baking sheet (it will be a thin layer) and bake for 10 minutes. Allow the pan to cool for 10 minutes.

- Spread out a tea towel and sprinkle it with a little powdered sugar.
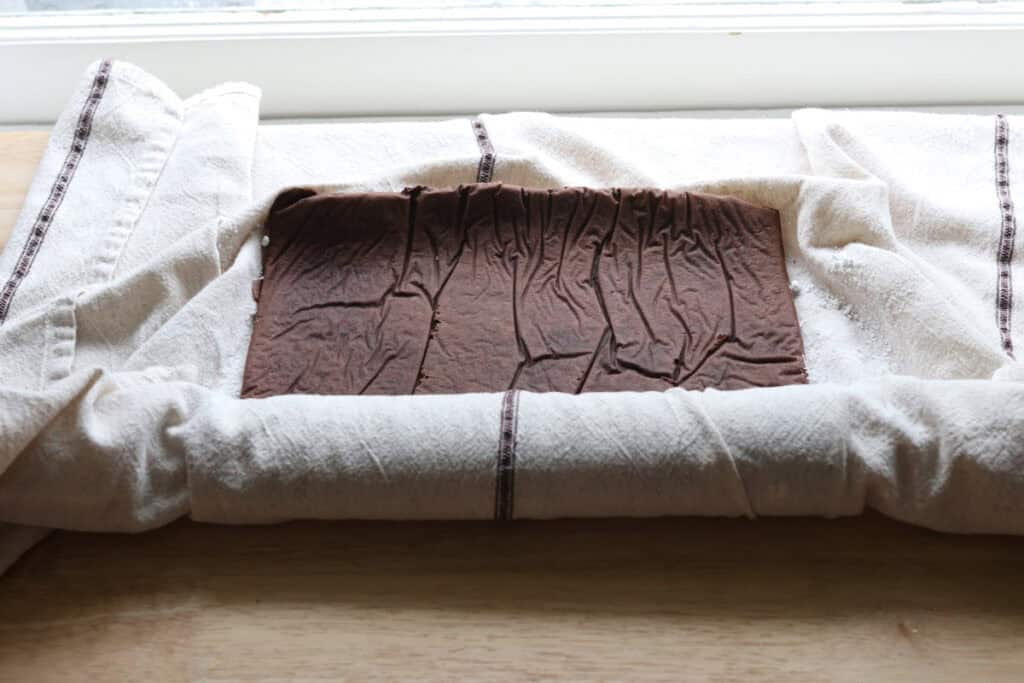
- Flip the cake onto a clean tea towel and slowly peel back the parchment paper. Roll the cake up in the tea towel – into a log shape.
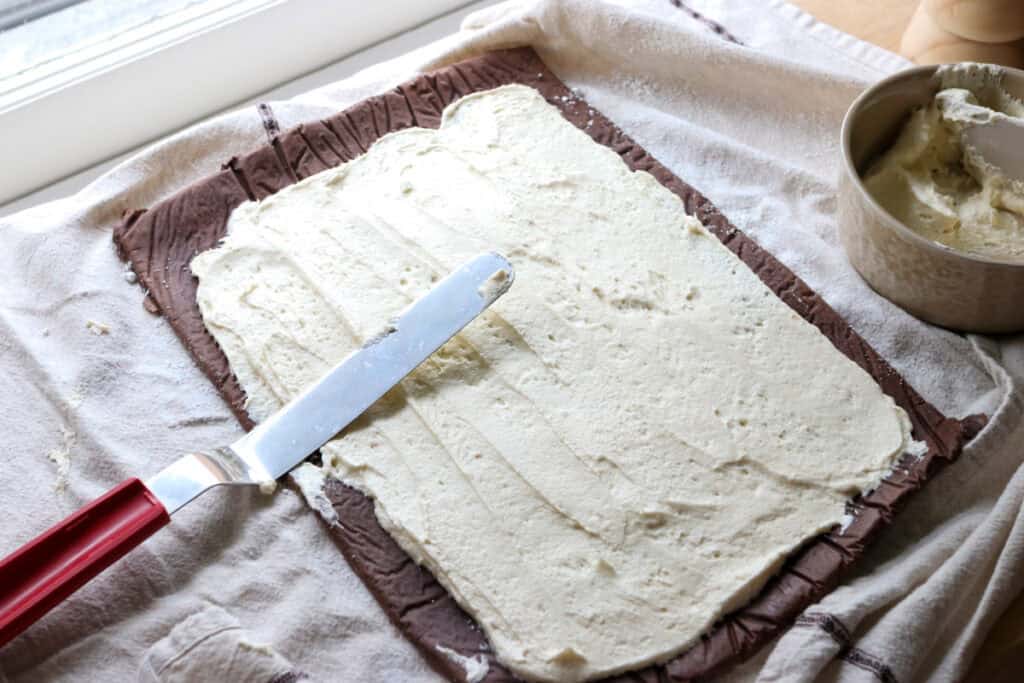
- Prepare the filling by whipping all of the ingredients together until soft peaks form.
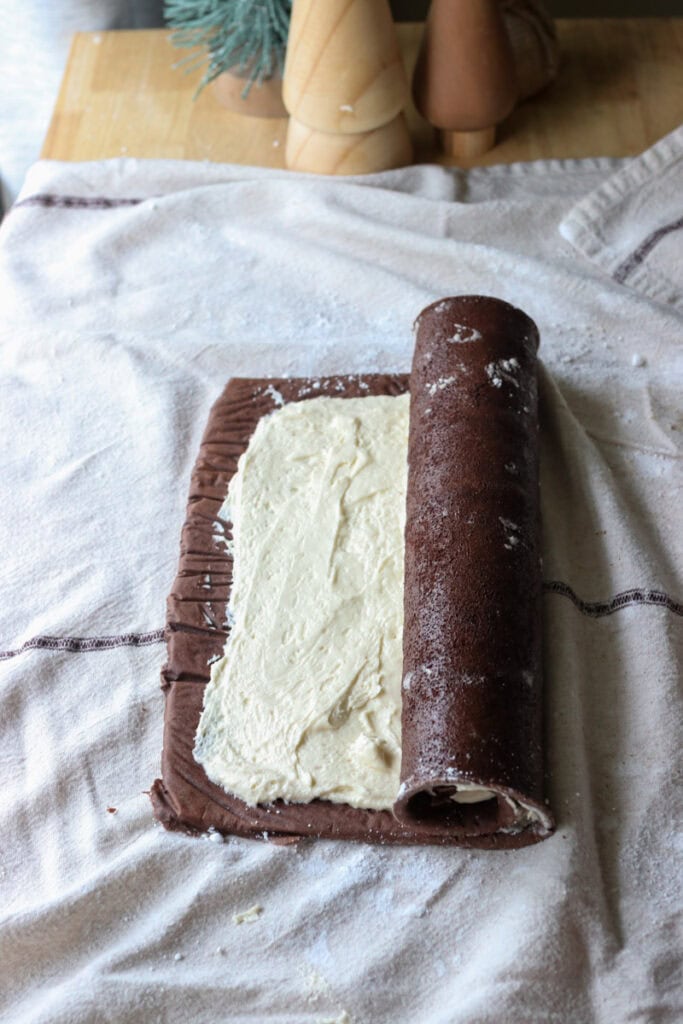
- Unroll the log in the tea towel and evenly spread the filling on it. Roll the log up tightly, wrap in plastic wrap, and chill for 1 hour.


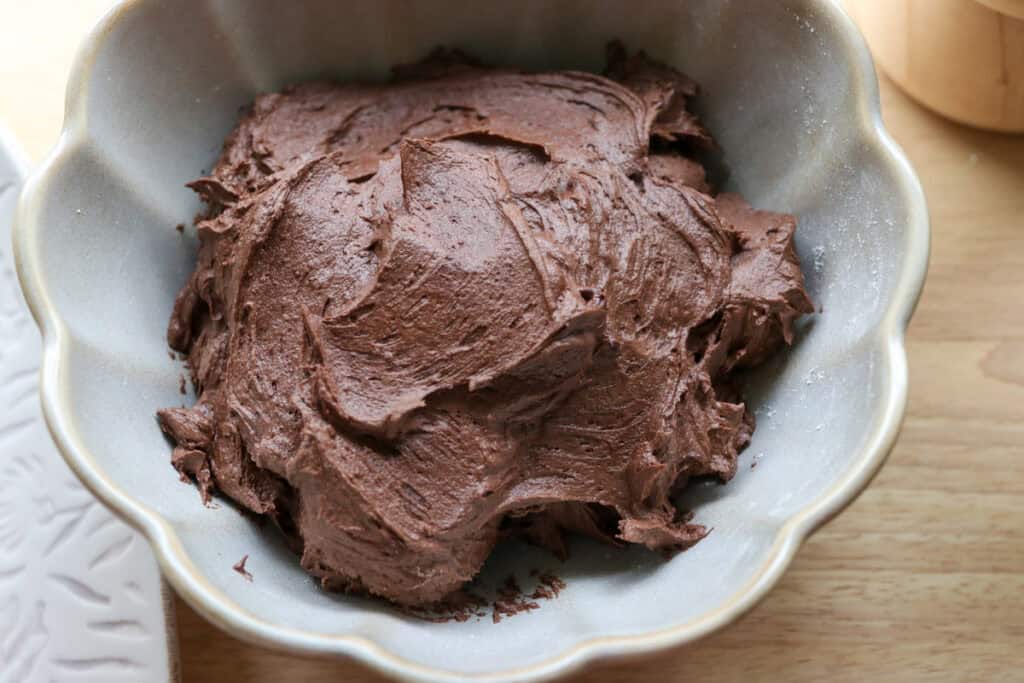
- In the bowl of a stand mixer, prepare the chocolate icing by beating the butter until fluffy. Add the remaining ingredients and beat until fluffy.
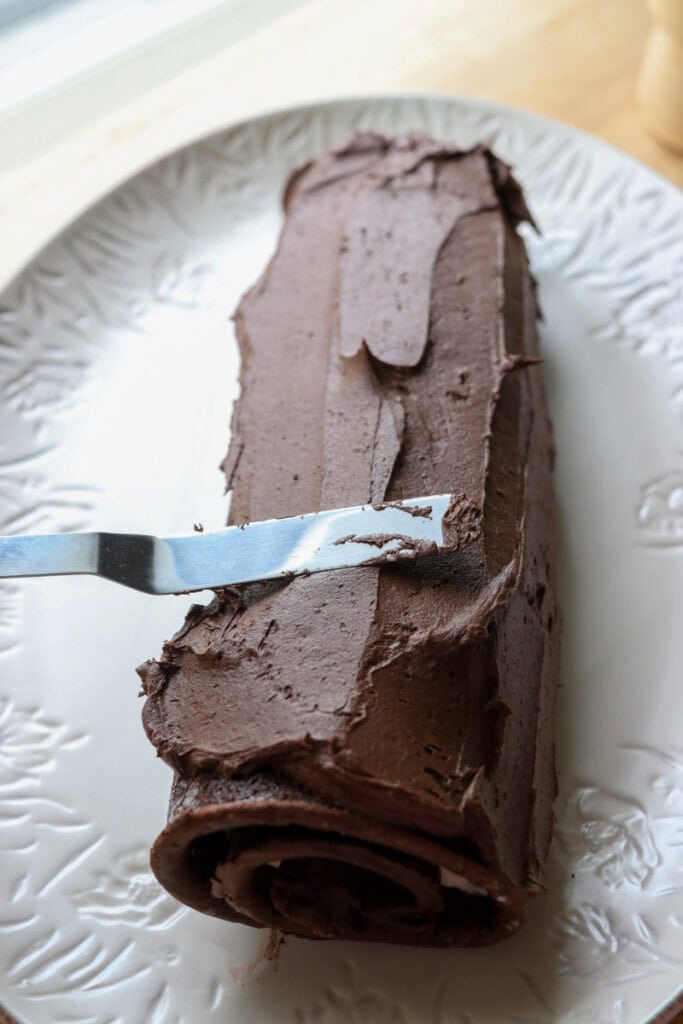
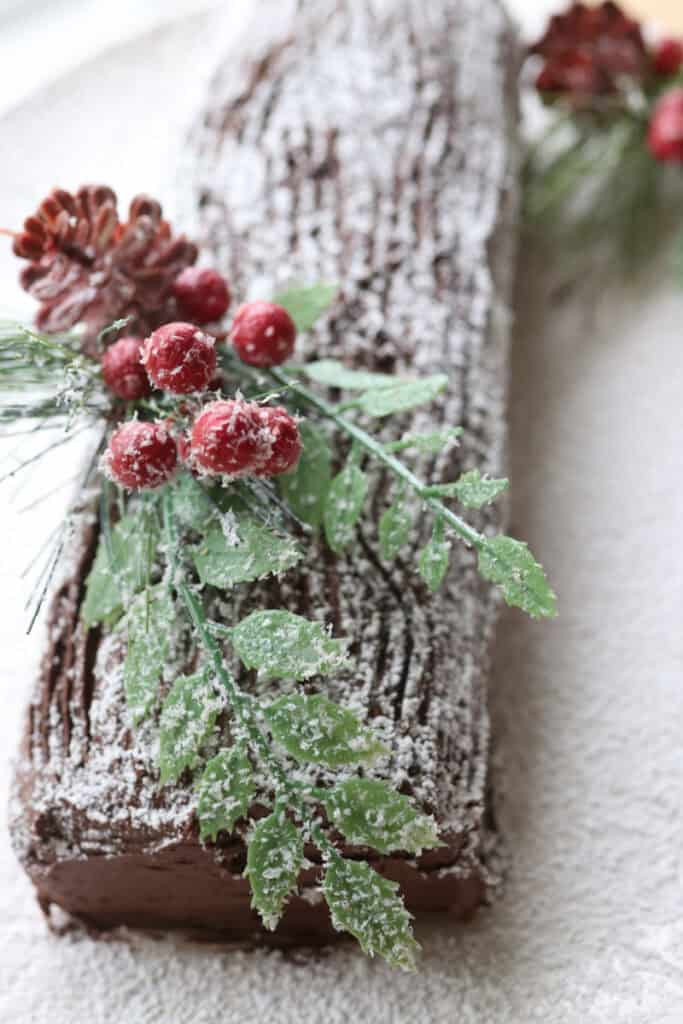
- Spread the chocolate buttercream over top of the cake and down the sides, making sure it is seam side down. Use a fork to scrape across the icing to make it look like tree bark and dust with powdered sugar.
Recipe Variations
Nutty Twist:
Add finely chopped toasted nuts like hazelnuts or walnuts to the filling for an extra crunch and flavor contrast.
Fruit Filling:
Swap out the cream filling for a tangy raspberry or cherry jam to cut through the richness of the chocolate sponge.
Coffee Infusion:
Mix a teaspoon of instant espresso powder into the cocoa powder for a subtle mocha flavor that complements the chocolate beautifully.
Troubleshooting Common Problems with this Recipe
Cake Rolls Are Cracking
If your cake cracks when rolling, it might be too cool or dry. Always roll the cake while it’s still warm and pliable with a damp kitchen towel to help it form without breaking.
Filling Slips Out
If the filling is too soft or warm, it can slip out when rolling. Chill the filling until firm and spread it evenly, leaving a small border at the edges to help it stay put.
Dense or Heavy Cake
Mixing the egg whites too vigorously can deflate the batter. Mix gently to keep the batter light and airy.
Cake Sticks to the Pan
Not lining your baking sheet with parchment paper or skipping greasing can cause sticking. Always use parchment paper and lightly grease if needed for easy removal.
Freezing & Storing Leftovers
Freezing:
Wrap the chocolate log tightly in plastic wrap followed by foil to prevent freezer burn. Freeze for up to 2 months. When ready to enjoy, thaw overnight in the refrigerator and serve at room temperature for the best texture and flavor.
Storing:
Keep wrapped in the refrigerator for 3 to 4 days. Before serving, let it sit out for about 15 minutes to soften slightly so the ganache or frosting isn’t too firm. Avoid leaving it uncovered to prevent drying out.

Extra FAQs
Is it necessary to whip the egg whites separately?
While it might seem like an extra step, whipping the egg whites separately provides the airy texture that makes the sponge so light and fluffy. Skipping this will result in a denser cake.
How long can I prepare this cake in advance?
You can assemble the cake up to a day ahead. Storing it chilled helps the flavors meld and makes slicing easier. Just bring it to room temperature before serving for the best taste.
What’s the best way to cut the Yule Log for serving?
Use a sharp serrated knife and wipe it clean between slices to get smooth, neat pieces without dragging the filling. Cutting at a slight angle can make the slices look more elegant.
Can I add other flavors to the cream filling?
Definitely. Adding a splash of vanilla extract, a spoonful of espresso, or even a bit of liqueur like Grand Marnier can dress up the filling and complement the chocolate beautifully.

Chocolate Yule Log Cake with Fresh Milled Flour
Ingredients
Sponge Cake:
- 4 egg yolks
- 4 egg whites
- ⅓ cup honey divided (90 grams)
- 1 teaspoon vanilla
- ½ cup freshly milled soft white wheat flour finely milled (58 grams)
- ¼ cup unsweetened cocoa powder 30 grams
- ½ teaspoon baking powder
- ¼ teaspoon salt
Filling:
- 1 cup heavy whipping cream 220 grams
- 3 tablespoons maple syrup
- 1 teaspoon vanilla
Chocolate Icing:
- ½ cup softened butter 115 grams
- 1 ½ cups powdered sugar 150 grams
- ⅓ cup unsweetened cocoa powder 42 grams
- 1-2 tablespoons milk
Instructions
- Preheat the oven to 350 degrees F. and grease or butter a jelly roll pan or a rimmed baking sheet (I used a 12 x 16 inch pan). Then, line the pan with parchment paper and spray the parchment.
- In a large bowl, whisk the 4 egg yolks, half of the honey, and the vanilla until it becomes lighter in color and a little bit thicker.
- In a separate bowl, beat the egg whites and the remaining honey until stiff peaks form.
- Sift the flour, cocoa powder, baking powder, and salt over top of the bowl with the egg yolks. Add the bran from the flour back in. Fold the egg yolks into the flour mixture until completely combined.
- Then, add the egg whites to the bowl. Use a mixer to beat the egg whites into the batter on low speed, just until combined. You do not want to deflate the egg whites.
- Evenly spread the batter onto the prepared pan and bake for 10 minutes. Allow the pan to cool for 10 minutes.
- Spread out a tea towel and sprinkle it with powdered sugar.
- Flip the cake onto the tea towel and slowly peel back the parchment paper. Roll the cake up in the tea towel – into a log shape.
- Prepare the filling by whipping all of the ingredients together until soft peaks form.
- Unroll the log in the tea towel and evenly spread the filling on it. Roll the log up tightly, wrap in plastic wrap, and chill for 1 hour.
- Prepare the chocolate icing by beating the butter until fluffy. Add the remaining ingredients and beat until fluffy.
- Spread the chocolate icing over top of the log and down the sides. Use a fork to scrape across the icing to make it look like tree bark and dust with powdered sugar.
Nutrition
Can I use sugar instead of honey in the cake?
You can try, I’ve not tried that though.
Can I use einkorn instead?
yes!